Showing posts with label smokey looks. Show all posts
Showing posts with label smokey looks. Show all posts
FF: Smokey Grey Alice Through The Looking Glass Make Up Look
Friday, 20 May 2016
Friday, 6 May 2016

2
comments
⋅
Labels:
arabic makeup,
EOTD,
FFF,
FOTD,
makeup looks,
smokey,
smokey eyes,
smokey looks,
smoky eyes


Friday, 1 April 2016

Saturday, 21 February 2015
Hi Frooti Beautys!
Yet again I've managed to get a look done (I'm on a roll, I know).
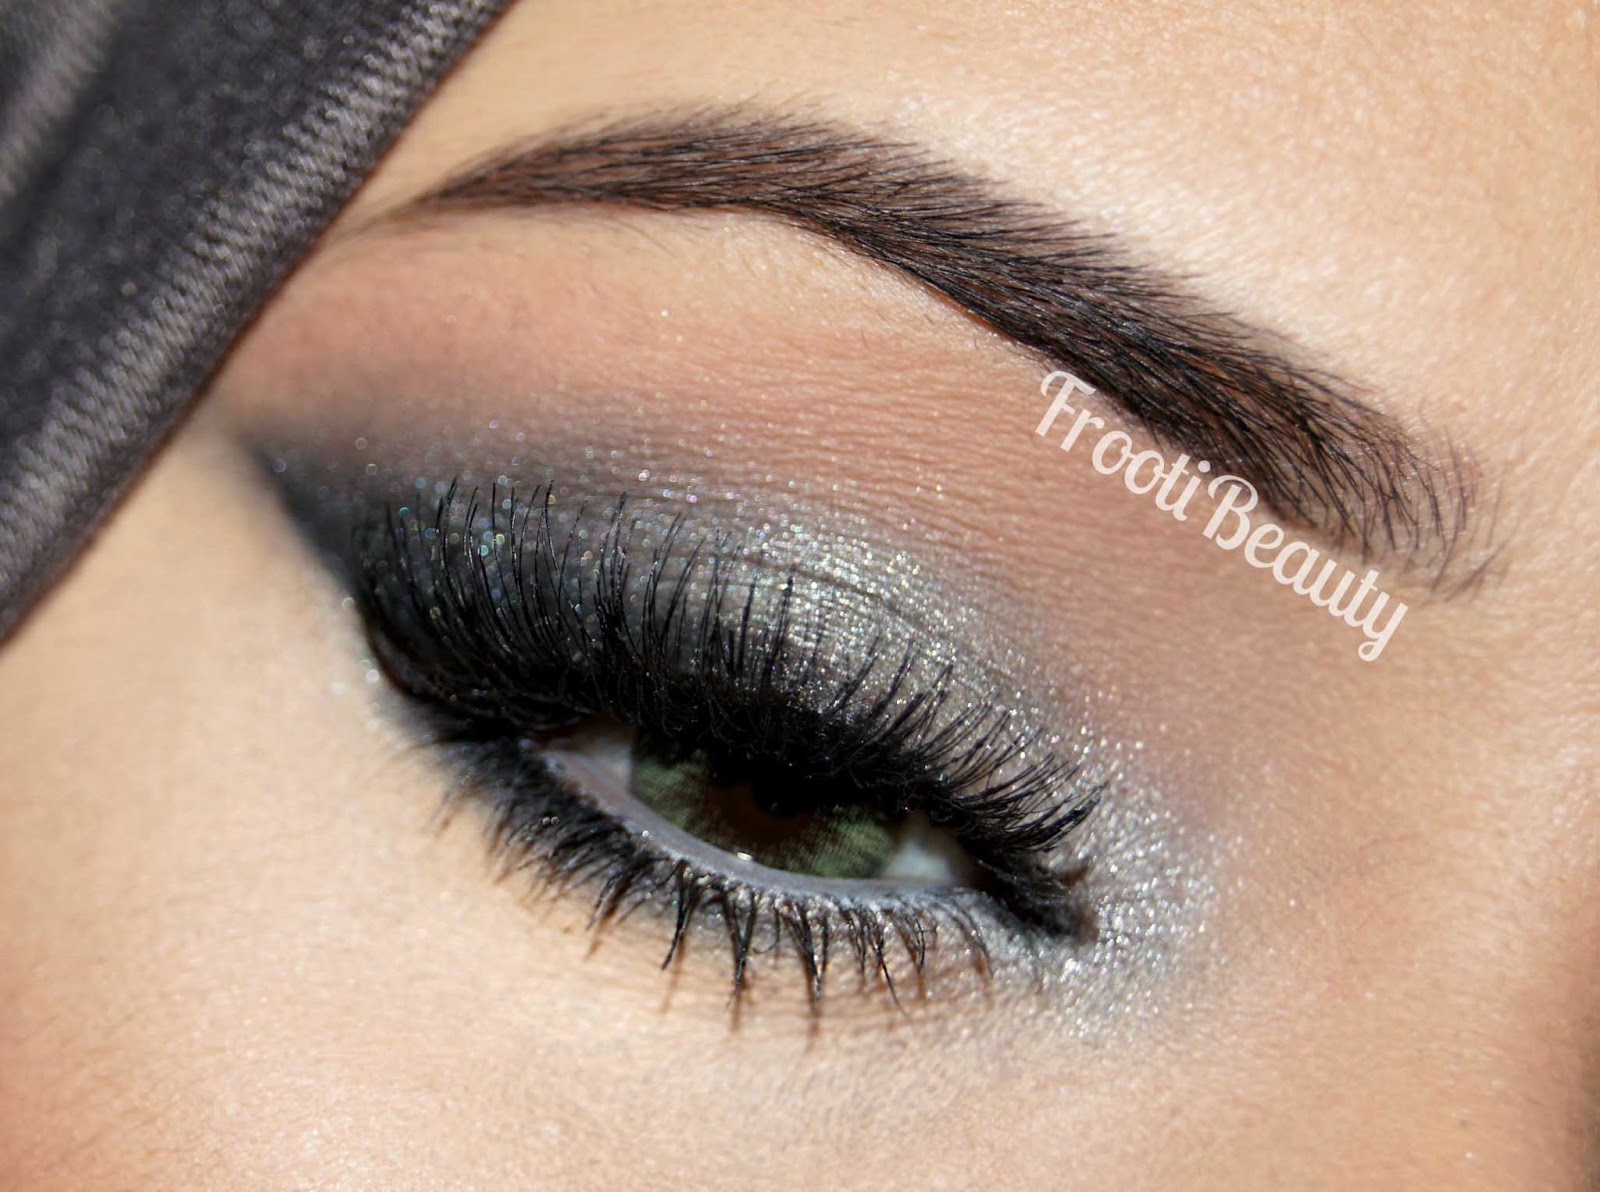
I'm back to a smokey look, but this time with a cool toned Grey that's currently a "hot" colour right now, due to a certain movie (hence the post title and totally coincidental by the way).
Anyway, as per usual, I've listed the products below and as always, let me know what you think <3
Products used:
Eyes:
• UDPP & NYX JEP in Milk
• Illamasqua Precision Brow Gel in Stare
• Motives eyeshadows: Blizzard & Platinum (inner corner highlight), Dusk & Gunmetal (eyelid), Onyx (outer corner), Cappuccino (crease)
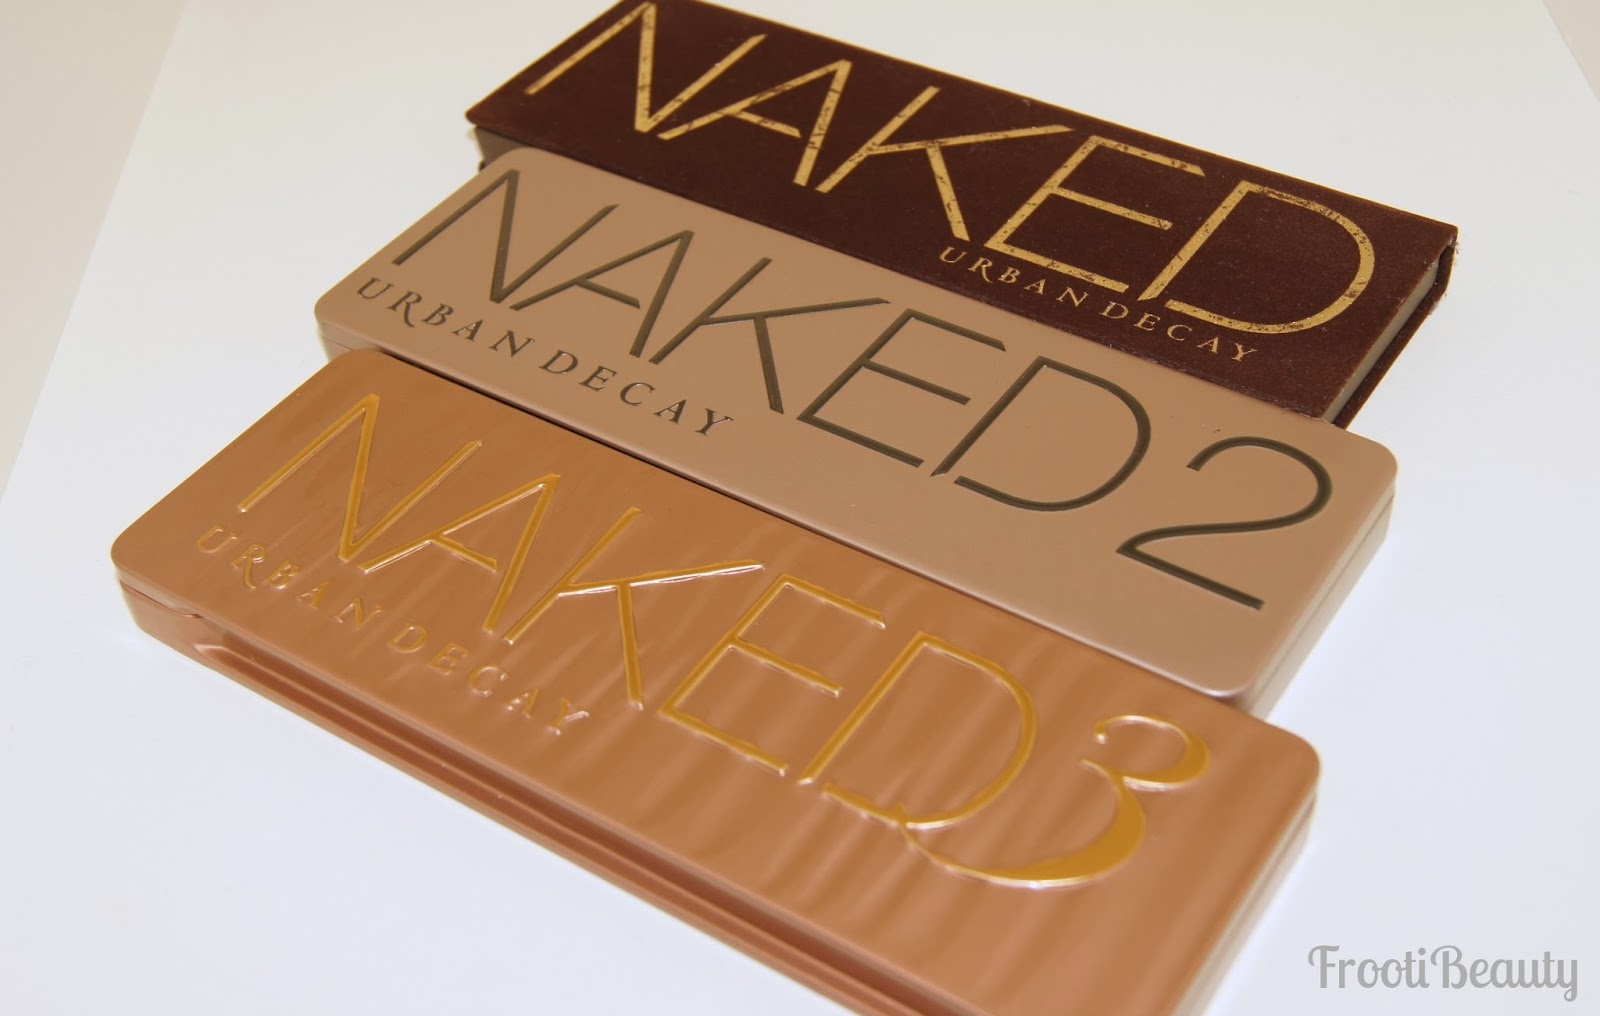
• Urban Decay Naked Basics Palette - Foxy, W.O.S & Naked 2 for blending and brow bone
• Urban Decay 24/7 eyeliner in Dime (lower waterline)
• NYC Liquid Eyeliner
• Estee Lauder Little Black Primer
• Ardell Lashes: Demi 120
• Lenses: Desio Lens in Forest Green
Face:
• NYX HD Foundation in Soft Beige
• House Of GlamDolls GlamBase Wheel for contouring and concealing under foundation, and "Illuminate" for highlighting on top
• Anastasia Beverly Hills Contour Kit - Fawn, Java, Havana for contour, Banana and Sand for highlight
• Motives Blush in Pretty In Pink
Lips:
• YSL Rouge Volupte lipstick in 9 Caress Pink


I seem to be loving pinks/pinky nudes on the lips lately, I'll try choose a different shade for the next look (or at least do variations in lip colours!).

Yet again I've managed to get a look done (I'm on a roll, I know).
I'm back to a smokey look, but this time with a cool toned Grey that's currently a "hot" colour right now, due to a certain movie (hence the post title and totally coincidental by the way).
Anyway, as per usual, I've listed the products below and as always, let me know what you think <3
Products used:
Eyes:
• UDPP & NYX JEP in Milk
• Illamasqua Precision Brow Gel in Stare
• Motives eyeshadows: Blizzard & Platinum (inner corner highlight), Dusk & Gunmetal (eyelid), Onyx (outer corner), Cappuccino (crease)
• Urban Decay Naked Basics Palette - Foxy, W.O.S & Naked 2 for blending and brow bone
• Urban Decay 24/7 eyeliner in Dime (lower waterline)
• NYC Liquid Eyeliner
• Estee Lauder Little Black Primer
• Ardell Lashes: Demi 120
• Lenses: Desio Lens in Forest Green
Face:
• NYX HD Foundation in Soft Beige
• House Of GlamDolls GlamBase Wheel for contouring and concealing under foundation, and "Illuminate" for highlighting on top
• Anastasia Beverly Hills Contour Kit - Fawn, Java, Havana for contour, Banana and Sand for highlight
• Motives Blush in Pretty In Pink
Lips:
• YSL Rouge Volupte lipstick in 9 Caress Pink
I seem to be loving pinks/pinky nudes on the lips lately, I'll try choose a different shade for the next look (or at least do variations in lip colours!).
Let me know what you'd like to see or if you have an outfit you'd like makeup inspiration for <3
Friday, 14 February 2014
Hello my lovelies!
Today's makeup look is a quick, simple but sultry look, perfect for Valentines day if you wanted to go for a bit more drama.
I paired it with the red themed Illamasqua I'm The One Valentines collection (just the lip pencil and lipstick) for extra va-va-voom.. hope you like!
Products used:
Eyes:
> UDPP & NYX JEP in Black Bean
> Smashbox Full Exposure palette - mattes in black, brown and skintone colours
> Illamasqua Pure Pigment in Furore
> Illamasqua Sculpting Powder Duo (Lumos)
> Illamasqua Eye Colouring Pencil - Vow
> Inglot AMC eyeliner gel - 77 (black)
Lips:
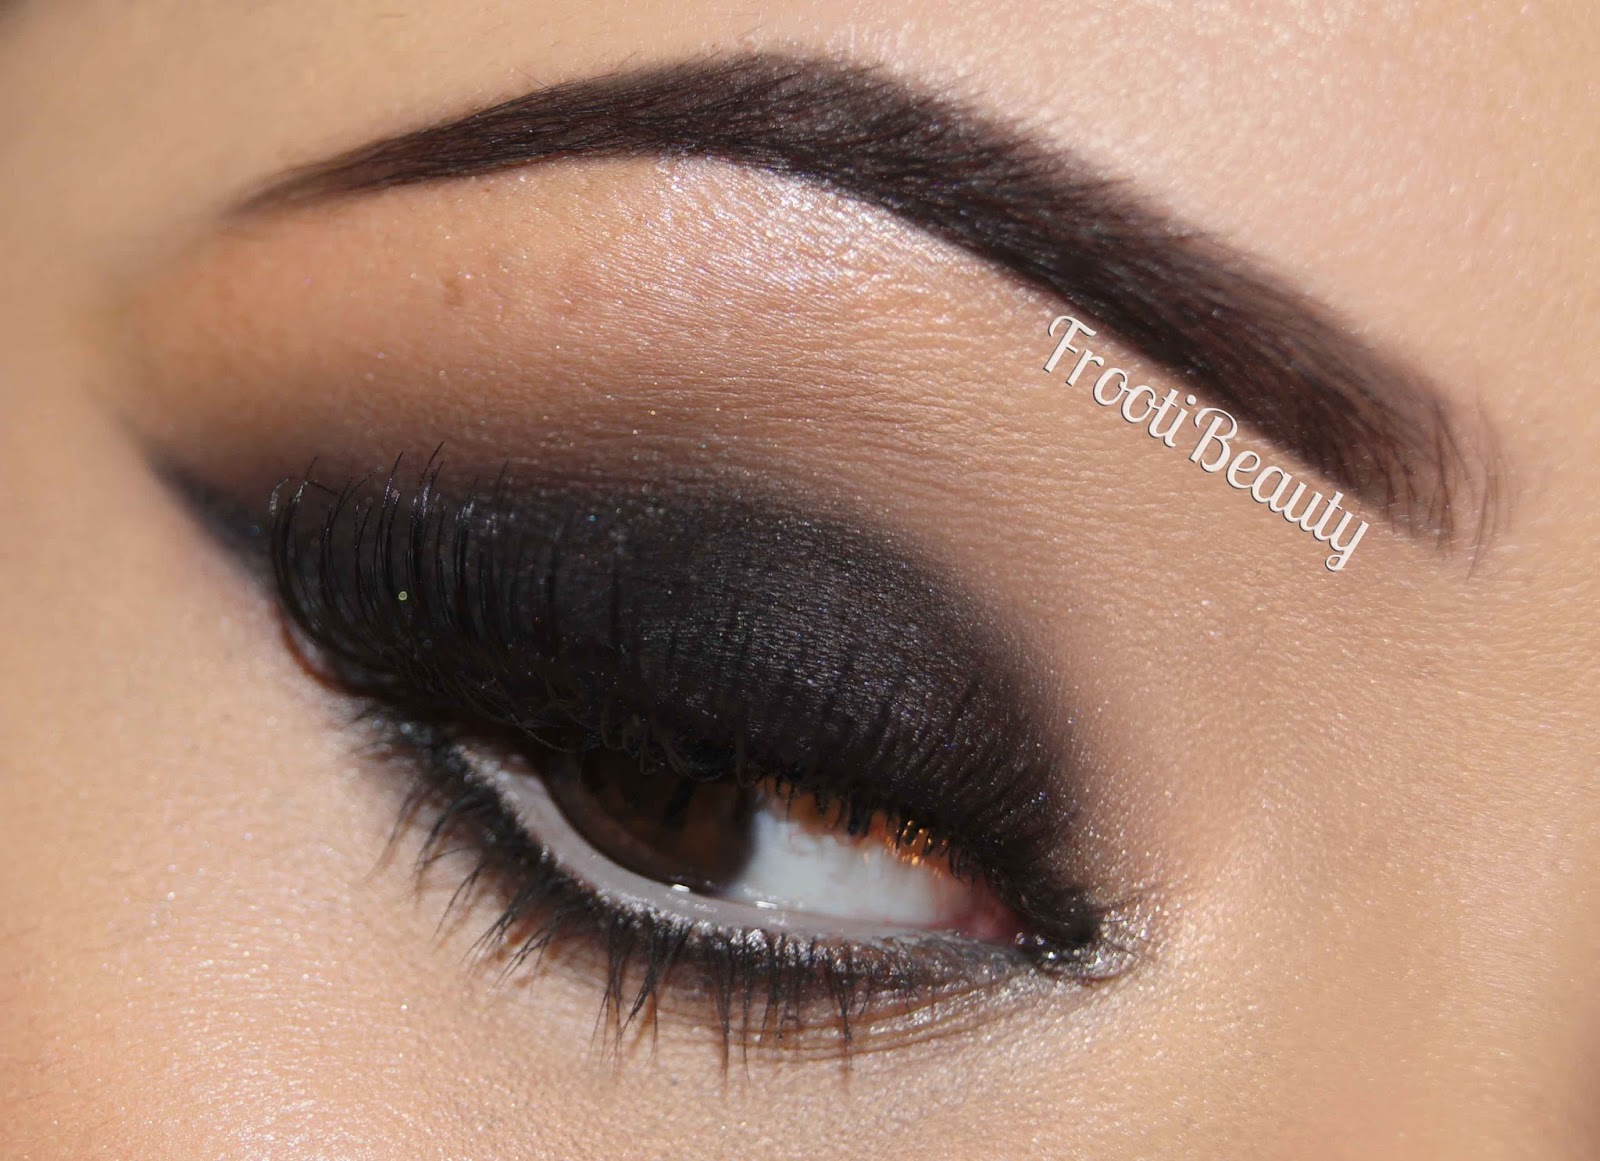
After applying UDPP, I lightly applied the NYX JEP in Black Bean only on the eyelid, as in the last makeup look pictorial (here). I blended the JEP and added the matte black eyeshadow from the Smashbox Full Exposure palette, winging out the shadow and slightly buffing upwards. I then added 2 of the matte brown shades from the bottom left of the palette to the crease, gently buffing upwards. With an angled liner brush, I added the same matte black eyeshadow to the bottom lower lashline, blending slightly downwards.
The matte skintone colours were used to blend out any harsh lines and finally Illamasqua Pigment in Furore was patted onto the inner corner of the eye and Lumos from the Sculpting Powder Duo to the brow bone.
I lined the eyes with Inglot AMC Gel liner in 77 and lined the bottom inner eye with Illamasqua Eye Colouring Pencil in Vow.
The brows were then filled with Anastasia Dip Brow Pomade in Ebony and the lashes were coated with mascara and then Eylure Kimberley lashes added on top to finish off the look:
 For the rest of the face, I used Illamasqua's Skin Base in SB10 all over, setting it with UD Naked Powder in Medium Dark; I then sculpted the cheek with the Blush Up brush and
the contour shade from Motives Sculpt and Shape Duo, followed by Illamasqua's Sculpting Powder Duo in Heliopolis and Lumos to highlight.
For the rest of the face, I used Illamasqua's Skin Base in SB10 all over, setting it with UD Naked Powder in Medium Dark; I then sculpted the cheek with the Blush Up brush and
the contour shade from Motives Sculpt and Shape Duo, followed by Illamasqua's Sculpting Powder Duo in Heliopolis and Lumos to highlight.
For the lips I first used Feisty lip pencil by with Maneater lipstick on top:
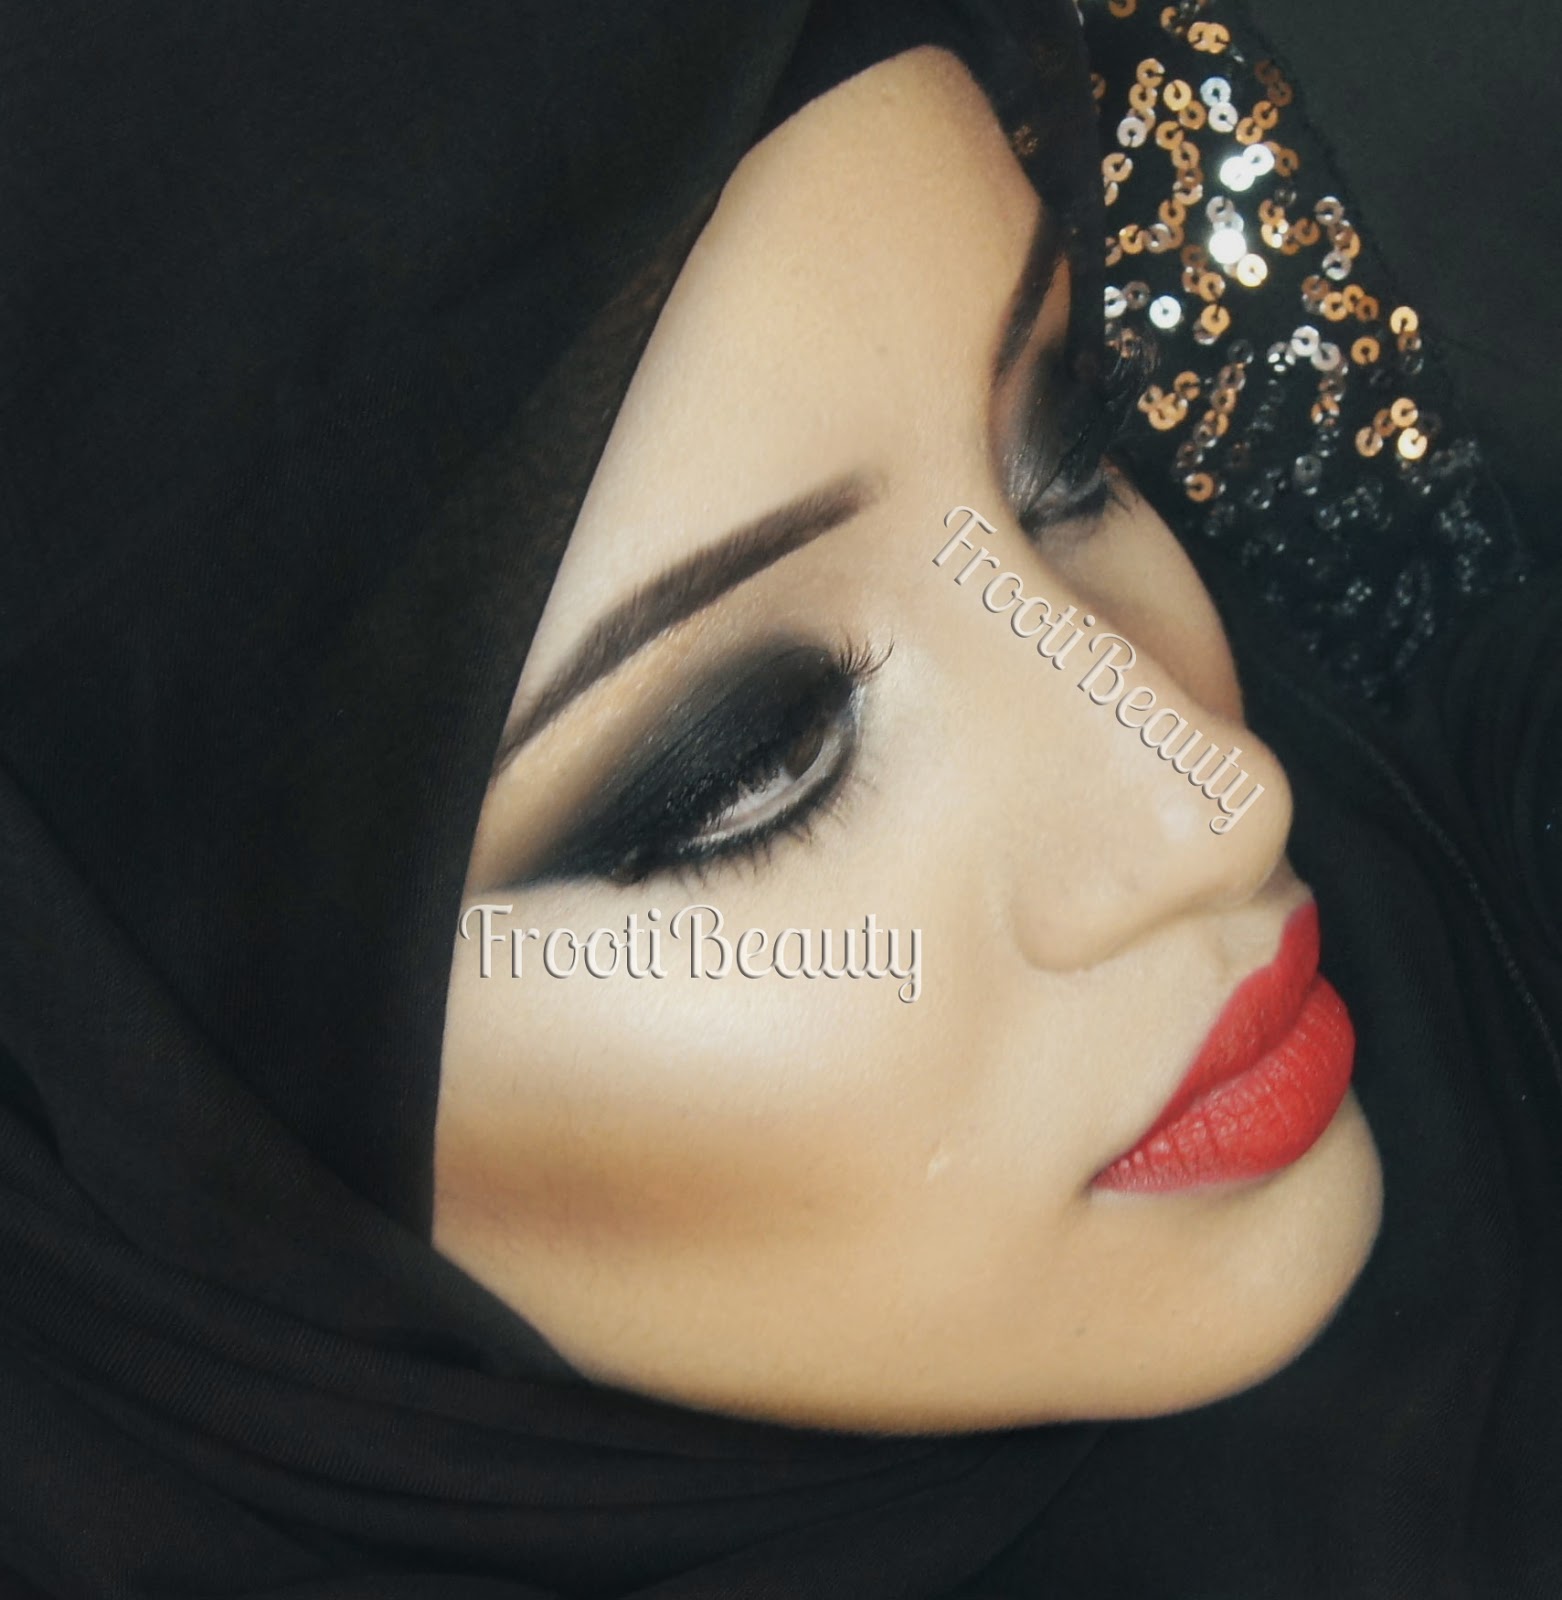
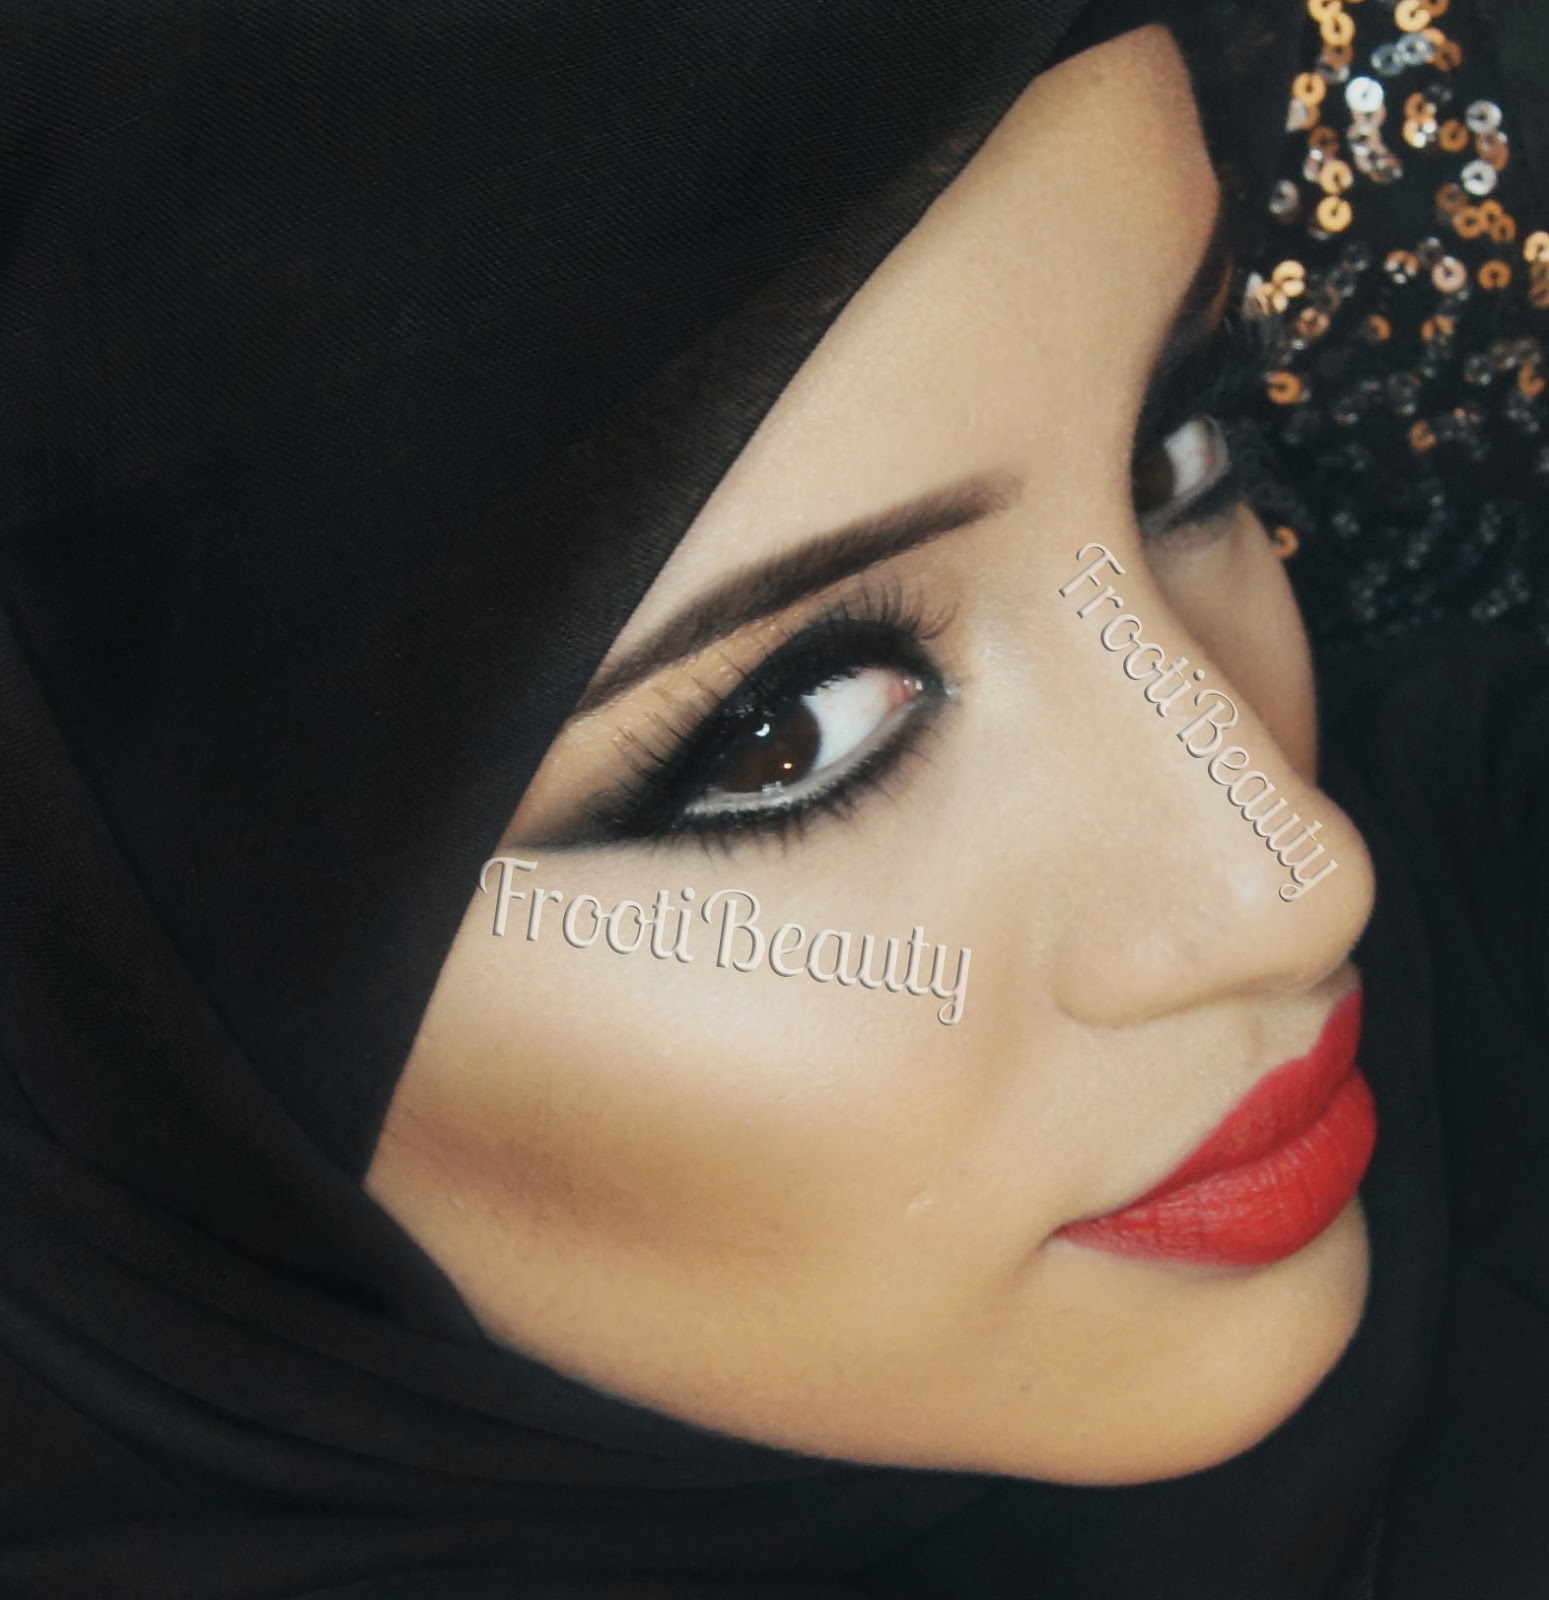 As you can see, although the technique is fairly simple, its definitely a stand-out/dramatic look; if you wanted to tone it down a bit, you could go for a nude lippie or gloss instead.
I hope you enjoyed this look, do let me know if you try it!

Today's makeup look is a quick, simple but sultry look, perfect for Valentines day if you wanted to go for a bit more drama.
I paired it with the red themed Illamasqua I'm The One Valentines collection (just the lip pencil and lipstick) for extra va-va-voom.. hope you like!
Products used:
Eyes:
> UDPP & NYX JEP in Black Bean
> Smashbox Full Exposure palette - mattes in black, brown and skintone colours
> Illamasqua Pure Pigment in Furore
> Illamasqua Sculpting Powder Duo (Lumos)
> Illamasqua Eye Colouring Pencil - Vow
> Inglot AMC eyeliner gel - 77 (black)
> Lancome Hypnose Star mascara
> Collection 2000 Lasting Perfection Concealer - Medium
> Eylure Girls Aloud lashes - Kimberley
> Anastasia Beverley Hills Dip Brow Pomade in Ebony
Face:
> Illamasqua Skinbase in SB10
> UD Naked Skin Ultra Definition Finishing powder - Medium Dark
> Motives Sculpt & Shape Duo
> Illamasqua Sculpting Powder Duo
> Illamasqua Lip Colouring Pencil - Feisty
> lllamasqua lipstick - Maneater
After applying UDPP, I lightly applied the NYX JEP in Black Bean only on the eyelid, as in the last makeup look pictorial (here). I blended the JEP and added the matte black eyeshadow from the Smashbox Full Exposure palette, winging out the shadow and slightly buffing upwards. I then added 2 of the matte brown shades from the bottom left of the palette to the crease, gently buffing upwards. With an angled liner brush, I added the same matte black eyeshadow to the bottom lower lashline, blending slightly downwards.
The matte skintone colours were used to blend out any harsh lines and finally Illamasqua Pigment in Furore was patted onto the inner corner of the eye and Lumos from the Sculpting Powder Duo to the brow bone.
I lined the eyes with Inglot AMC Gel liner in 77 and lined the bottom inner eye with Illamasqua Eye Colouring Pencil in Vow.
The brows were then filled with Anastasia Dip Brow Pomade in Ebony and the lashes were coated with mascara and then Eylure Kimberley lashes added on top to finish off the look:
For the lips I first used Feisty lip pencil by with Maneater lipstick on top:
I hope you enjoyed this look, do let me know if you try it!
10
comments
⋅
Labels:
EOTD,
FFF,
FOTD,
makeup looks,
red lips,
red lipstick,
romantic makeup,
smokey eyes,
smokey looks,
Valentines
Friday, 10 January 2014
[picture heavy post!]
Hello my lovelies! Hope you all had lovely holidays and had a nice break.
Mine was busy (of course) with makeup bookings for weddings, so unfortunately I haven't had time to review products or write full blog posts but I have gotten round to doing a makeup look for this week so I hope you enjoy!
Products used:
Eyes:
> UDPP - Eden
> NYX JEP - Black Bean
> Motives Pressed Eyeshadows in Cappuccino, Chocolight, Onyx and Whipped Cream
> Motives Photo Finish Powder in Neutral Medium
> Anastasia Beverly Hills Beauty Genius
> MAC pigment in Copper Sparkle
> UD 24/7 Shadow Pencil - Demolition
> Inglot AMC eyeliner gel - 77 (black)
> Daniel Sandler Jumbo Jet Mascara
> Motives Color Perfection Quad in Medium
> Motives Color Perfection Quad in Medium
> Anastasia Beverly Hills Dip Brow Pomade - Ebony
> Eylure Girls Aloud lashes - Kimberley
Face:
> Eylure Girls Aloud lashes - Kimberley
Face:
> Motives Color Perfection Quad in Medium
> Anastasia Beverly Hills Contour Kit - Fawn, Java, Havana for contour, Banana and Sand for highlight
> Anastasia Beverly Hills Contour Kit - Fawn, Java, Havana for contour, Banana and Sand for highlight
> Motives blush in So Peachy
Lips:
> Motives Lip Pencil in Naked> Motives Rich Formula Lipsticks in Natural and Red Coral
> Motives for La La Mineral Lipstick in Naughty
I started by filling in the brows with the my new favourite brow product: Anastasia Dip Brow Pomade in Ebony.
I then primed the eye with Eden PP and patting Whipped Cream eyeshadow to the brow bone with a flat brush.


I followed this wing from the bottom outer corner leaving a gap in between.
UD 24/7 eye pencil in Demolition was used to line the bottom waterline whilst a pointy brush was used to smoke out the bottom lash line winged liner with more Chocolight eyeshadow. You can add Onyx eyeshadow to the crease with a fluffy brush and Whipped Cream eyeshadow to the inner corner too to highlight if desired).
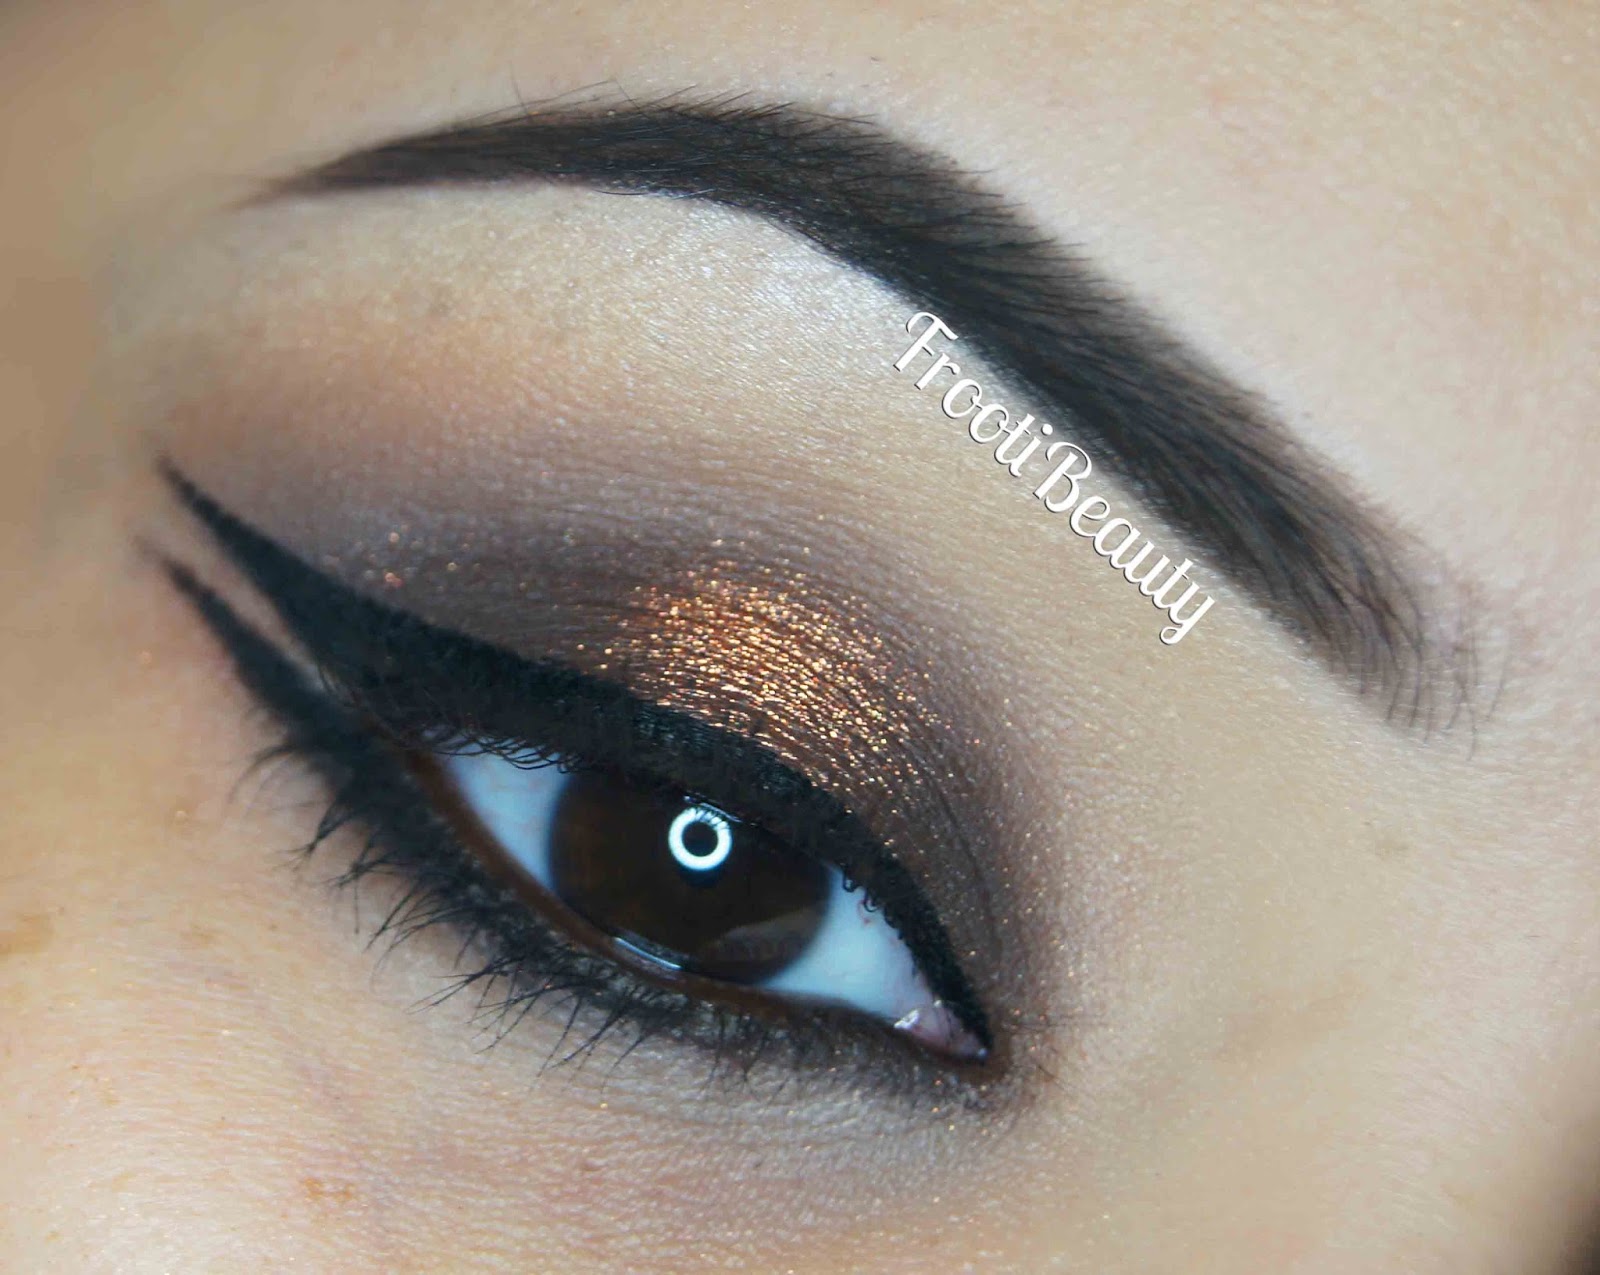
The under eye was concealed and mascara to coat top and bottom lashes.


Motives blush in So Peachy was used on the apples of the cheeks followed by the lip pencil in Naked with Rich Formula lipstick in Natural for the first lip combination:


 I then used Motives Rich Formula lipstick in Red Coral:

Would you wear this makeup look? Which lip colour do you prefer with the eye makeup?
Friday, 27 December 2013
This weeks FFF features a look using the MAC Nocturnals Black & Gold pigment set and a few Motives products.
I've recently bought a Ring Light attachment for my Sony Alpha 55 SLR camera so I thought I'd test it out with this look.. please bear with me as I'm playing with the settings to get the right colours/detail; unfortunately this batch of makeup looks' photos are grainier than usual as I had to use a higher ISO setting in the dark lighting condition I had despite using the ring light. If anyone wants to give me some help/tips on how to use the Ring Light in unnatural light (as my makeup looks are usually done at night), then please feel free to email me!
I've recently bought a Ring Light attachment for my Sony Alpha 55 SLR camera so I thought I'd test it out with this look.. please bear with me as I'm playing with the settings to get the right colours/detail; unfortunately this batch of makeup looks' photos are grainier than usual as I had to use a higher ISO setting in the dark lighting condition I had despite using the ring light. If anyone wants to give me some help/tips on how to use the Ring Light in unnatural light (as my makeup looks are usually done at night), then please feel free to email me!
8
comments
⋅
Labels:
EOTD,
FFF,
FOTD,
MAC,
makeup looks,
pigments,
smokey,
smokey eyes,
smokey looks
Friday, 13 September 2013
A few weeks back I experimented with a makeup look using the Urban Decay Smoked palette and Sleek Acid palette to create a smokey matte black and pink look with a hint of acid green in the inner corner.. this is how it turned out so I hope you like!
Products used:
Eyes:
> UDPP
> UD Smoked Palette - Blackout, Kinky, Freestyle
> Sleek Acid palette - Neon Pink, Purple, Neon Green, Orange, White and Silver-Grey
> UD Perversion 24/7 eye pencil

 For the
rest of the face I used Estee Lauder Invisible Fluid foundation in 3WN1 and contoured with Sleek Face Form in Medium, then highlighted the cheeks and used the bronzer of the Urban Decay Naked Flushed palette. I set the foundation around the T-zone with Ben Nye Banana Powder.
For the
rest of the face I used Estee Lauder Invisible Fluid foundation in 3WN1 and contoured with Sleek Face Form in Medium, then highlighted the cheeks and used the bronzer of the Urban Decay Naked Flushed palette. I set the foundation around the T-zone with Ben Nye Banana Powder.
 Fuller face picture:


Products used:
Eyes:
> UDPP
> UD Smoked Palette - Blackout, Kinky, Freestyle
> Sleek Acid palette - Neon Pink, Purple, Neon Green, Orange, White and Silver-Grey
> UD Perversion 24/7 eye pencil
> Rimmel ScandalEyes Waterproof Kohl liner - Nude
> ELF cream eyeliner in Brown
> Maybelline Falsies Black Drama mascara
> Khuraira ACC in Light
> UD 24/7 concealer in ATF
> NYC Black Liquid liner
> Ardell 120 Demi lashes
Face:
> Estee Lauder Invisible Fluid foundation 3WN1
> Sleek Face Form in Medium (matte brown shade only)
> UD Naked Flushed Palette
> Ben Nye Banana Powder
Lips:
> UD SSLC in Lovechild
I started by applying a thin layer of UDPP and patted on Blackout eyeshadow to the eyelid. I then applied the Purple (Acid palette) to the crease and the Neon Pink above this, followed by a little of the Orange above this too. Freestyle was used above the Orange and blended upwards. Kinky and a bit of the White was patted on the browbone and blended lightly.
I then patted the Neon Green on the inner corner of the eye with a little bit of the White and Silver-Grey.
NYC liquid eyeliner was used for the top liner and creating a flick at the outer corner of the eye, whilst UD Perversion was used to liner the upper inner eye. Rimmel ScandalEyes Nude Khol eyeliner was used to line the inner corner of the bottom lashline.
I then filled in the brows with ELF cream liner in Brown and an angled brush and then finished off the
eyes with Maybelline Falsies mascara and Ardell 120 eyelashes.
The under eyes were concealed with Khuraira ACC and set with Ben Nye Banana Powder.


The lips were filled in with UD SSLC in Lovechild:


Voila! Hope you enjoyed this look, do let me know if you have any requests!
Would you wear this fairly dramatic smokey makeup look?
6
comments
⋅
Labels:
colourful makeup,
EOTD,
FFF,
FOTD,
makeup looks,
Smoked palette,
smokey eyes,
smokey looks
Friday, 19 April 2013
Hi guys!
Ok so I managed to get round to posting this Arabic/Khaleeji style makeup look using some of my purchases from the UMAE show!
Products used:
Eyes:
> UDPP
> LA Colors Jumbo Eye Pencil - Sunglasses
> UD Naked 2 - Tease, Blackout
> UD Vice Palette - Blitz

 For the second look I used LimeCrime Velvetine in Red Velvet on the lips and added a bit of the gold side of Gypsy Red to the middle of the lips.
 And the two side by side:


Which look do you prefer? Would you try this look for an occasion?
Ok so I managed to get round to posting this Arabic/Khaleeji style makeup look using some of my purchases from the UMAE show!
Products used:
Eyes:
> UDPP
> LA Colors Jumbo Eye Pencil - Sunglasses
> UD Naked 2 - Tease, Blackout
> UD Vice Palette - Blitz
> Makeup Forever Flash Palette - Or/Gold 004
> La Femme "Bisque" eyeshadow (matte)
> Sleek Au Naturel eyeshadow palette - Bark
> UD Perversion 24/7 eye pencils
> Maybelline Falsies Black Drama mascara
> Khuraira ACC in Light
> UD 24/7 concealer in ATF
> Inglot AMC eyeliner gel - 77 (black)
Face:
> Makeup Forever HD foundation in N153
> Sleek Contour Kit in Medium (matte brown shade & highlight only)
> Ben Nye Banana Powder
Lips:
> NYX lip liner in Mauve
> Maxfactor Flipstick in Gypsy Red - gold side only
> LimeCrime Velvetine in Red Velvet
I started by applying a thin layer of UDPP and used my LA Colors in Sunglasses (matte black) on the eyelid only, blending upwards.
I then applied UD Blackout from the Naked 2 palette on top of the area where the LA Colors Sunglasses was applied (on the eyelid), and blended upwards with a blending brush. I then blended La Femme Bisque on the crease downwards into the Blackout and then Tease above the crease, upwards into Bisque.
MUFE Or/Gold 004 was then patted on to the inner corner of the eye and Blitz (Vice Palette) was patted on top of it and along the eyelid slightly (but not in the crease).
Inglot gel eyeliner was used to create a point at the inner corner of the eye and then to line the whole eye including the bottom line.
I then used the remaining gel liner on the brush to outline the brows and fill them in, also using Sleek Bark shadow and then finished off the eyes with Maybelline Falsies mascara.

 For the rest of the face I used MUFE HD foundation in N153 and contoured and highlighted the cheeks with Sleek Face Form in Medium, setting under the eyes and nose with Ben Nye Banana Powder.


The lips were filled in with NYX Mauve only at first to create the first look:


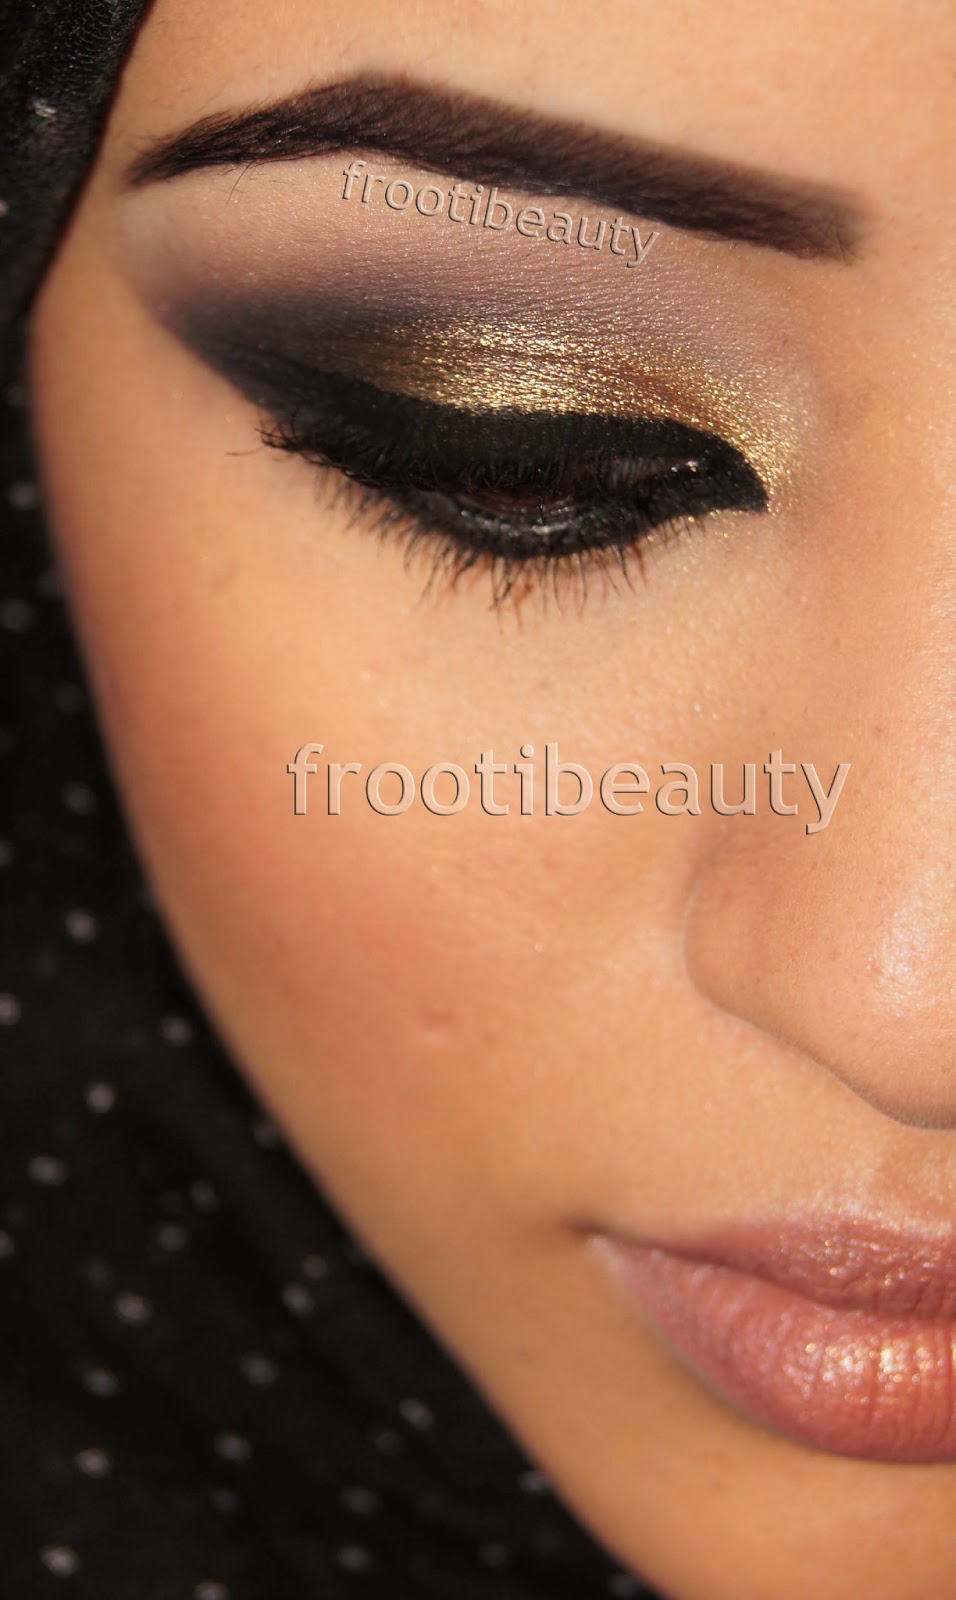

Which look do you prefer? Would you try this look for an occasion?
7
comments
⋅
Labels:
arabic makeup,
EOTD,
FFF,
FOTD,
gold,
LimeCrime,
makeup looks,
smokey eyes,
smokey looks
Saturday, 16 March 2013
Hello my lovely Frooti's and Frootettes!
I've finally managed to follow up with another video tutorial after my last debut in November-December (shocking, I know!). Not only that but I included 3 ways to contour, but did them all in one go for extra emphasis in this look.
I posted this look a couple weeks back on Instagram from my phone (I couldn't wait, obviously), so I've finally managed to edit the video and write up a blog post to go with it; go me!
Hope you enjoy this tutorial, thanks for the feedback from the last video, I've taken on board the comments and tried to make it better.
Products used:
Eyes:
> UDPP
Conceal under the eyes with Khuraira ACC in Light, then blend upwards cleaning up the eyeshadow line with the Real Techniques Pointed Foundation brush.
Fill in the brows with an angled brush and ELF cream eyeliner in black.
 For the rest of the face I then concealed with the UD ATF 24/7 concealer stick where needed, and used 3 different contour methods:
1) Add foundation 3-4 shades darker to the hollows of the cheeks. I used Graftobian HD Creme foundation in Midnight Marigold for my contours with the Real Techniques Pointed Foundation brush.
I then added Naked Skin foundation to the face with the UD Optical Blurring brush, but stippling/patting only around the contour area.
2) I then contoured lightly with the Real Techniques Contour brush and with Sleek's Face Form in Medium, using only the matte shade in the hollows of my cheeks again.
3) Another contour method which I have now adopted into my daily routine is simply using the Illamasqua Blush Up brush (review here). I stippled on the matte colour in the Face Form to the area needed and blended upwards with the brush and also with the RT Contour brush to blend even more.
I then added Illamasqua Lover blush to my cheeks with the UD blush brush and highlighted the top of my cheeks with the Face Form highlighter.
Finally I lined and filled the lips with UD Naked lip liner and added Illamasqua Immodest on top.


I've finally managed to follow up with another video tutorial after my last debut in November-December (shocking, I know!). Not only that but I included 3 ways to contour, but did them all in one go for extra emphasis in this look.
I posted this look a couple weeks back on Instagram from my phone (I couldn't wait, obviously), so I've finally managed to edit the video and write up a blog post to go with it; go me!
Hope you enjoy this tutorial, thanks for the feedback from the last video, I've taken on board the comments and tried to make it better.
Products used:
Eyes:
> UDPP
> Naked 2 palette - Blackout, Tease, Foxy
> Vice palette - Junkie
> UD Perversion & Junkie 24/7 eye pencils
> NYC black liquid liner
> Daniel Sandler Jumbo Jet mascara
> Khuraira ACC in Light
> ELF black cream eyeliner
Face:
> UD 24/7 concealer pencil in ATF
> UD Naked Skin in 7.0
> Illamasqua Blush Duo - Lover & Hussy (Lover only used)
> Sleek Contour Kit in Medium (matte brown shade & highlight only)
Lips:
> UD Naked lip liner
> Illamasqua Immodest lipstick
After priming the eye with UDPP, I added Blackout (Naked 2) to the whole lid with the brush included in the UD Vice palette (flat shadow brush), extending it slightly beyond the outer corner of the eye. Using the fluffier crease brush on the other side of the brush, I blended back and forth to soften the harsh lines.
Foxy was added to the brow bone with a blending brush and blended slightly down. I then added Tease with a Sigma E45 tapered blending brush to the crease and blended between Blackout and Foxy.
I then added Blackout with a shorter buffing brush by Crownbrush to the bottom lash line and lined the inner eye with UD Perversion eye pencil. You can add more black to the lid if you've blended too much at this point. Add Junkie eyeshadow to the lids only with a flat eye shadow brush, then add Junkie eye pencil to the lower lashline too.
Clean up under the eye with a makeup wipe, then add NYC black liquid liner to the top lash line. Curl the lashes and add Daniel Sandler Jumbo Jet Mascara.Foxy was added to the brow bone with a blending brush and blended slightly down. I then added Tease with a Sigma E45 tapered blending brush to the crease and blended between Blackout and Foxy.
I then added Blackout with a shorter buffing brush by Crownbrush to the bottom lash line and lined the inner eye with UD Perversion eye pencil. You can add more black to the lid if you've blended too much at this point. Add Junkie eyeshadow to the lids only with a flat eye shadow brush, then add Junkie eye pencil to the lower lashline too.
Conceal under the eyes with Khuraira ACC in Light, then blend upwards cleaning up the eyeshadow line with the Real Techniques Pointed Foundation brush.
Fill in the brows with an angled brush and ELF cream eyeliner in black.

1) Add foundation 3-4 shades darker to the hollows of the cheeks. I used Graftobian HD Creme foundation in Midnight Marigold for my contours with the Real Techniques Pointed Foundation brush.
I then added Naked Skin foundation to the face with the UD Optical Blurring brush, but stippling/patting only around the contour area.
2) I then contoured lightly with the Real Techniques Contour brush and with Sleek's Face Form in Medium, using only the matte shade in the hollows of my cheeks again.
3) Another contour method which I have now adopted into my daily routine is simply using the Illamasqua Blush Up brush (review here). I stippled on the matte colour in the Face Form to the area needed and blended upwards with the brush and also with the RT Contour brush to blend even more.
I then added Illamasqua Lover blush to my cheeks with the UD blush brush and highlighted the top of my cheeks with the Face Form highlighter.
Finally I lined and filled the lips with UD Naked lip liner and added Illamasqua Immodest on top.


The YouTube video can be found here and I've added it below too; let me know your thoughts/recommendations as ever, I'm still new to the whole video thing and get mildly stressed out by the whole editing process! I'd love to make them more frequently but to be honest I find blogging easier.
If you do recreate this look, I'd love to see it so please feel free to leave a comment below with your link or you can tweet me =)
17
comments
⋅
Labels:
contour,
EOTD,
FFF,
FOTD,
green eyeshadow,
makeup looks,
makeup tips,
naked palette,
naked palette looks,
Naked2,
smokey,
smokey eyes,
smokey looks,
vice palette
Subscribe to:
Posts (Atom)