Showing posts with label green eyeshadow. Show all posts

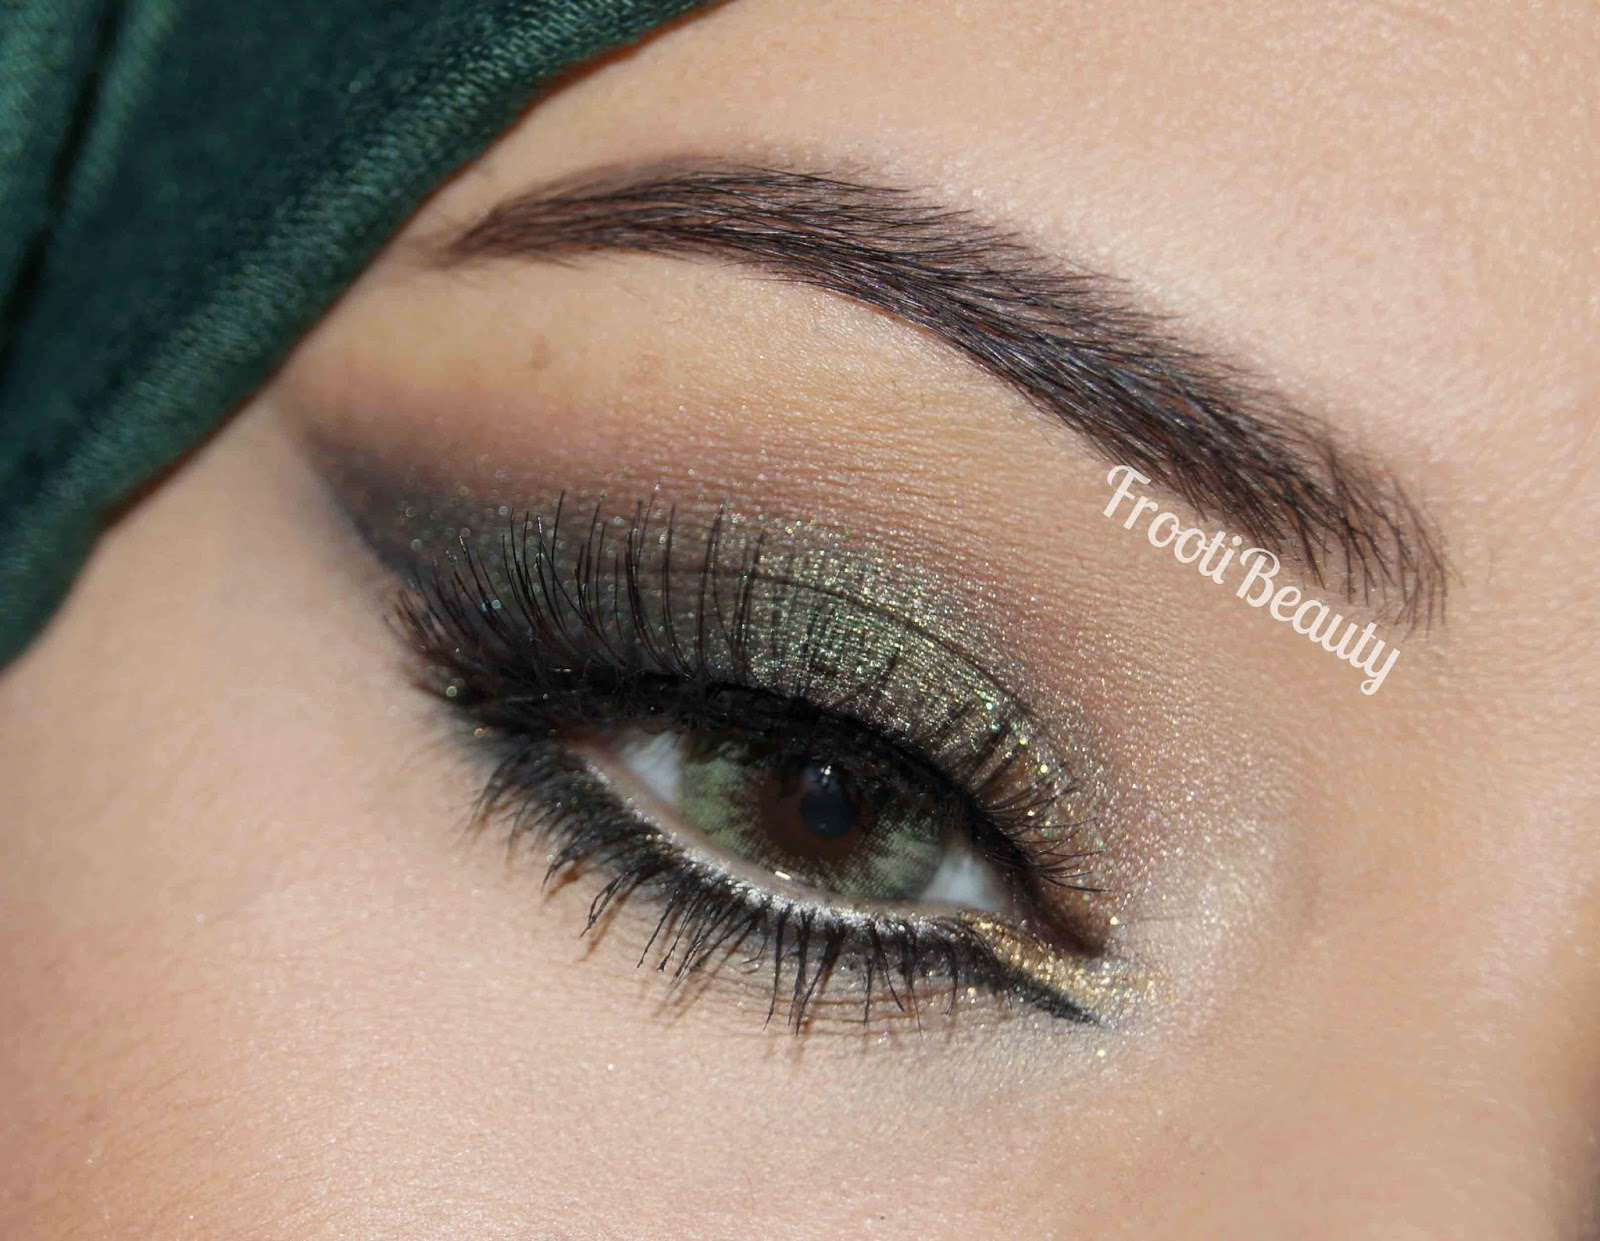
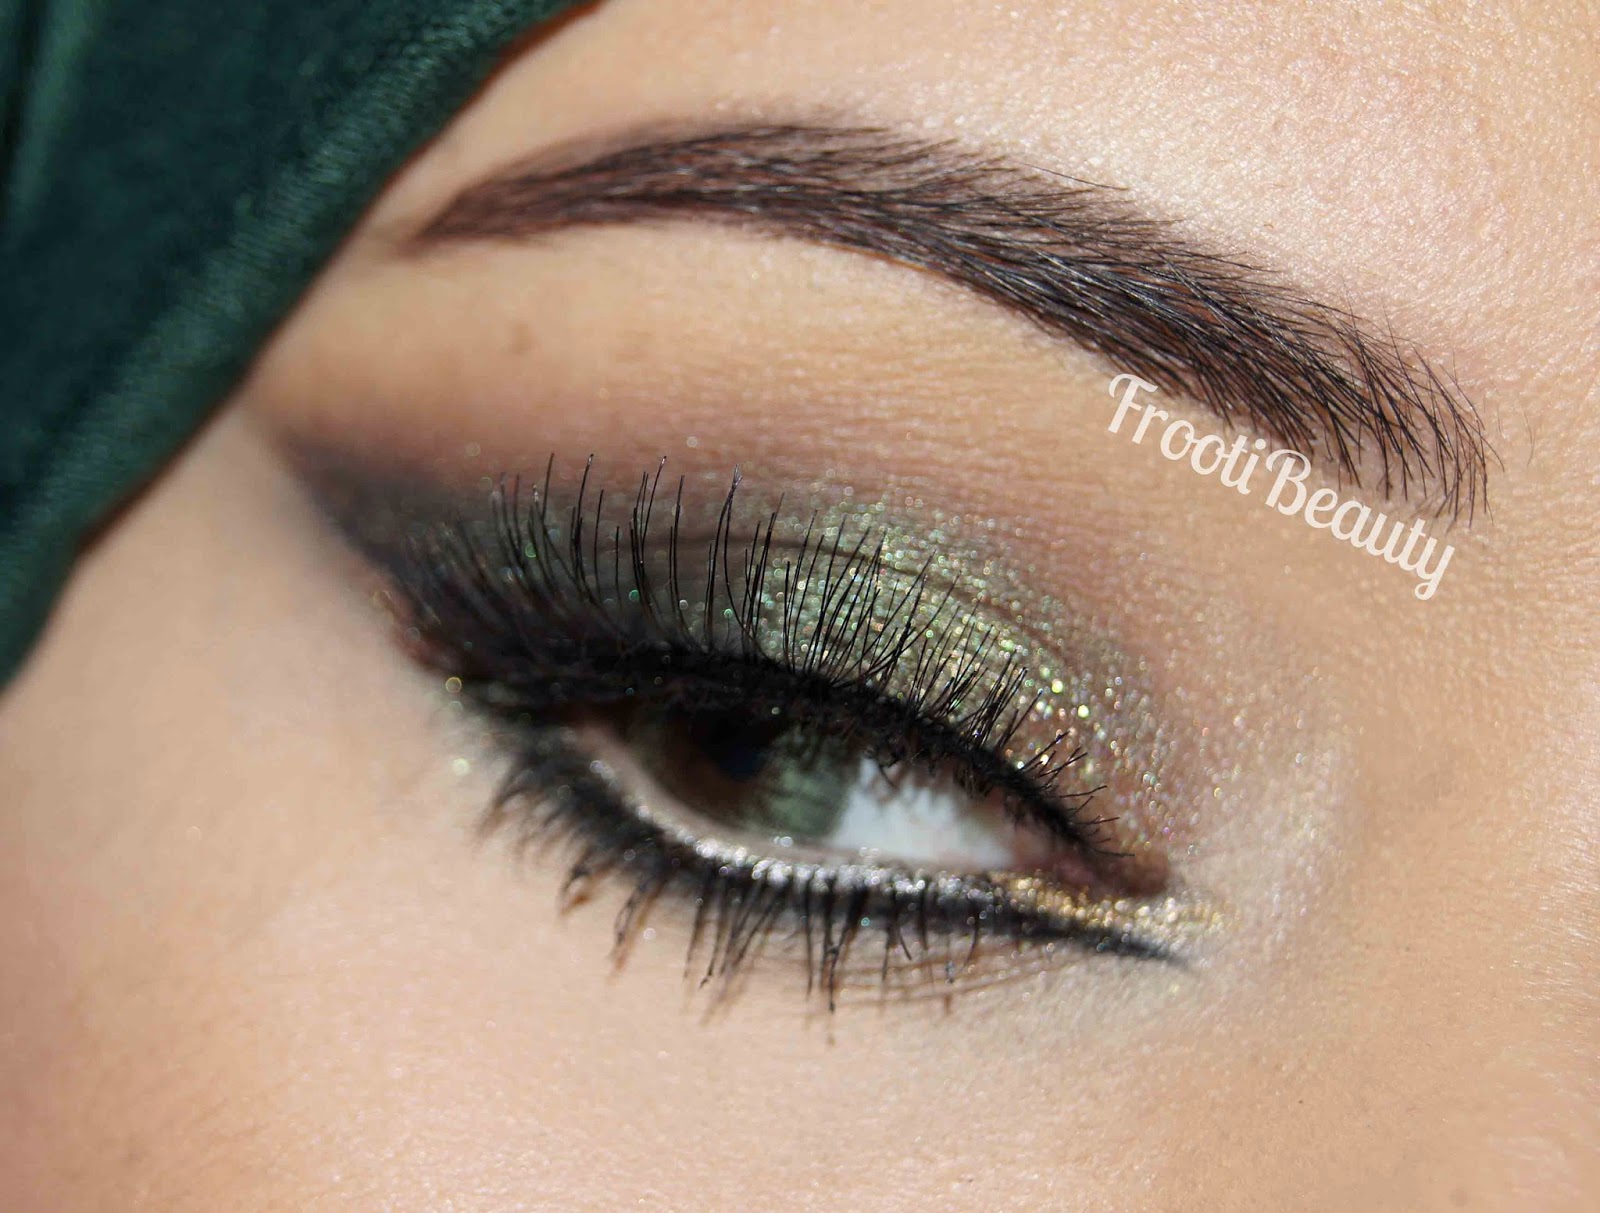
FFF: Dramatic Green Arabic Makeup Look - Collab with Shazia

Friday, 20 March 2015

I thought I'd restart my collaboration feature again seeing as I've been a bit more frequent with blog posts this year.
If you remember my collab with Sanna (Look A Million) in 2013, it involved choosing a theme/colour and leaving the artists to create whatever look they want with it.

This weeks theme is a green one and I collaborated with Shazia Haque to create a look with the colour.
I've listed the products I used below as usual; I decided to try two types of nude lip shades for this look and have added Shazia's pics after too.

Products used:
Eyes:
• UDPP & NYX JEP in Blackbean

Anastasia Beverly Hills Dipbrow Pomade - Ebony
• Motives eyeshadows: Creme Fresh (inner corner highlight), Green Apple (inner eyelid), Forbidden & Heavy Metal (eyelid), Onyx (outer corner), Cappuccino
(crease), Vanilla (brow bone)
• Urban Decay Distortion Heavy Metal Glitter eyeliner
• Urban Decay 24/7 eye pencil in Dime & El Dorado
• NYC Liquid Eyeliner
• Benefit They're Real mascara
• Motives lashes in 111
• Lenses: Desio Lens in Forest Green
Face:
• Motives Quad in Medium & Liquid Powder Mineral foundation in Vanilla Cream
House Of GlamDolls GlamBase Wheel for contouring and concealing under foundation
Anastasia Beverly Hills Contour Kit - Fawn, Java, Havana for contour, Banana and Sand for highlight
Motives Blush in Baby Doll
Lips: 
Motives for LaLa lipstick in Nice
Motives lipstick in Pink Sand

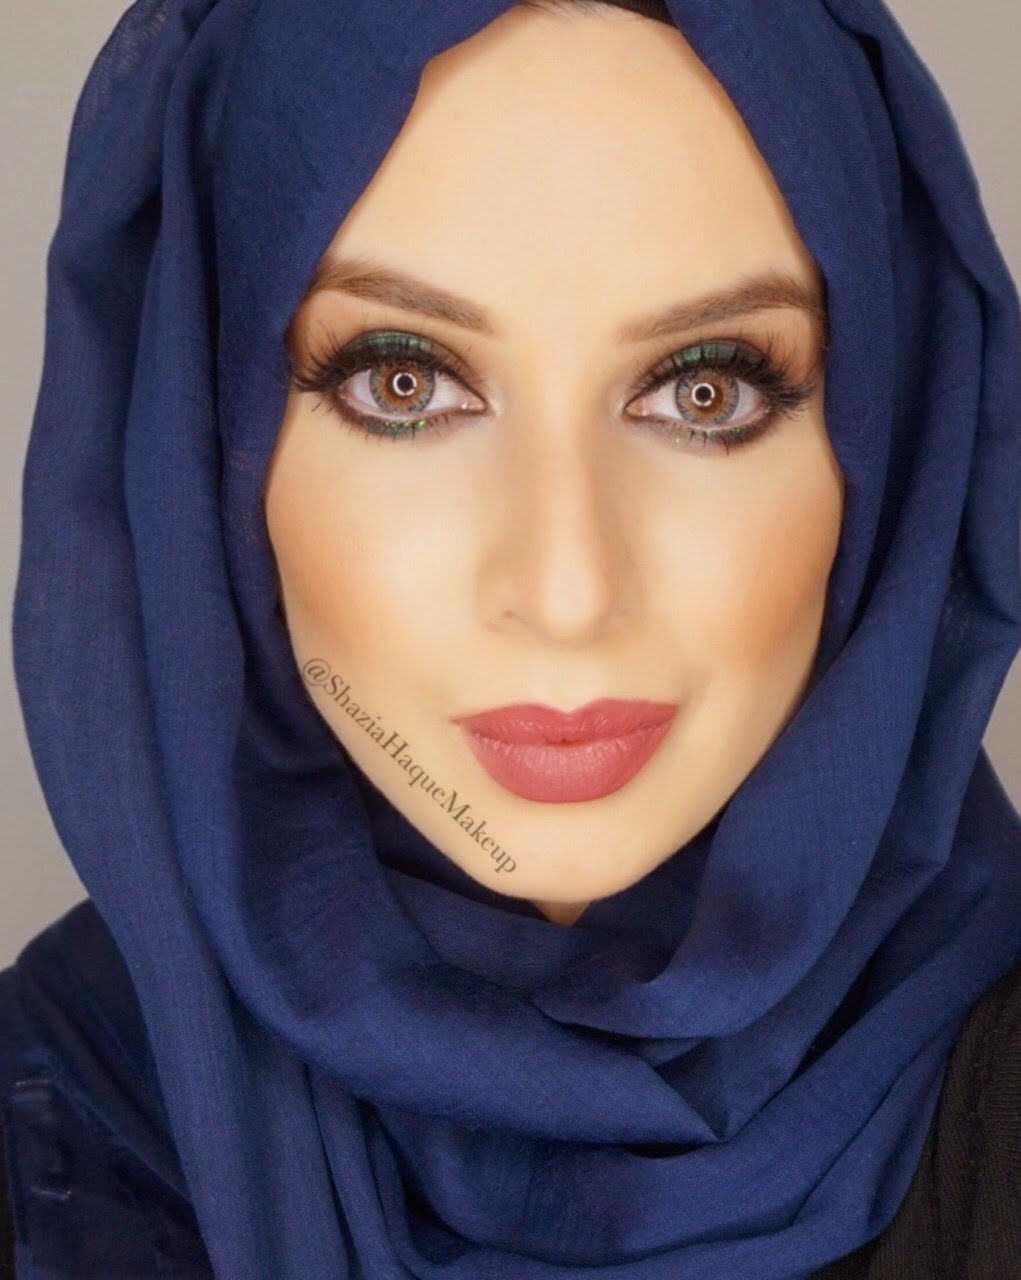
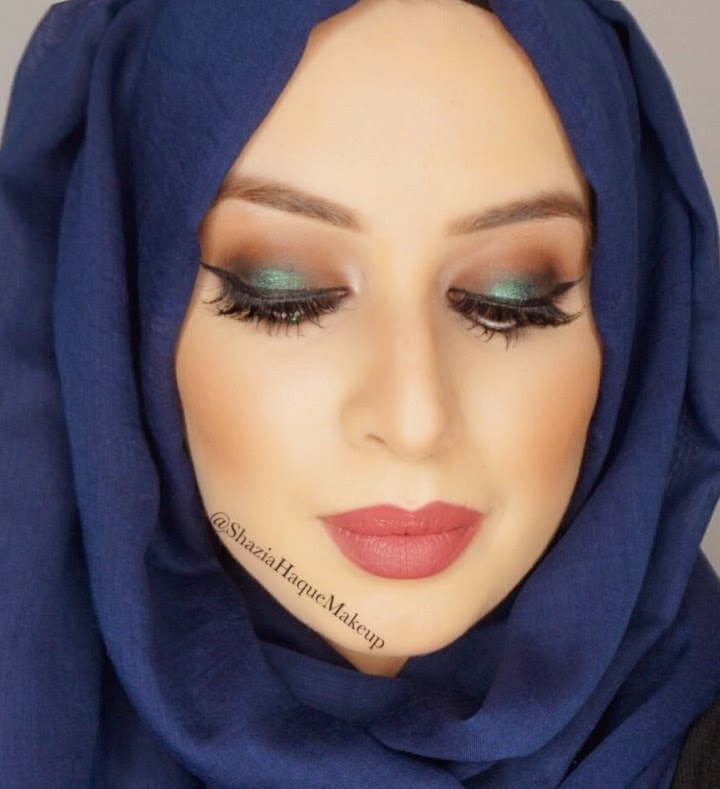
And here's Shazia's look using the green theme, how gorgeous is she (mA)??!:
I like how different our looks are; I went for a dramatic look to differ from my previous green makeup looks whilst Shazia went for a more subtle look which compliments her lip choice too.
You can find the products she used on her Instagram ShaziaHaqueMakeup, be sure to check out her stunning looks!

I'm hoping to keep up with the collab features as much as possible (baby permitting!), so do let me know if you're interested in joining by emailing me via contact@frootibeauty.me.uk

Hope you liked this weeks look, let me know your thoughts! 
                    post signature

FrootiMasterclass - Green Eyeshadow Look

Saturday, 23 November 2013

Last Saturday (16th November), I held my second masterclass, which involved recreating my Green Motives Party Makeup Look below:
I chose this look as it was fairly popular in my recent posts and I wanted to do a colour makeup look that people could try and get comfortable with as my last class was a neutral coloured look and colour is always something people could add when going out/matching outfits (you can read all about my first masterclass here).

The class was held in the lovely new St Pauls Community Centre near Mile End in London which was a lot larger than the salon I used last time and held 22 people comfortably, with a few of my lovely helpers dotted around.
#frootimasterclass signs up outside the room

the classroom empty and set up, before the students came in!
the pretty butterfly mirrors for everyone to see themselves in
I had the room set up in a kind of horse-shoe shape with extra chairs in the middle (in front of my demonstration table and chair) and behind me was two extra tables, one for food and one for the spare makeup I'd brought for those who didn't have everything I had put down on a list.
some of the spare makeup, brushes and disposables available
a lovely shot of the cupcakes I had made by the lovely Saleha for the class 

The Class

I split the class into 3 main parts that I always get asked about by clients and followers/readers: 
  • eye makeup
  • foundation and concealer
  • basic contouring 
The main part of any makeup look I do (whether on myself or on clients) is always concentrated on the eyes, therefore it made sense to spend more time on the eyes to perfect the blending technique and then concentrate on the main parts of foundation, concealer and contouring.

I started with the eyes on my model, using the same Motives eyeshadows I used in the blog post, and showed the class how I blend and highlight the browbone, using a range of brushes and how to use them.

me with my massive Motives palette!
applying the eyeshadow on model
I was going to go on and finish the eyes in one go but the class felt like they had a fair few steps to do already so I let them all go back to their seats to get started and dotted around to help where needed:
the lovely Annie from Epiphanniea.co.uk
Naheeda from LoveNaheeda/StreetPrincess
Yasmin doing her other eye superbly while I went around helping others

Not everyone felt comfortable with putting a colour as bright as green on their eyes, but I did encourage as many people to try the colour out before settling for a neutral as it's a great opportunity to do so in a class like this!
 
The girls then came back together to watch me finish the rest of the eye makeup; no makeup look is complete without eyeliner and mascara and of course the brows had to be filled in so I demonstrated this and let the class get on with this before we broke for a lunch break.
everyone getting their eyeliner on, whilst I went around helping here and there

students helping eachother out
After a well deserved lunch break, the girls came back we went straight onto concealer and then foundation.
Again, I went around the room as the students applied their foundations, and answered any concerning questions about their foundations and how to use them as everyone in the class had different types of foundations and concealers.
Finally, I hit the topic of contouring, highlighting and blush which is always requested by both followers and clients these days, so I taught my ways of contouring the cheeks and face, where it enhances the natural features without being too OTT.
the class listening avidly!
picture of me contouring by Sheenie of Just-Nice-Things
Sheenie, Ayshe and Annie getting their contour on!
I then left the girls to choose whichever lip colour they liked to go with their look; not everyone went with green eyeshadow but those who did had a choice of colours (as in my picture at the beginning of this post).

Some of the lovely students and bloggers who attended:
Sobia & Busola
Asmaa (Chocoholic Hijabi) & Naheeda (LoveNaheeda/StreetPrincess)
Sheenie (Just-Nice-Things) and Ayshe (Discovering Beauty)
Asma & Aliya
Aaliyah (PyariBeauty) who totally suited the green shadow best!
Annie (Epiphannie) & Sam (SamRam)


More pictures of the class and students can be found on my facebook page album: November 2013 Makeup #frootimasterclass


Of course my lovely students couldn't leave without their purple goodie bags which contained some makeup goodies from my favourite brands Motives, Urban Decay, Nanshy, Kiko, Ardell, to name a few!

I also managed to get a group pic with a few of the girls before we left (excuse the tired face, I was well and truly knackered by this point!):
I really loved teaching this wonderful group of girls; the way they adopted the eyeshadow techniques and made the look their own made me really proud and I would definitely love to do a few more in 2014 hopefully!

I really would like to say a big thanks to a few people for helping make this class happen too; MangoWhirl for being photographer, helper, timekeeper and more, as well as Loren Ridinger for Motives, Paula from Nanshy, Susannah (and Georgie) from Estee Lauder and of course the lovely girls who attended the class!

Of the bloggers who attended, Sheenie, Sam, Asmaa and Aaliyah reviewed my masterclass, do have a read over on their blogs to see what they thought and how they got on!

If you're interested in attending a masterclass in the near future, do contact me via email.

I'd love to hear your thoughts on this post and if you'd attend a masterclass like this!


FFF: Green Motives party makeup look

Friday, 27 September 2013

Hey my lovelies!

This weekend I'm off on holiday to Istanbul so I won't be able to post very frequently, but I thought I'd leave with a pretty green makeup look that could be worn to a wedding/party.
Everything except the eyeliner is by Motives cosmetics which are all listed below.

Products used:
Eyes:
> Eye Base

> Pressed eyeshadows in: Onyx, Green Apple, Forbidden, Whipped Cream, Cinnamon Spice, Cappuccino.

> Luminous Pressed Powder in Light/Medium
> Inglot AMC Gel Liner - 77
> Khol eyeliner in Black

> Lustrafy Waterproof mascara (black)  
> Creme Concealer - Amber
> False Eye Lashes - 110
Face: 
> Perfecting Face Primer
> Color Perfection Quad for Lala - Medium
> Photo Finish Powder - Neutral Medium
> Pressed Blush - Lust
> Shape & Sculpt Duo
Lips:
> Lip Crayon in Naked
> Rich Formula lipstick - Natural & Red Coral
> Motives for La La Mineral Lipstick in Times Square & Naughty


I started by applying the Eye Base all over the eyes, then highlighted the brow bone with Whipped Cream shadow. I then patted on Green Apple on the inner eye and Forbidden further along the lid, finishing with Onyx and Cappuccino at the outer V/corner of the eye. I blended a bit of Cinnamon Spice upwards from the crease, followed by a bit more Onyx in the crease/outer corner. I used the Luminous Pressed powder in Light/Medium above the highlight and to blend in between Cinnamon Spice and Whipped Cream on the browbone.
I lined the top lid with Inglot AMC gel liner in 77 and Onyx Khol eye pencil for the waterline. Using a wet detailer brush, I added Forbidden eyeshadow to the lower lashline too.
I then filled in the brows with what remained on the brush from the AMC gel liner and shaded slightly with Cappuccino. I finished off the eyes by concealing under the eyes and coating the lashes with the Lustrafy Waterproof mascara. I then applied Motives false eyelashes in 110:
For the rest of the face I used the Cream Foundation Color Perfection Quad by Lala in Medium all over the face and set it with the Photo Finish Powder in Neutral Medium. I contoured the cheeks with the Shape & Sculpt Duo (still love and use everyday!) as it highlighted and contoured my skin beautifully. I then added a bit of Lust blush to the apples of the cheeks.

The lips were first filled in with Lip Crayon in Naked, then the Rich Formula lipstick in Natural Lipstick was added on top:
I then used a series of different lip colours to give an idea of what would suit best for an outfit and tried a few variations, starting with Rich Formula lipstick in Red Coral (bright coral red):
Then I tried the Motives for Lala Mineral lipstick in Times Square (bright pink):
And finally a more deeper berry red, Motives for Lala Mineral lipstick in Naughty:
I thought the nude look complimented the darker green eyes best, particularly if you wanted focus to be on the eyes, but also quite liked the deep berry colour (Naughty) for a more Autumnal/Winter look. I do pair green eyeshadow looks with coral or pink lips sometimes but I think this time around I liked the nude and berry lips for a change!
Here's the colours side by side(ish), to get a better idea:
Which lip colour did you prefer with the green eyeshadow look?


FFF: Smokey Green makeup look, YT tutorial + 3 contour techniques too!

Saturday, 16 March 2013

Hello my lovely Frooti's and Frootettes!

I've finally managed to follow up with another video tutorial after my last debut in November-December (shocking, I know!). Not only that but I included 3 ways to contour, but did them all in one go for extra emphasis in this look.

I posted this look a couple weeks back on Instagram from my phone (I couldn't wait, obviously), so I've finally managed to edit the video and write up a blog post to go with it; go me!

Hope you enjoy this tutorial, thanks for the feedback from the last video, I've taken on board the comments and tried to make it better.

Products used:
Eyes: 
> UDPP
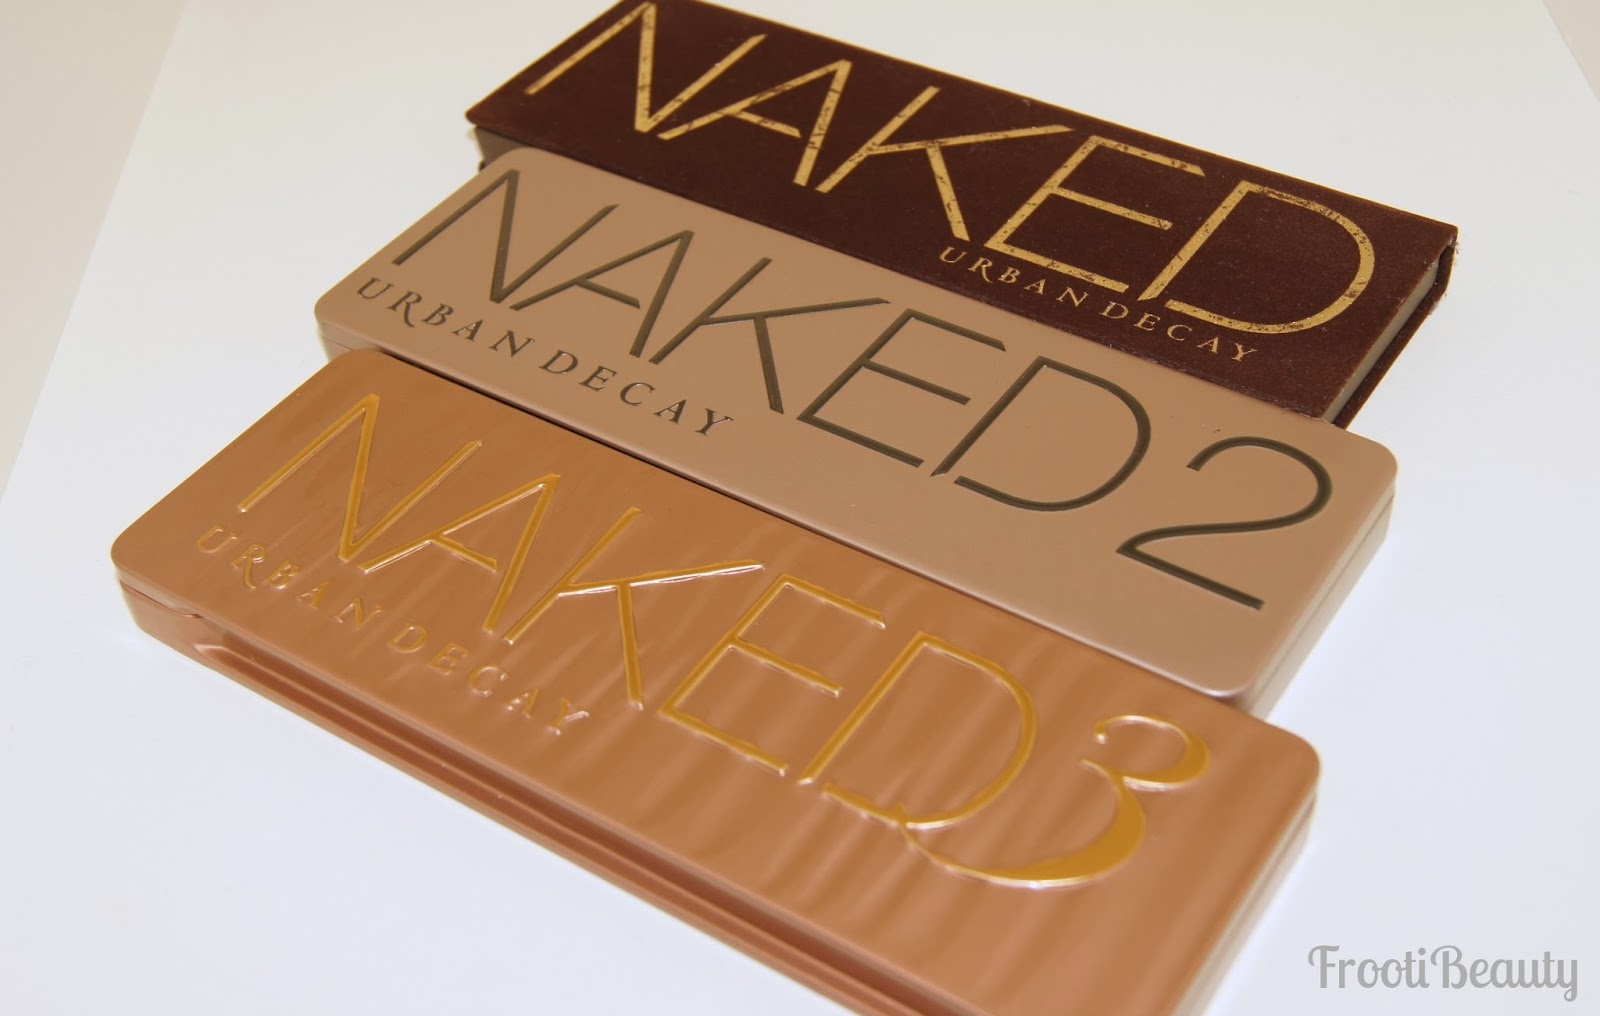
> Naked 2 palette - Blackout, Tease, Foxy
> Vice palette - Junkie
> UD Perversion & Junkie 24/7 eye pencils
> NYC black liquid liner
> Daniel Sandler Jumbo Jet mascara
> Khuraira ACC in Light  
> ELF black cream eyeliner
Face: 
> UD 24/7 concealer pencil in ATF
> UD Naked Skin in 7.0
> Illamasqua Blush Duo - Lover & Hussy (Lover only used)
> Sleek Contour Kit in Medium (matte brown shade & highlight only)
Lips:
> UD Naked lip liner
> Illamasqua Immodest lipstick

After priming the eye with UDPP, I added Blackout (Naked 2) to the whole lid with the brush included in the UD Vice palette (flat shadow brush), extending it slightly beyond the outer corner of the eye. Using the fluffier crease brush on the other side of the brush, I blended back and forth to soften the harsh lines.
Foxy was added to the brow bone with a blending brush and blended slightly down. I then added Tease with a Sigma E45 tapered blending brush to the crease and blended between Blackout and Foxy.
I then added Blackout with a shorter buffing brush by Crownbrush to the bottom lash line and lined the inner eye with UD Perversion eye pencil. You can add more black to the lid if you've blended too much at this point. Add Junkie eyeshadow to the lids only with a flat eye shadow brush, then add Junkie eye pencil to the lower lashline too.
Clean up under the eye with a makeup wipe, then add NYC black liquid liner to the top lash line. Curl the lashes and add Daniel Sandler Jumbo Jet Mascara.
Conceal under the eyes with Khuraira ACC in Light, then blend upwards cleaning up the eyeshadow line with the Real Techniques Pointed Foundation brush.
Fill in the brows with an angled brush and ELF cream eyeliner in black.
For the rest of the face I then concealed with the UD ATF 24/7 concealer stick where needed, and used 3 different contour methods:
1) Add foundation 3-4 shades darker to the hollows of the cheeks. I used Graftobian HD Creme foundation in Midnight Marigold for my contours with the Real Techniques Pointed Foundation brush.
I then added Naked Skin foundation to the face with the UD Optical Blurring brush, but stippling/patting only around the contour area.
2) I then contoured lightly with the Real Techniques Contour brush and with Sleek's Face Form in Medium, using only the matte shade in the hollows of my cheeks again.
3) Another contour method which I have now adopted into my daily routine is simply using the Illamasqua Blush Up brush (review here). I stippled on the matte colour in the Face Form to the area needed and blended upwards with the brush and also with the RT Contour brush to blend even more.

I then added Illamasqua Lover blush to my cheeks with the UD blush brush and highlighted the top of my cheeks with the Face Form highlighter.
Finally I lined and filled the lips with UD Naked lip liner and added Illamasqua Immodest on top.
The YouTube video can be found here and I've added it below too; let me know your thoughts/recommendations as ever, I'm still new to the whole video thing and get mildly stressed out by the whole editing process! I'd love to make them more frequently but to be honest I find blogging easier.


If you do recreate this look, I'd love to see it so please feel free to leave a comment below with your link or you can tweet me =)


template design by Studio Mommy (© copyright 2015)