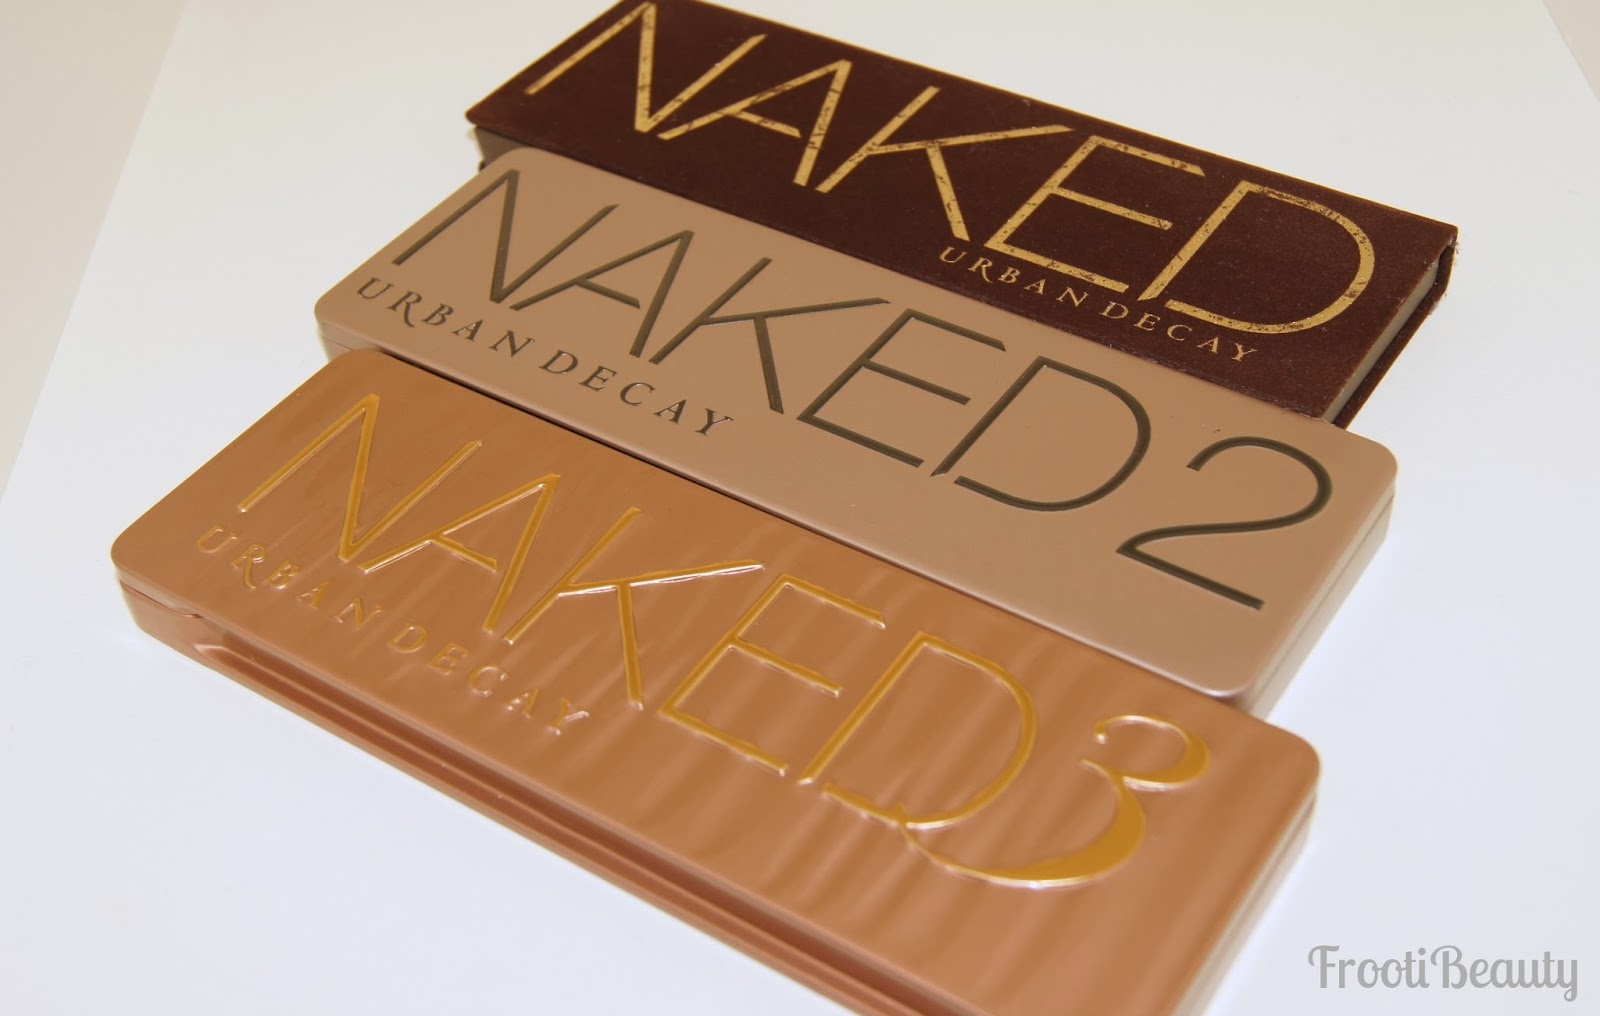
FFF: Blue Smokey look

Friday 30 November 2012

Hey guys!
I know it's been a while but I've finally had some time to sit down and do a makeup tutorial before I go on holiday on the 8th of December; and not only that I filmed it too *gasp*
I thought I'd try it out but in all honesty it seems sooo long to: get the stuff together in one place, get decent lighting, film it properly (and talk coherently), edit it, then save it, then upload it to YouTube... Hats off to you YouTube tutorial bloggers, I seriously don't know how you do it! 

Anyway, I chose to do this look as the Urban Decay Vice Palette was recently released and a few people were asking me how I'd use the bright blue colour (Chaos). So I thought I'd do a blue smokey look with this colour and see how it goes.. hope you like!


Products used:
Eyes:
> UDPP
> NYX JEP in Milk
> UD Vice Palette: Chaos, Laced, Provocateur
> UD Naked Palette: Naked
> UD single eyeshadow: Goddess
> NYC black liquid liner 
> UD 24/7 eyeliner pencils in Perversion & LSD
> UD Heavy Metal glitter liner in Spandex
> MAC Splashproof mascara
> Daniel Sandler Jumbo Jet mascara
> Khuraira ACC in Light
Face:
> UD Surreal Skin Cream to Powder foundation - Supernova
> UD Razorsharp powder
> UD Toasted Bronzer
> Kiko Warm Tangerine Glow blush palette
> Elf cream liner in black (eyebrows)  
Lips:
> Sabaya lip pencil in 08 (pink) [from Dubai]
> MAC lipstick in Watch Me Simmer

After priming the eye with UDPP & NYX JEP in Milk I applied Chaos to the eyelid, followed by Goddess in the outer corner/crease, blending upwards slightly and into the inner corner of the eye. Naked was used just slightly above this, followed by Laced on the inner corner, but above Chaos. I used Provocateur on the brow bone, blending down into Naked and also used on the inner corner of the eye.
UD 24/7 Perversion eye pencil was used to line the inner eye, whilst NYC liquid liner was used for the top liner. LSD was used on the lower lashline too, connecting with the black liquid liner. To finish off the eye I used MAC Splashproof mascara and Daniel Sandler mascara for more dramatic lashes, then UD Heavy Metal eyeliner in Spandex underneath the liquid liner flick on the outer corner.
I filled in the brows with Elf cream liner in black (lightly!) and concealed under the eyes to finish:
I used UD Cream to Powder foundation in Supernova, then the Razorsharp powder and Toasted bronzer in the hollows of the cheeks; I then used a warm coral/tangerine colour on the cheeks and a highlighter from the Kiko Warm Tangerine glow palette. On the lips I used Sabaya lip pencil in 08 and MAC Watch Me Simmer lipstick:
And there you have it! 

I've also done a video tutorial on this makeup look (eek!!), it's my first video so there's a lot of umm-ing and ahh-ing and I'm totally not used to being and seeing myself on camera so I don't know if it's good enough! The lighting is awful coz it's just grey these days and there's barely any time to do tutorials in daylight hours; I did try to make it as short as possible too, hope you like it and find it easy to follow anyway!


What's your favourite colour from the Vice palette? Would you wear this look?


Recent shoots - portfolio update

Wednesday 14 November 2012

Hello my lovely followers!

As you may have noticed I've been a bit slack in the blogging department and if you follow me on Instagram you'll know why; I've been busy with a bunch of photoshoots and clients as well as working the odd day here and there in retail.. so it left me barely any time to blog but whilst I've got a bit of time I thought I'd post some pictures from the shoots I've been doing for my portfolio.

I've wanted to expand my portfolio for a while now and do more "natural" and fashion type shoots as I haven't done many, especially ones that have left me happy enough to use anyway. The shoots I've done lately however, have been with amazing photographers and models so it's really helped the cause!

Shoot 1: Winter shoot with Harper & Eye
This shoot involved two models (Laura and Alicia) who happened to have similar coloured red hair (unplanned). It worked out well as we could take some "twin/sister" like shots with fur coats and other wintery pieces supplied by vintage clothing collector Demelza of Harper & Eye. Photographer: Femi.
[click on the pictures to enlarge] 
Shoot 2: London shoot with Canadian photographer
This shoot involved a Canadian photographer Darren who was down in London, stylish Pash and highly experienced model Kasia; Pash used high fashion and vintage labels, styled for street fashion photography. Locations included Regent Street, Trafalgar Square, Camden Lock and Carnaby Street.
Shoot 3: Portfolio shoot for model Nicole
This was a very quick fashion/H&M type shoot to update model Nicole's portfolio and involved shooting around the business end of London; Monument and Bank. The makeup was as natural as possible, which is great for my portfolio too as most of the makeup is dramatic/colourful.
The photographer Dan was very efficient and managed to get some great closeup shots that looked like they had been shot in a studio; impressive!
I do have another two more shoots' pictures to come, so I'll be posting them as soon as poss!

I have to say I've enjoyed doing these fashion shoots and plan to do some more as they're a lot more easier than my regular makeup jobs (i.e. Asian clients for weddings!); it involves more natural/less "structured" makeup and I love that anything goes.
Having said that, there's something about "structured" and "pretty" makeup that makes me love the transformations I do on a regular basis, so I won't be giving that up ever I don't think!

I hope to get some of the looks I've done on some brides and bridesmaids lately very soon on the blog, so keep an eye out for those.

Hope you've liked these pictures as much as I do, and that they have inspired you as they did so with me <3


Make Believe winner!

Monday 12 November 2012

The results are in and the winner has been chosen for the Make Believe giveaway!

The winner is:


Congratulations Ayesha, I'll be contacting you to post your winnings!

Thank you to everyone who entered, please do continue to enter competitions I run in the future for your chance to win =)

I'll be blogging about the final tanning products very soon, so keep tuned for the reviews!


Argan+ Precious Oil Elixir review

Wednesday 7 November 2012

Since Argan oil has burst onto the beauty scene, I've seen and heard many raving reviews claiming it to be a miracle product, particularly for hair.

When I received an email showing a new range of products with Argan oil as the main ingredient, I thought I'd give it a go and see what all the fuss is about.
The range of Argan+ products is predominantly for the body/skin as opposed to hair, with products including a body polish (scrub), body butter, body oils and sculpting serum.
I decided to go for an all rounder from the Argan+ range, the Precious Oil Elixir which can be used all over the body from hair to nails. The logo encompasses an "A" with the number "5" within it as it contains 4 other African oils too: Baobab, Kukui, Moringa and Sachi Inci oils. These oils provide skin and hair with intense nourishment.
This elixir oil can also be used in hair as a treatment before washing, to condition dry/dehydrated skin, hair and nails; stretch marks and also on the face with moisturiser.

Review
Packaging: The bottle is cute and dinky but feels like a quality product. I do have qualms with the dispensing part of the bottle; as it has a tiny hole it's hard to get a fair amount of the product out; obviously it's a rich product so you wouldn't want too much out in one go, but this dispenser barely gets any product out (unless you tap it like the old school ketchup bottles!)
Texture/Feel: The oil feels nice and smooth straight away and leaves skin feeling beautifully soft and supple (I found myself touching my face a lot after mixing a bit with moisturiser!)
Scent: The scent is a lovely rich/exotic smell, it reminds me of Tom Ford Black Orchid for some reason! Overall I quite like the smell.
Price: This product will be selling at £12.99 for 50ml; this may seem like a lot for such a small amount but as you only need a small amount because of it's richness, so it should last a fairly long time.
Overall FrootiFactor: I would give this oil a 5 out of 5 however I do find the nozzle/dispensing method a bit tedious so I'll have to give it a 4.5!

I've been using this oil for a few weeks now and in the last couple days I haven't used it at all to see if I've noticed a difference.
I have to say where I'd mix it with my body lotion before I had lovely soft supple skin and just in the last couple days where I haven't used it I've noticed a dryness on my arms and particularly my feet which are the most neglected part of my body. I'd definitely recommend this product if you feel your body needs a boost from head to toe (literally). 

Argan+ is available from Boots and prices range from £8.99 to £14.99.

Have you tried any Argan Oil products before? What has your experience been with them and which other brands would you recommend?

Make Believe giveaway ends tonight!

Monday 5 November 2012

Hi guys, apologies for the lack of posts lately, it's been manic recently with bookings, photoshoots and other work, so I'm trying my best to keep up with blogging but have been failing miserably!

Do follow me on twitter & instagram (@frootibeauty) for more regular updates (and previews) of what I've been up to.. I update them religiously on the go!


Just thought I'd remind you guys that the Make Believe giveaway is ending tonight at midnight; winners will be announced at some point this week so keep a look out!

For your chance to win both the bronzer and tinted moisturiser, enter here

All you have to do is follow Make Believe on Twitter and Facebook (and be a follower of my blog of course!)

Good luck and promise to blog very soon!
 
 
template design by Studio Mommy (© copyright 2015)