Showing posts with label NOTD. Show all posts

Tuesday Takeover: Truly Madly Beauty

Tuesday, 11 February 2014

This weeks guest poster is the lovely Aysh from Truly Madly Beauty, who I've followed for a while now; I think we've both been blogging for around the same time in 2010 and I love her nail posts.. totally wish I could have the patience to do nails!

Revlon Sparkling Glitter Gradient

Well helloooo there lovely FrootiBeauty readers! How are you all doing? My name's Aysh & I blog over on Truly Madly Beauty :)
First things first, thank you so much to the lovely Safiyah for letting me loose on her blog today! It's such an honour as I absolutely adore this lovely lady's blog of which I've been following for yonks & am in complete awe of her make up skills. Its my wish to one day have my make up done by this talented lady! :D
Now whilst I love all things make up & beauty, if you're familiar with my blog you'll know that its nails that I am mostly passionate about & enjoy doing so I thought I'd share a quick little mani with you lovelies today! 
Whenever I'm stumped or lost for ideas/inspiration when it comes to nail art, I always like to go for a nice glitter gradient. Not only are they so easy to do, but its super quick, looks pretty & doing a gradient is a fab way of jazzing up an otherwise ordinary mani. Here I've used Revlon's Touch Of Mauve & Revlon's Sparkling for the gradient.
I started off with my base which was two coats of Revlon's Touch Of Mauve, a lovely pink based nude crème. I actually found this lovely in Poundland, which is one of my FAVOURITE little hunting grounds for polishes! I've found some right pretties in the past including Sally Hansen, OPI & Loreal so I definitely recommend you pop in to your local Poundland to see what treasures you can find!
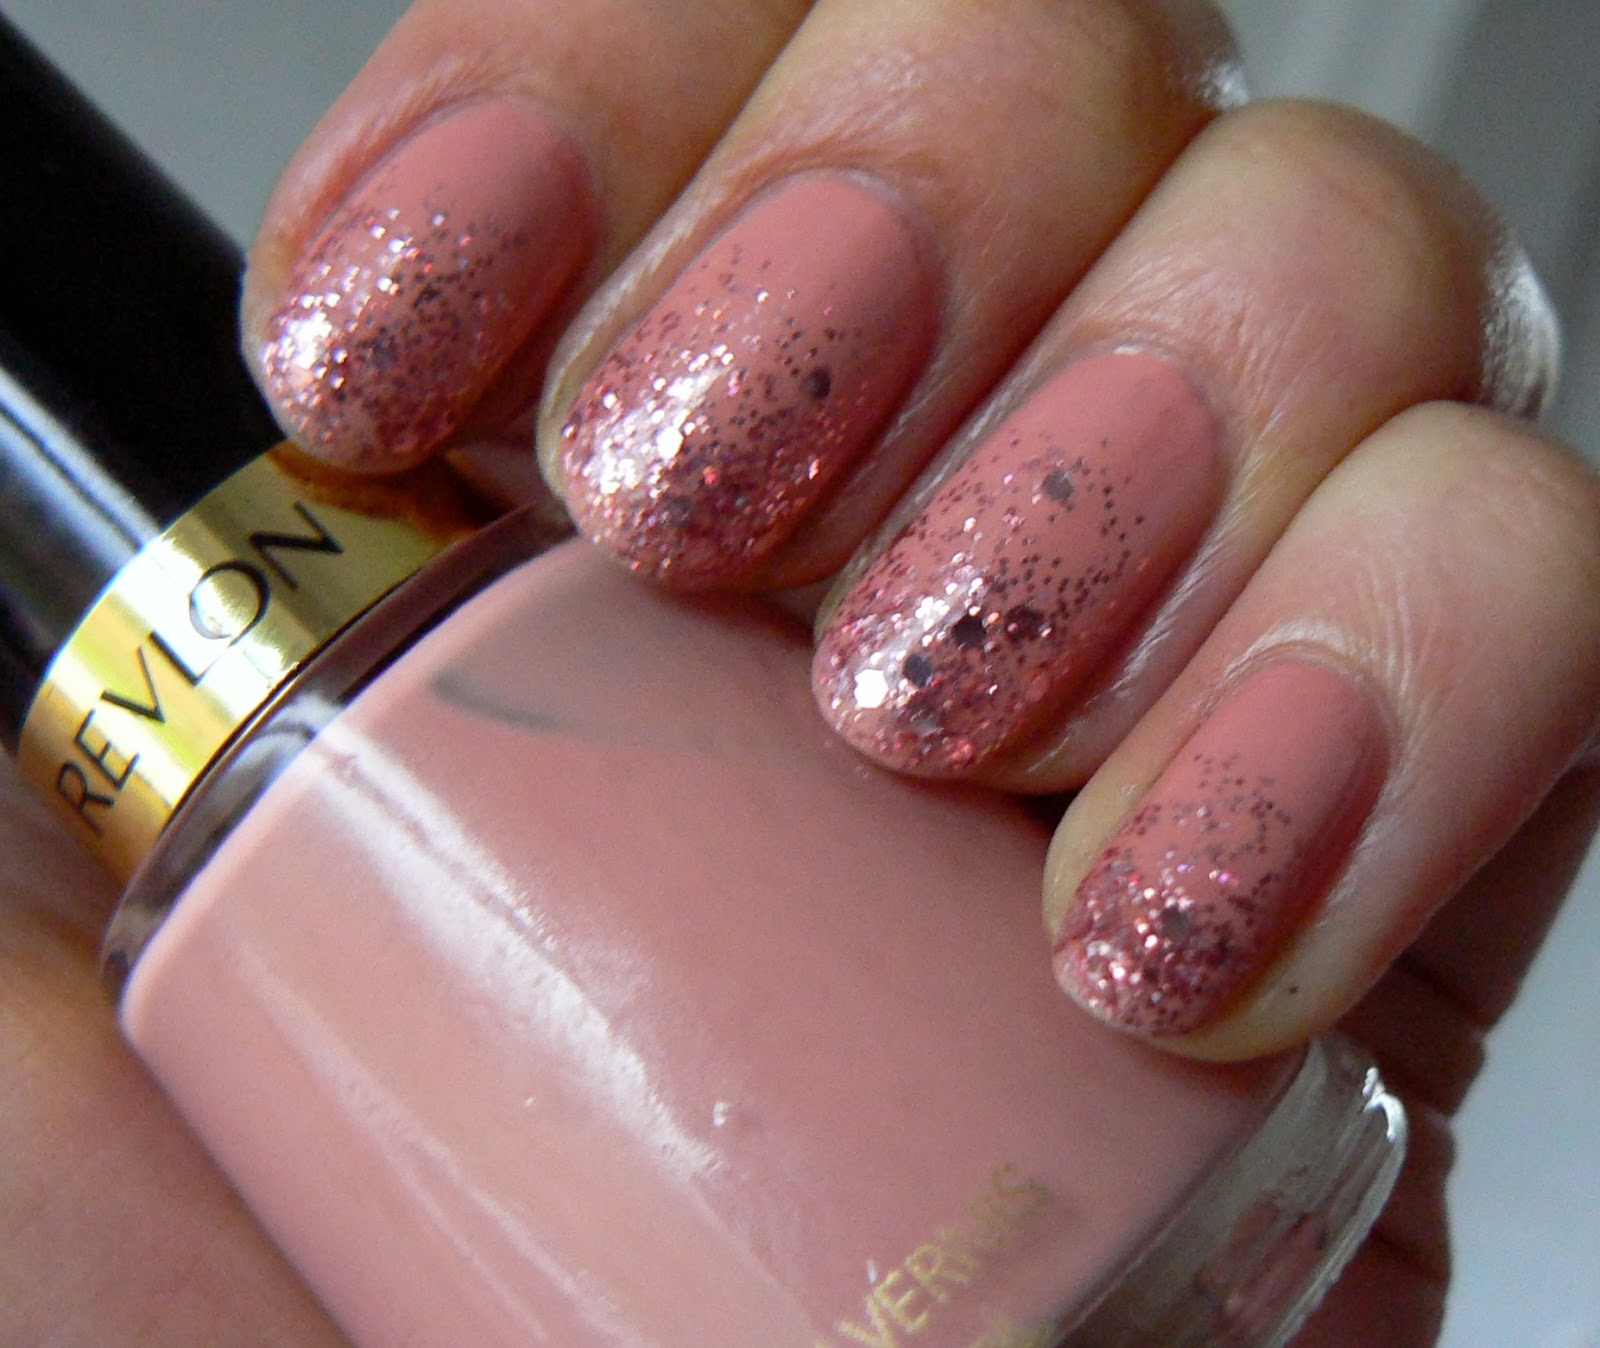
Then for the gradient I used Revlon's Sparkling which is a lovely pale pink glitter made up of both small & large hexagonal glitters in a clear base. To begin the gradient its best to start off with just a little glitter on the brush, wiping off any excess on the bottle rim, then starting about three quarters of the way on your nail brushing upwards towards the tip.
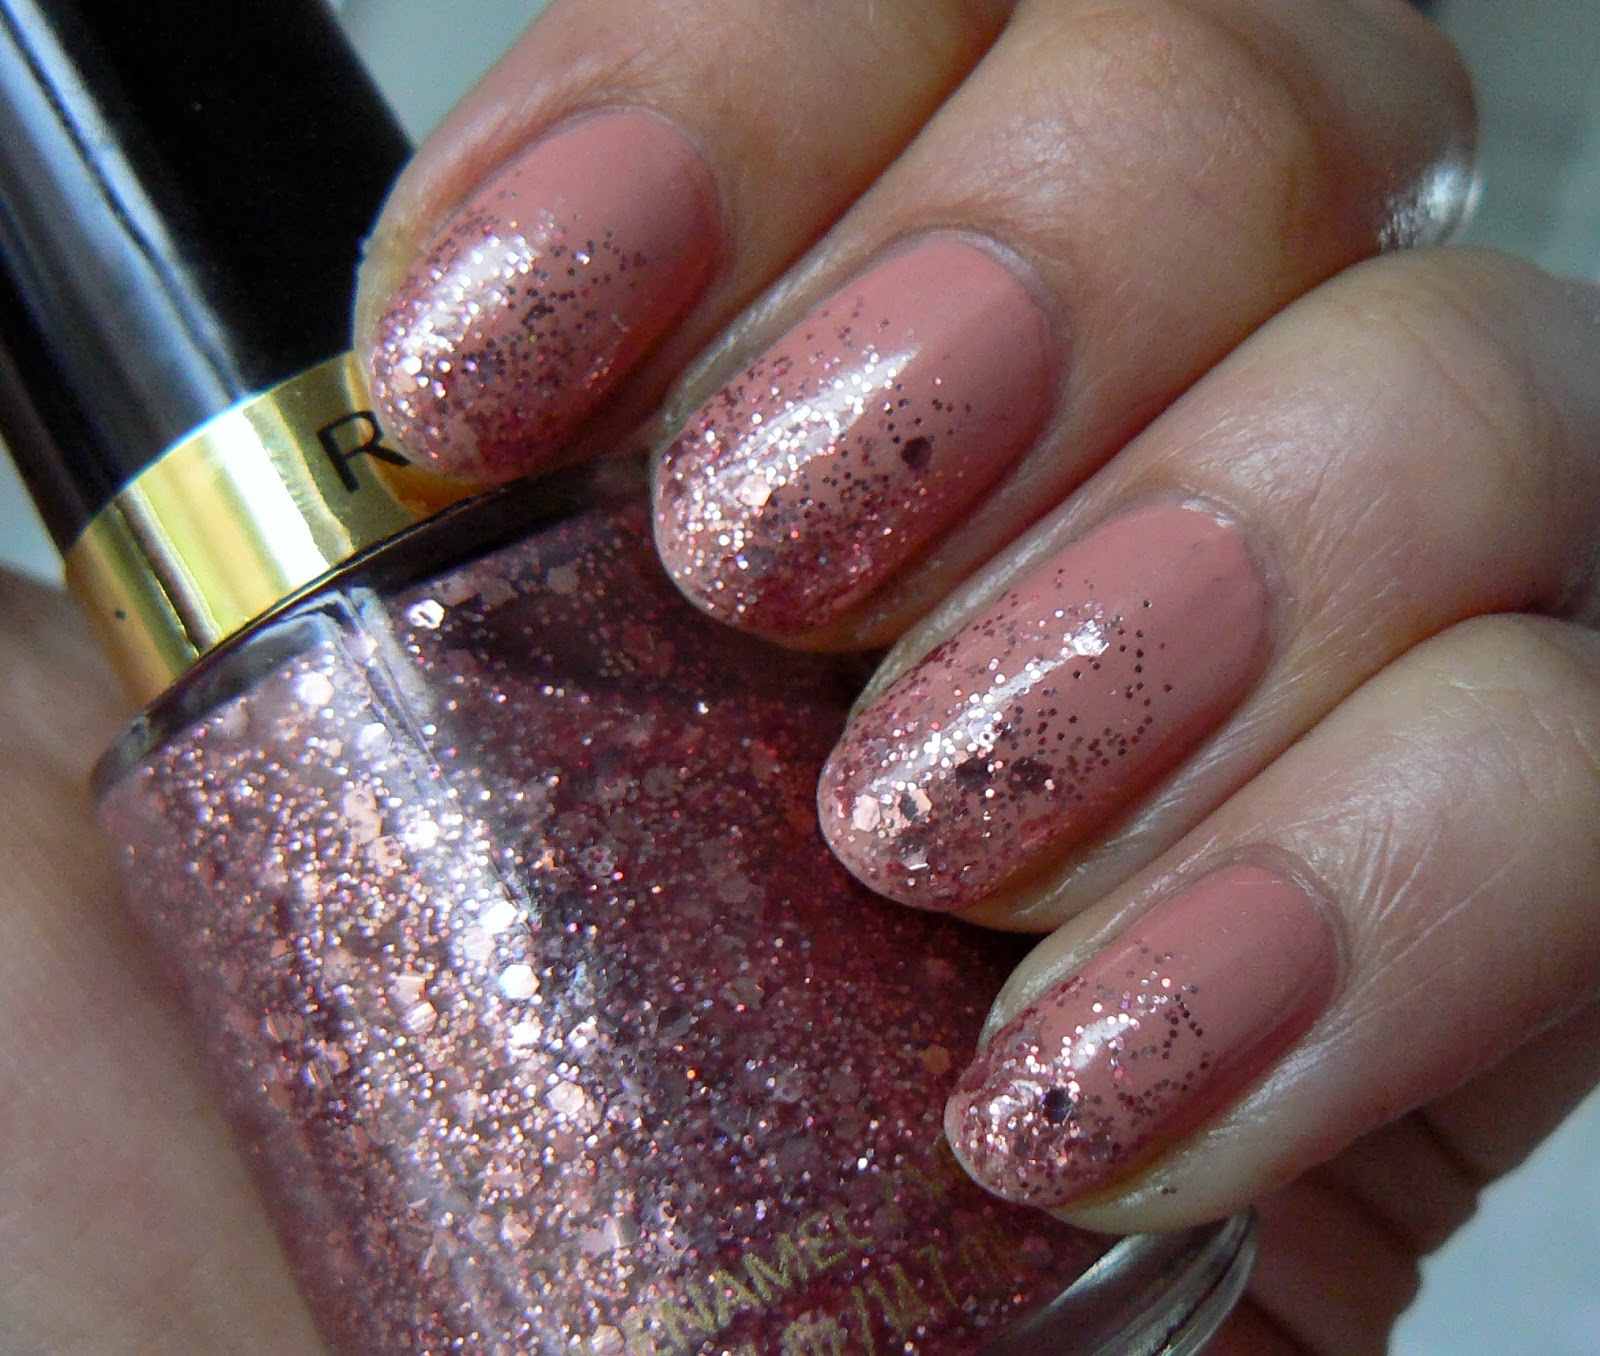
Once you've done all ten nails, go back to the first with a bit more glitter & apply in the same way but this time starting from the middle. Depending on the denseness of the glitter used you can also go in for a third time, this time applying mostly on the tips, which I've done here.
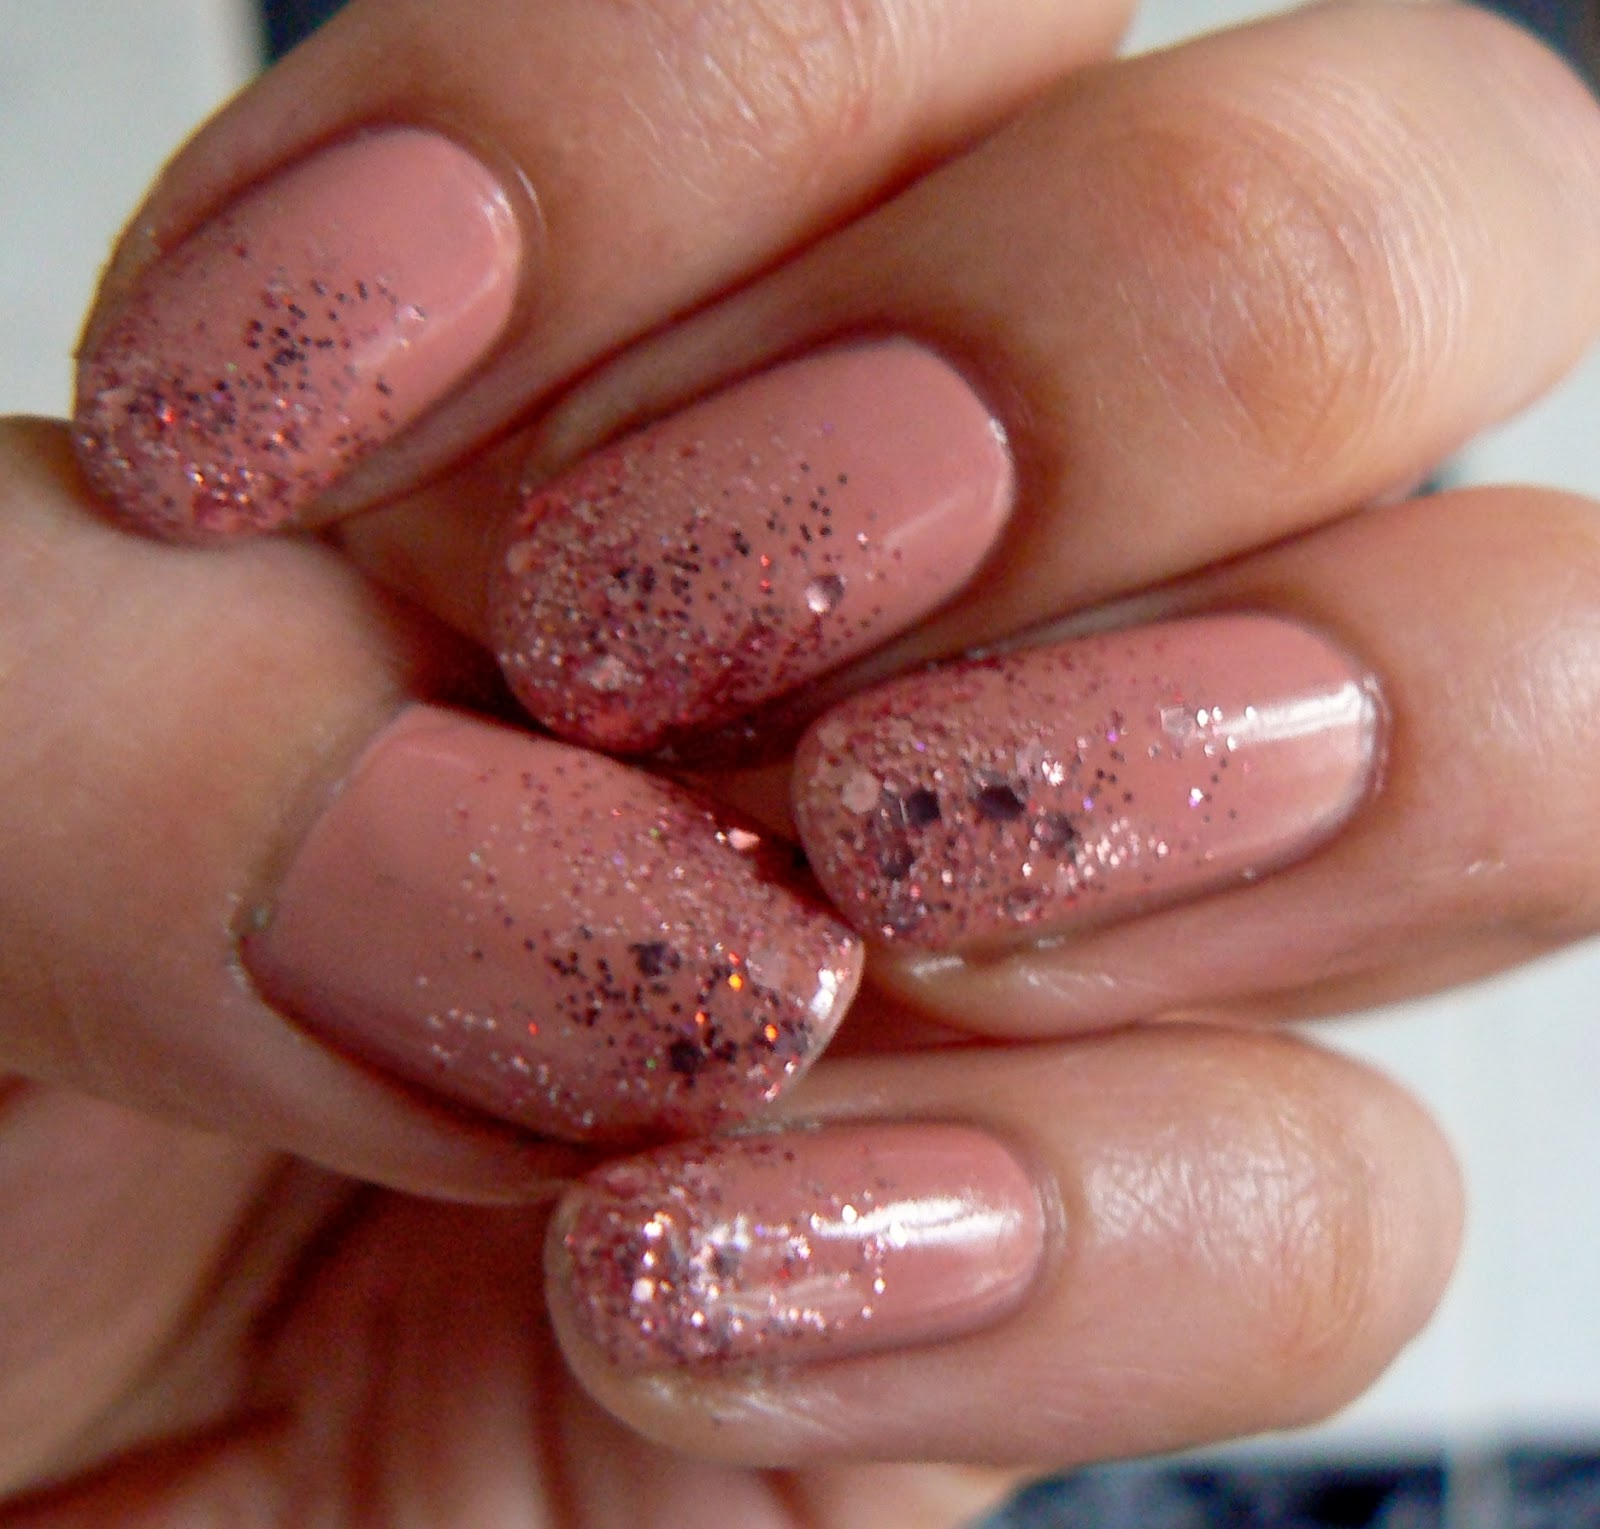
Finish off with a nice thick coat of topcoat to shine & smoothen all that glitter & thats it! Glitter Gradient nails ready to go. Because of all the glitter layers, drying time may be a wee bit longer than normal but having a quick drying topcoat helps!

Hope you liked the mani lovelies! Thank you again Safiyah for having me on your blog today!
Lotsa love to ya!

Aysh xoxo 

Twitter: Aysh_tmb
Instagram: Aysh_xox

Ombre nails (and lips)

Monday, 30 July 2012

Hey guys, apologies for the lack of FFFs lately, I've been super busy but shall hopefully be posting a look this Friday so keep an eye out for that!

I thought I'd do a quick post of the ombre nails I tried last night and matching lips I played around with today. The pictures are taken from my Instagram (@frootibeauty - follow me!), so apologies for the quality.

Ombre Nails
Products used:
Barry M - Bright Red (262) and Shocking Pink (272)
Nails Inc InStyle polish - Power Pink
Ombre Lips
As for the ombre lips, I used:
Urban Decay Super Saturated Lip Colors (SSLCs) in Lovechild, Crush and F-Bomb:
I also did a small collage of the lips and nails together:
Do follow me if you're on Instagram as I post there more frequently than I do here (it's just that little bit more easier!) 

Hope you liked this look as much as I did creating it and let me know if you have any requests.


Illamasqua Human Fundamentalism launch

Wednesday, 7 March 2012

Last night I trotted down to Piccadilly Circus to attend the launch of the new Illamasqua collection: Human Fundamentalism.
Some of the visuals from the Human Fundamentalism collectio
The collection is all about self expression and an "explosion of your alter ego", where Alex Box explained about making a stand with makeup and reversing "traditional beauty" with colour and through makeup.
There's a mix of acids and neutrals, with pastels for the nails so a great mix altogether, with something for everyone.
I loved the idea of making teal wearable on the lips, rather than just on hands and jewellery, though I may not be confident to rock it just yet haha! The idea stemmed from "classical beauty" of red lips and black liner but the inverse is teal lips and white liner (as above).
But for those who aren't too keen on colour, this collection has a contrasting "neutral" palette and colours more wearable and popular with most people I bet!

We were welcomed by the lovely Hayley (who was sporting the teal lip with a complimentary dress!) as well as milkshakes, sweets and more sweets. 90s garage tunes were playing in the back to fit the theme as well. We then were shown into a room with the products out on tables for us to play around with and swatch; here are some of my favourite products and their swatches:
The Neutral palette

Box & Apocalips lipsticks
Skin Base Foundation Au
Out of the two palettes the Neutral one was actually my favourite.. It had a great buttermilk shade (Stealth) which would be an excellent highlighter for the brow bone as well as an essential black (Obisidian). The golden colour (Vintage) was also beautiful too and the brown would be great in the crease. Both palettes are priced at £30 each.

The lipsticks (£15.50 each) were great too.. I spoke to one of the guys there about how I would use Apocalips.. mixed with another colour for sure! I found it more dryer in texture than Box, although both are matte lipsticks.

The skin base foundation in Au (the chemical sign for gold) can be worn alone or under foundation for a glow as it contains shimmery flecks in it. It will be sold at £25 but is limited edition!

I also loved the single eyeshadows (£15 each) Vernau (a caramel/peanut brown and Sex (pure white) as they would be amazing for contouring! 

Both nail polishes reflected the current Spring trend for nails as mentioned in the Superdrug post here. The two colours Stance (Mauve) and Nomad (Jade) compliment eachother wonderfully as you can see in the visuals above. I particularly loved Nomad (it seems to be growing on me this season!) and was lucky enough to get it in my goodie bag.
I tried it out today (very roughly I may add, to my recently cut nails!) with and without flash and loved how thick and creamy the polish was:
I also got the Fundamental palette (which I hope to recreate the Arabesque look from their campaign) and sealing gel that I'm excited to use for my eyebrows as it makes any powder a water resistant paste.
Fundamental palette & swatches:
There's also a white liquid eyeliner (£17) which I'd use under a black liner (not so much as a topliner!)

The whole collection will be available from March 14th from Illamasqua.com or you can preorder from today here.

What do you think of this collection? Which products stood out to you and will you be buying any of these products?

Purple Hot Mess NOTD

Saturday, 3 December 2011

I don't usually do a lot of NOTD posts, mainly because I don't wear nail polish a lot; I'm not patient enough to sit and wait til it dries and my Sally Hansen Insta Dry is my best friend most times when I wear polish. I do however love nail art and envy those who have the time and patience to sit through and create amazing designs. One of my favourite nail art bloggers has to be Salla of OMG! Polish 'Em! Her designs are A-Mazing!

Anyway, I happened to mess around with two of my favourite polishes this week and created a new colour that I'm totally in love with! Here is the lovechild of Barry M Bright Purple with UD Hot Mess:
 And with flash:
First I put two coats of Barry M's "Bright Purple" nail polish (303), then a single coat of Urban Decay's "Hot Mess" from their Holiday Nail Kit (available from HOF only). I love the glittery fuschia by itself, but I thought I'd spice up my favourite purple polish with it and the results were surprisingly nice, I even got comments from coworkers about what a lovely colour it was!

I hope you like this NOTD, it's just a quick one but one I thought I'd share =)

<3

Wonder Woman NOTD

Saturday, 19 February 2011

Here's the Wonder Woman NOTD I did on Thursday, I'm no nail technician but I do love funky nail designs, so this is my attempt.

Products used:

> Debenhams OB red nail polish (or any red nail polish!)
> 2True (Superdrug brand) navy/blue nail polish
> Claire's Accessories gold 2 way nail art pen & brush
> Andrea Fulerton nail glitter in blue 

First I coated the nails with the red polish and waited for them to dry fully. Once dried, I added blue/navy tips, fairly thicker than a french manicure-type tip. Whilst still wet, I dusted the Andrea Fulerton nail glitter (you can use any fine glitter you have), followed by the gold nail art pen in a strip between the glitter tips and red nails. Et...


Voila!

Hope you like, it's nothing spectacular, but my efforts! Have a lovely weekend =)

<3

NYE NOTD

Friday, 31 December 2010

Seeing as I haven't yet been able to show off what the Mavala All That Glitters set looks like (click here for my post), I thought I'd do it for NYE.. relevant sparkly nails!
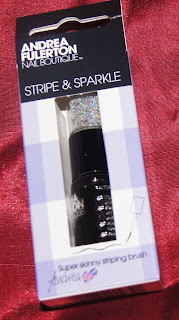
I also managed to try out the two Andrea Fulerton stripe & sparkle nail polishes I got, so here they are..

First up is the Mavala All That Glitters duo. Here's one coat of both:


And one with two coats:

I loooove the Pure Diamond one (right), I lovve multicoloured/holographic glitter. Either of these would be great for NYE/New Years!

For the Andrea Fulerton Stripe & Sparkle nail polishes, I used a plain Red Herring red nail polish as a base. 


Left to right: 1) Pattie glitter sprinkle, 2) Kathleen fine white glitter sprinkle, 3) & 4) Pattie black stripe, 5) Kathleen white stripe (used as french manicure).

The glitter sprinkle part of the Stripe & Sparkle is a bit hard to use (hence a bit of sparkle gone over the end of the nail), but you can slightly correct it with another layer of red/dark coloured nail polish. The stripe brush is really great though, and excellent for doing a french manicure free hand.

Here's the second nail (Kathleen glitter) with a clear top coat; the whiteness of the glitter becomes clear, so it gives it a subtle glittery shimmer:


I went shopping at Lakeside yesterday and didn't find a Gemstones pack that I could buy =(

I did however manage to find the new red Sleek pout polish in Scandal... and Sunrise blush! Here's the packaging and swatches of the two:

 
They look similar to Electro Peach pout polish and Rose Gold blush, but trust me the Scandal pout polish is scarlet red compared to the coral-peach Electro Peach and the Sunrise blush here is more brown toned than Rose Gold which is more peachy toned. Judging by the colour of Sunrise, I'd expect it to be better as a bronzer =)

Have a great new years everyone, hope it brings greater things than this year for you all and you're all happy and blessed =)

<3

Andrea Fulerton Nails/ NOTD

Sunday, 26 December 2010

Haul 2 of late has been the Andrea Fulerton range. So far I've picked up the nail tattoos - two chain ones & one locks & keys (whilst they were 3 for 2 at Superdrug!) as well as two Stripe & Sparkles:


The first one is "Pattie" a black polish (with a "skinny striping brush") and holographic glitter on top. The second one I got was "Kathleen", a white polish with white multicoloured glitter. There's other polishes/ nail items in the range aside from the Stripe & Sparkle range, such as French Manicure kits, Peel Off nail polishes, Crystal Gemstones, "Trio" nail polishes (two polishes that can be layered or wore alone), but I didn't bother buying as I thought I could layer normal polishes in the same way.. although some of them did look really great! 

The Crystal Gemstones (click here for info) can be used to get a much cheaper version of the famed Nails Inc pedicure that starts from £120 (click here for service prices). Now I don't know about you, but I thought that was a ludicrous amount for having a pedicure, whether or not it lasts 3 weeks!! Thankfully, you can achieve a similar (if not same) effect with Andrea Fulerton, so I'm planning to get this next..

Here's a quick NOTD I did when I got the tattoos (I was desperate to see how they worked!):
It's soo unbelievably simple to use, just simply cut, peel and stick! This was taken without a topcoat, but topcoat is recommended to seal it in.

The peel off nail polishes sound interesting to me, but also seem quite gimmicky and impractical.. I'd be intrigued to try them though for a bargainous price! One thing they don't have is testers unfortunately, which is a bummer. Anyway, I shall try to get some nail looks done with these products I've bought, although I have to admit I'm not that great with nails!

Hope this has helped anyone interested in the range,

<3

My first NOTD

Tuesday, 12 October 2010

I'm not really a nail polish person, barely wear it, even though I have quite a few colours. One polish that excited me earlier this year (and two weeks ago) was the lovely brand: Del Sol. Now it's not readily available in the UK, but it was on the exclusive website () back in June this year, so I was intrigued & bought one: Ruby Slipper. It's a glittery silver clear polish, that changes to red in the sun. I had lots of fun in Summer shoving my hands in and out the car window and my fascination still hasn't died down. Except that there's barely been any full on sunny days lately in London, so that's a dampener.
Then, two weeks ago whilst walking past my favourite glittery stand in Selfridges (Jinny Rainbow), I spotted them and it was quite a selection! I decided to go for a clear nailpolish (Peek-A-Boo), which changes to a pinky-red in the sun.


Since there was a bit of sun in London today, I quickly donned the nailpolishes to see the colour change, but it only changed a little (as expected) cos I wasn't even in direct sunlight (I just stuck my hand out the window).
Here's a before (Peek-A-Boo & Ruby Slipper alternated):


And the after(sun):

In direct sunlight it goes darker still and I love how it fades when your indoors!

Another NOTD look is from the infamous Barry M instant nail effects. Either I don't know how to put it on, or it just doesn't go with the Marvala nail polish I used underneath, but I just am not impressed by it. It's looked great on some of the posts I've seen, but I wasn't too phased by it when I did start seeing it. The only thing that made me buy it was the fact that many people were blogging that it was out of stock where they shopped. This was the case at Superdrug, however Boots had 3 in stock so I bought two of them (just in case I liked it). But I don't! I might hold on to the one I used, but I'm thinking of giving it away to my cousin who's a nail fanatic.. the other one I may aswell give away!
When I get to 55 followers I'm gonna have the giveaway, just dunno how yet!
Here's how it looked on top of Mavala "berlin":


If anyone knows where I'm going wrong with this application, please do tell!!

<3
 
template design by Studio Mommy (© copyright 2015)