FFF: Urban Decay Electric Palette 'Frozen" Blue-Purple Makeup Look

Friday, 13 February 2015

Hello my lovelies!

My makeup looks have been more on the smokey/neutral side of late, so the other night I thought I'd whip out my Urban Decay Electric Palette again and play around with it.
The last time I played with this palette was shortly after my bubba was born last year, back when all he did was sleep tons!


Anyway, this look is a little less multicoloured than the last and more of a purpley-blue; it kind of reminds me of Frozen/something magical, but unfortunately you can't see just how pretty it is in real life with the beautiful UD Spandex multicoloured glitter and MAC Reflects Pigment =(


Products used:
Eyes:
• UDPP - Eden

ABH Dipbrow Pomade - Ebony
• Urban Decay Electric Palette - Revolt (inner corner highlight), Gonzo (eyelid), Savage (above crease & crease), Chaos (crease), Urban (outer corner)

• Urban Decay Naked Basics Palette - Foxy, W.O.S & Naked 2 for blending 
• Urban Decay Heavy Metal Eyeliner - Spandex
• MAC Reflects Pigment - Transparent Teal  
• NYX Two Timer eyeliner for top liner and inner eye
• Estee Lauder Little Black Primer
• Eldora lashes: H151
• Lenses: Desio Lens in Forest Green
Face:
• Estee Lauder Invisible Fluid Foundation - 2WN2
• Motives Sculpt Series in Fire

• Motives Liquid Correction Concealer in Light
Anastasia Beverly Hills Contour Kit - Fawn, Java, Havana for contour, Banana and Sand for highlight
Motives Blush in Baby Doll
Lips: 
Illamasqua lipstick in Bare

The Electric Palette is available at House Of Fraser and Debenhams.
 
Hope you like this look, do let me know what looks/requests you'd like to see too <3

post signature

FFF: Motives Smokey Black with Purple Makeup Look

Saturday, 7 February 2015

It seems like inconsistency is the theme with my blogging schedule these days, and it's mainly because by the time I get time to "myself" at the end of the day I just want to curl up with my electric blanket and sleep!

So let's just say I can't promise anything regular for the time being, but will post at whatever opportunity I get =)

I got round to doing a smokey black makeup look using matte colours with a hint of purple on the bottom lashline, and wore my Desio Lenses in Forest Green to jazz the look up a bit, but will play around with more looks to find my favourite look with these lenses.. let me know if you have any suggestions.

Products used:
Eyes:
• UDPP - Eden

ABH Dipbrow Pomade - Ebony
• Motives eyeshadows in Onyx, Cappuccino, Chocolight, Vanilla, Whipped Cream, Aphrodite & Fantasy (swatches here)

• NYX Two Timer eyeliner on top waterline and eyeliner

• NYX Wonder Pencil in 1/Light on lower waterline
• Eldora lashes: H151
• L'oreal Miss Manga mascara
• Lenses: Desio Lens in Forest Green
Face:
• Illamasqua Skinbase foundation in SB10
• Motives Sculpt Series in Fire

• Motives Liquid Correction Concealer in Light
Anastasia Beverly Hills Contour Kit - Fawn, Java, Havana for contour, Banana and Sand for highlight
Motives Blush in Lust
Lips: 
• Lansinoh as balm

• Peggy Sage lip liner in Bois De Rose


Do let me know if you have any particular requests, feel free to email me or comment below <3

                     post signature

TBT: Nanshy Eye Brush Set Review

Thursday, 5 February 2015

This is kind of a throwback post to when I mentioned Nanshy over a year ago on Instagram; I've been meaning to review these brushes for ages, but I finally got the time to sit down and write it, so here we go!

As a makeup artist, I always get asked what brushes I recommend; if you attended one of my masterclasses, you would have seen I recommended various brushes for specific uses, however if you're looking specifically for eye makeup brushes, I recommend the Nanshy 7 piece Eye Brush Set, and you'll see why below.


The Eye Brush Set 
The set includes 7 cruelty free/vegan eye brushes, made from antibacterial synthetic hairs, which are surprisingly soft.


The brushes in this set include:
  • Large Shader brush - I tend to use this to pat on eyeshadow on the main eyelid, or on the brow bone as it is very dense.
  • Blending Eyeshadow brush - I use this for matte neutrals, on the skin above the crease area.
  • Eye Crease brush - I tend to use darker colours with this brush, in the crease/socket
  • Tapered Crease brush - this is a more dense/concentrated short haired (and less flexible) brush, so I tend to use it either on the outer corner of the eye or on the lower lashline.
  • Flat Definer brush - I use this on the lower lash line
  • Angled Detailer brush - I use this for the brows or can also be used for eyeliner or the lower lash line.
  • Precise Bent Eyeliner brush - I use this with gel liner, or to apply eyelash glue
Packaging: The outer packaging is a standard packed set with a plastic tray that holds the brushes; I initially kept the brushes in the clear plastic tray until I rehoused them with the rest of my brushes.
The actual brushes are fairly sturdy and of high quality.
The blending brushes diffuse and blend eyeshadow beautifully, and the brushes pick up enough product to work with, with no fall out of brush hairs whatsoever.
Having previously worked for Urban Decay, I can say these brushes remind me of the Urban ones (without the metal/heavier handles of course).
The only thing I would probably change is the white colour as it can easily get grubby when switching between brushes, but aside from that, I like that they are labelled on the brush handles; perfect for beginners (or teaching in my masterclass!)
 

Price: The Eye Brush Set is priced at £29.95 which works out around £4.28 a brush (usually £5.95 each); considering they're a fraction of the price of UD or other similar synthetic brushes, I'd definitely recommend getting the full set.

FrootiFactor: I give these brushes a 4.5 out of 5 for value and quality; the only thing I'd want to change is the handle colours, but hopefully this is something further down the pipeline for Nanshy <3


Nanshy Brushes are available to buy from Nanshy.com.

Have you tried any Nanshy Brushes? What are your favourite brush sets?
 
post signature

Motherhood Mondays - Apps

Monday, 19 January 2015

Hi guys!
First of all, I'd like to wish you all a belated happy new year; 2014 was a life changing year for me with the birth of my son; it's amazing how fast a tiny human grows, he'll almost be a year in March!

I've always been the type to take motherhood very seriously and like a lifelong project; I wanted to become an educational psychologist as a teenager but fell in love with Nutrition at college and pursued that at university (with the odd psychology module of course).
Being the most important and influential person in a child's life is a massive responsibility in my eyes and though it's never easy, watching them learn new things every day and form their own personality traits is so beautiful.. I can't help but wonder what my little bubba will be like when he's in school, when he's a teenager and one day a man! 

Seeing as time flies, I've been noting his developments through his health book, apps and occasionally on my social media pages (#frootibaby).. It's always nice to look back at photo albums and see how much you've changed, so I hope to do this for little man too.

I thought I'd write this post recommending some of the apps I use to note developments and also for general helpful information that may be useful to check out.

Emma's Diary (free)
Initially in my pregnancy I had a few apps I would read on a daily basis to check the development of the tiny foetus growing inside me; I was fascinated by the scientific side of what was developing and at what apparent equivalent size my baby was (a kidney bean, an apple, a watermelon etc); if you are a longterm follower of mine on twitter you now know why I tweeted a weekly vegetable or fruit coupled with an emoticon haha!
I loved that the Emma's Diary app also allowed you to keep a diary of all you're feeling (another great idea to read back to your child one day) as well as read "Emma"'s diary and see if you're feeling the same.

My Baby Today | BabyCenter (free)
After baby was born, the BabyCenter "My Pregnancy Today" app prompted me to download the "My Baby Today" app, which consistently follows on from the pregnancy app but is baby development related. I now use this app and like that it gives supportive, handy advice on yours and baby's life, as well as activities to do and "weekly giggles" based on your baby's age timeline.

Baby Tracker (free)
At the beginning of baby's life, you'll have constant midwife and health visitor appointments, so I liked to keep track of feeds and lengths of feeds etc and have this information to hand if needed. There are plenty of Baby Feed Tracker apps, and most allow you to record lengths of feeds (if breastfeeding) or amounts of feeds if bottle feeding, as well as wet and dirty nappies and sleep times. 

Also handy to have is a growth tracker app that you can note down baby's height, weight and more, for those appointments with the health visitors.

For those who love checking out what stage your child is at cognitively, physically and emotionally, this app explains the fussy moments in relation to brain developments (or "leaps").
I like that this app has a personalised chart too, so you can see approximately where your child is - and also predict when they're next going to be Cranky, Crying or Clingy (the 3 C's).

The wonderful world of weaning is next; I've had a few people ask me what kind of recipes I recommend and haven't got round to replying, but from a Nutrition point of view, I like this app because it's got UK based recipes/measurements.
This app actually has many other points I like about it too:

  • The recipes are easy to make (a lot with simple ingredients that I use for myself too) which is great for when bubba starts having "mummy's food".
  • You can choose to follow the app "Week-By-Week" based on the weeks you start weaning (not age) or you can choose your own "Meal Planner" where you add the recipes you/your bubba will like to the days of the week
  • Ingredients from a recipe can be added to a shopping list within the app
  • You can add recipes to your/your babies favourites
  • There are articles and tips to read within the app as well as "Help from Heinz" 
Of course there are other apps you can go for like the Annabel Karmel app (£4.49), but for a free app, this pretty much has the same concept (if not more features). 


Baby Sign And Learn (free for lite/£1.49 full)
If you follow me on Instagram, you may have seen me post a picture of my bubba's certificate for attending Baby Sign Class (which I wholly recommend). I love that learning sign can help a baby communicate with you more effectively, even though they can't say proper words yet (so far my little man gets excited/impatient when I sign for "drink milk"!).
If you don't have a sign class that you can go to, this app is pretty helpful and teaches words that you would use on an every day basis in your routine with baby (drink, eat, nappy etc), which is always handy if it helps calm (or excite) baby.

Lifecake - Baby Photo Journal and Slideshows (free)
Last but certainly not least, is the Lifecake app; this app is one I've recommended to friends and family who've also recently had babies (of course we all want to see how each baby is developing so we can swap mum stories!).
I like that this app automatically puts any pictures uploaded into age/date order (from the date the picture is taken).
The pictures, videos and notes can be thus sorted in date or age order; or if your timeline has more than one kid on it, then just date order. 
Privacy is important and the pictures uploaded to the app are private (unless you choose to share the timeline with a member of family/friend), and if they have an account it doesn't automatically mean you see their pictures, they have to invite you.
You can upload up until 1GB (I think there's a premium version thereafter). And yes you can order a photo book too, which I certainly plan to do as a keepsake =)
Best of all, every so often, Lifecake email you a "flashback" to see how your bubba has changed (e.g. a picture at 4 months next to a picture at 8 months) and it's amazing because you don't see it when you're with them every day but you can see it when they're put together!

So here are some of my favourite apps that I'd recommend; of course there's a plethora of baby apps that you can download to even entertain and engage your baby, but for now I thought I'd share the ones that would interest the parents out there =)

Let me know which ones you'd recommend or really love and why; it's always lovely to discover new apps seeing as there are so many!

post signature

Motherhood Mondays: Breastfeeding Tips

Monday, 8 December 2014

Hello my lovelies!

I have to say I haven't been able to blog about Baby/Parent/Mummy things as much as I'd like to and the last couple posts have been a welcome break for me to enjoy makeup and reviewing again, seeing as I'm just getting on with the actual motherhood bit haha!

But I've had a couple requests for more baby related posts and I thought I'd feature a Motherhood Mondays post as much as possible, even if it means simply posting a picture.

Since my last post was about Caesarean Staples, I thought I'd follow in chronological order of what I'd blog about next (even though my bubba is now 9 months old!)

Probably the first and most important thing for me after giving birth was breastfeeding; I am so pro breastfeeding, not only after the antenatal classes but especially after studying Human Nutrition and the human body; the benefits are endless and I knew I wanted to breastfeed no matter what.

For those who think its a simple process and comes "naturally", I'd say the reality can be far from it and it takes a lot of work!  
Here are 10 tips/things I learned (some, the hard way):

1) Latching on  
Initial latching on can be painful; no matter how many midwives you confirm with, it's better to see an actual breastfeeding specialist in a class (if available to you) as they are a lot more supportive and helpful. Trying different positions helps and I found using cushions very helpful!

2) Creams & Pads  
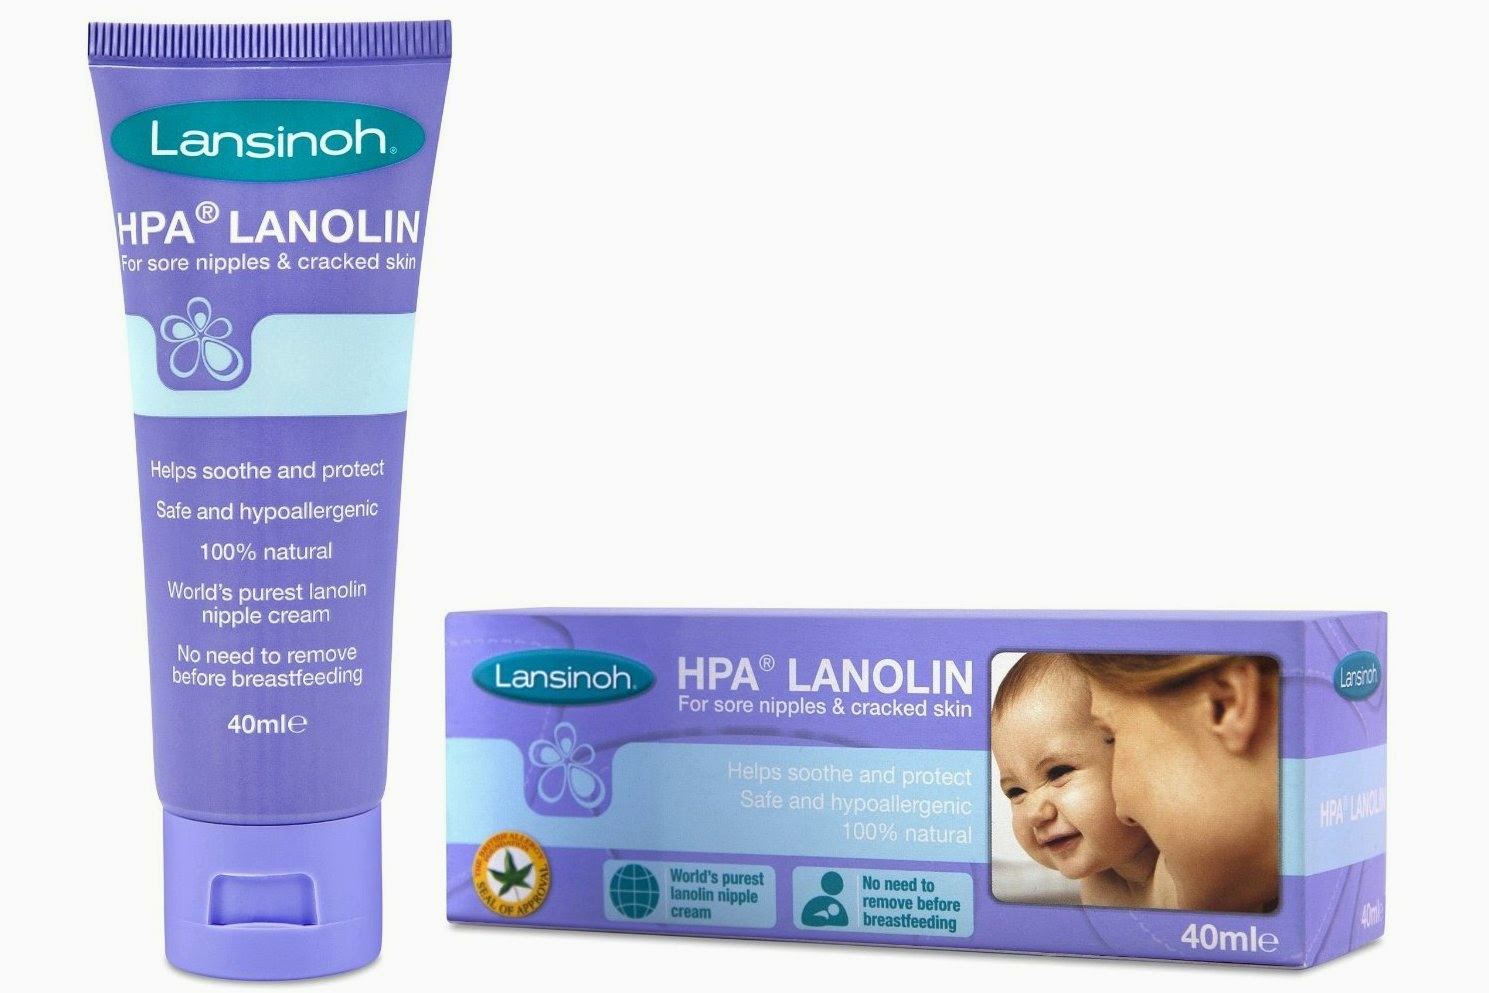
Lansinoh was my favourite brand for nipple cream as well as breast pads; I tried a few other branded breast pads but these were by far the best! Can be bought from Boots, John Lewis, Mothercare.
[The best prices I found for the cream is £6.66 and for the breast pads £3.66 for reference].


3) Determination / Mentor
Breastfeeding requires determination, so I would say if you want to breastfeed, buddy up with someone who can push you when you feel like stopping (and believe me, there's so many times you feel like giving up).
I was lucky enough to have a family member to lean on at all sorts of hours who had recent experience herself and I would recommend the same for anyone else as it's still fresh in their heads (mums/aunts/grandmothers may have forgotten the struggle).


4) Eating/Drinking Well  
You have to keep your own nutrition up, but also bear in mind you have to be careful what you're eating as it affects the little one's stomach; you don't want to eat something too acidic or gassy or spicy for instance, but at the same time, you're pretty much using energy to turn food into milk, so you need to eat as many calories as you can and of course a lot of milk ideally. I found chocolate milkshakes did the trick for me and also somehow kept me awake for the many night time feeds!

5) Immunity  
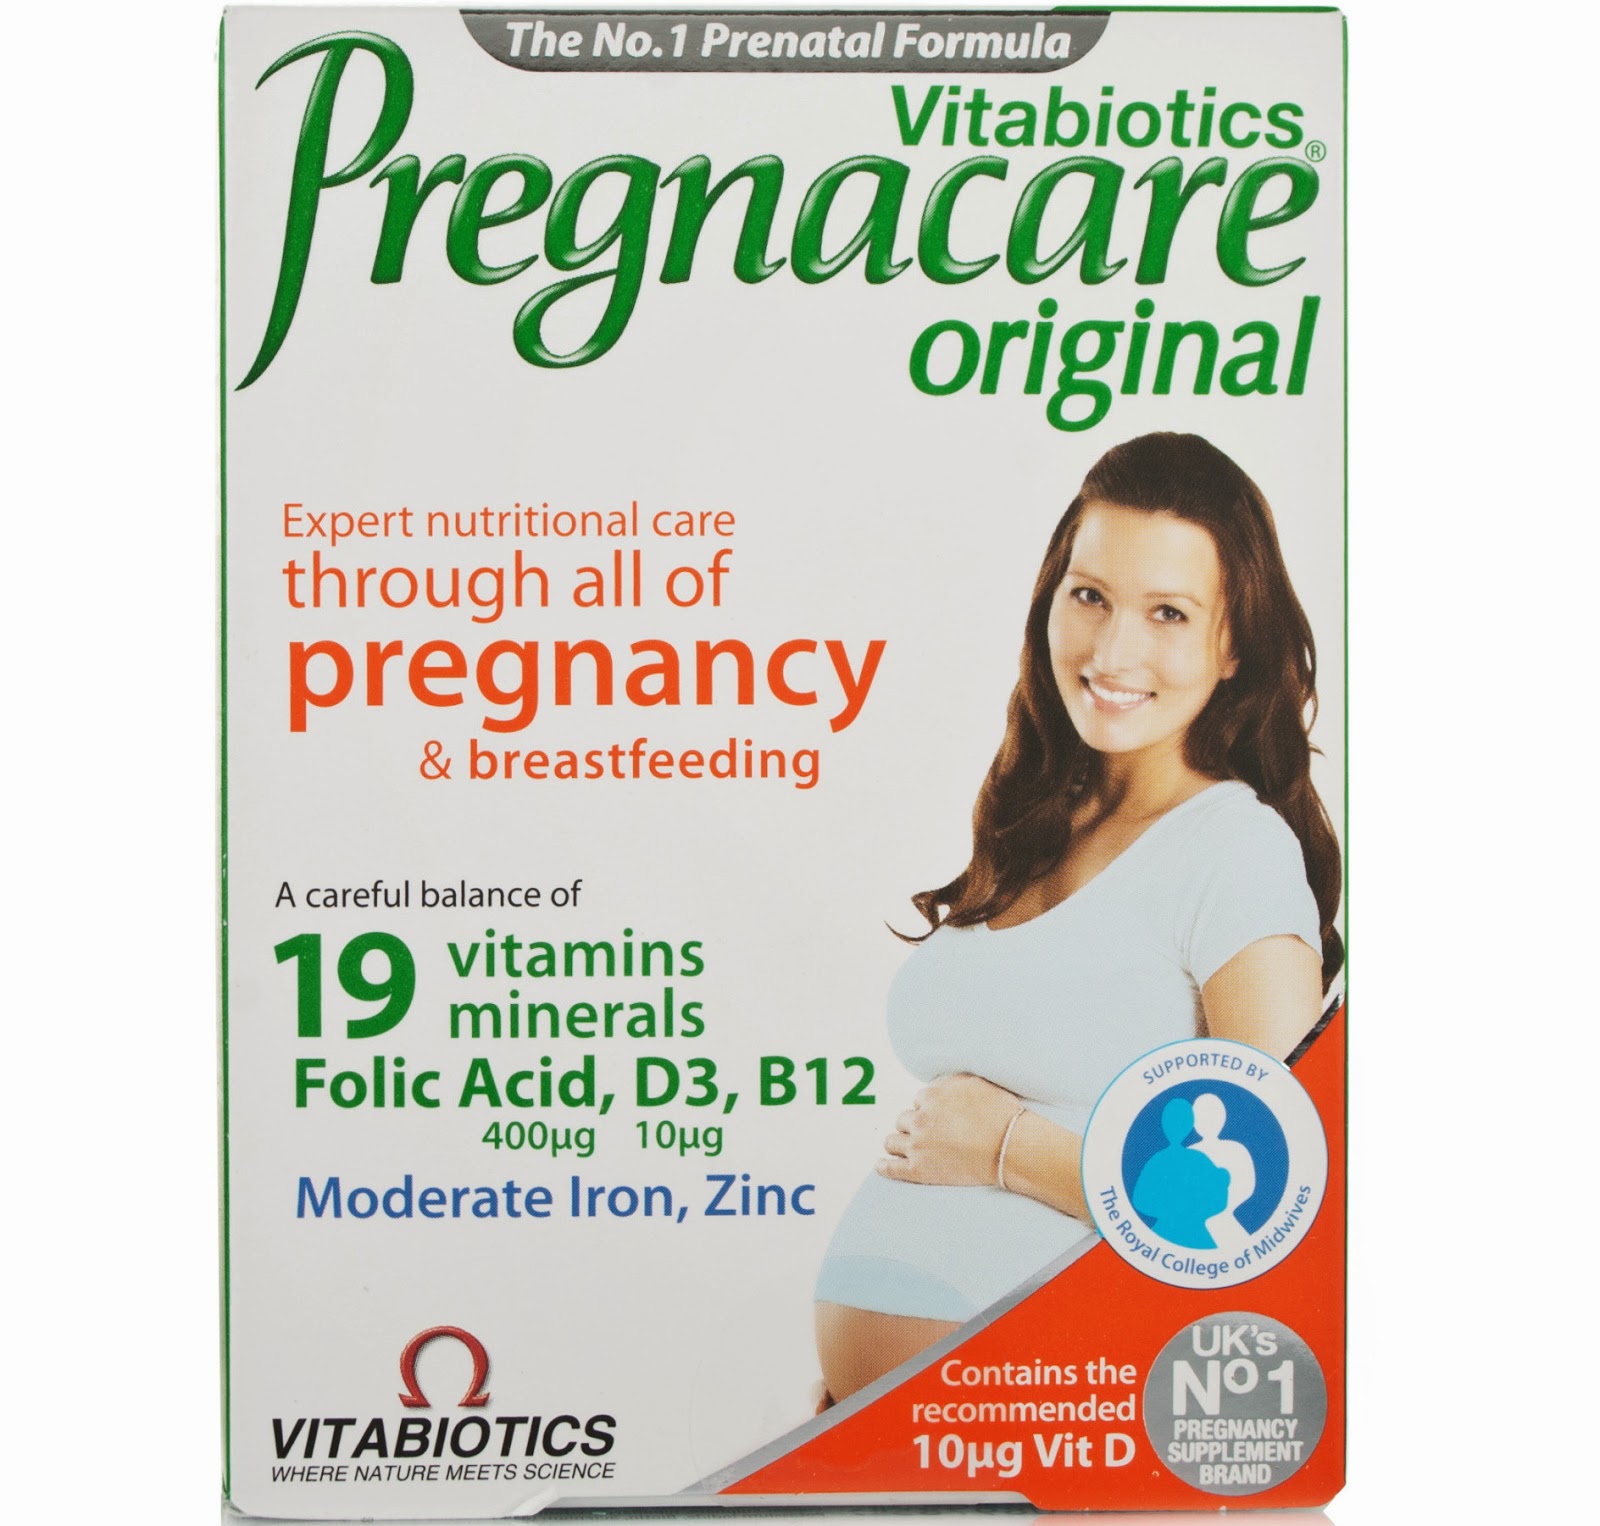
Seeing as your chest is out a lot whilst feeding and your immunity is low, you can expect to get ill fairly frequently; so continue taking Pregnacare/pregnancy vitamins to try and keep on top of your vitamins and minerals.

6) Midwives
Some can be awesome, so ask as many questions as you can, but some can make you feel like giving up and formula feeding. Whilst I have nothing against formula feeding, I do think that it's worth pushing breastfeeding exclusively as much as you physically can, for as long as possible, purely because the health benefits for your baby supersede formula feeding massively.. I could write a post or even a book on breastfeeding benefits alone!

7) Expressing 
I started hand expressing but would wholeheartedly recommend an electric pump as it saved time and felt a lot more comfortable/no pain.
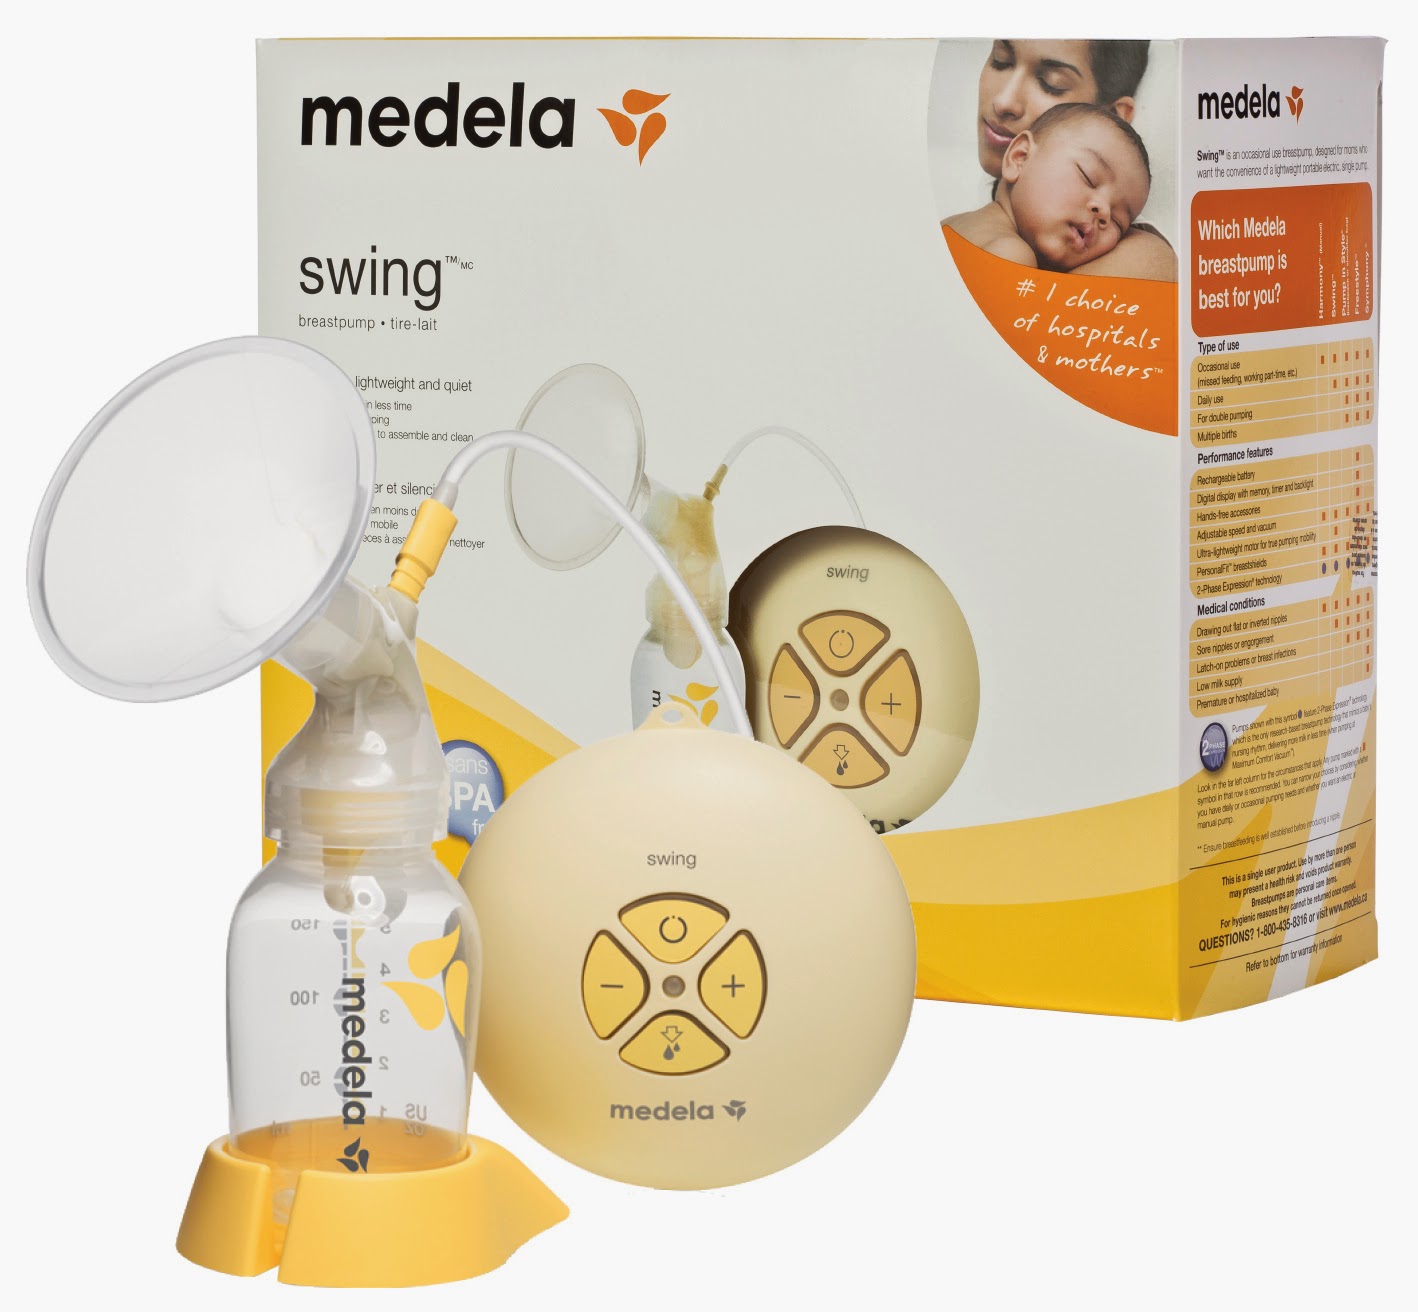
I used the Medela Swing, bought from John Lewis (also available at Boots and Mothercare) and it was probably the best breastfeeding product for me.
It can be disheartening expressing sometimes, because unfortunately it's not an accurate estimate of what your baby is drinking, but expressing is a great way to top up for night feeds rather than formula, or to give yourself a break at night time (and breastmilk lasts longer than formula).


8) Bottles 
The only ones I can recommend in conjunction with breastfeeding are the ones that require baby to suck as they do with breastfeeding. I came across the Haberman Suckle Feeder bottles at a baby show and was so impressed, I never bothered to try any other bottle (aside from Mam for feeding water).
Every bottle claims they're "anti colic" but I swear this one actually works as the filter works to get rid of air bubbles, as well as the fact that it allows the baby to control it's own drinking flow without any overflow or spluttering. It was tricky to get my bubs to understand the bottle at first but I'm glad I persevered because he's able to switch from bottle to breast and vice versa.

9) Breastfeeding Cover
When you're out an about, the last thing you want is a hungry screaming baby, so I would definitely recommend the Bebe Au Lait breastfeeding covers (also available at John Lewis, Boots and Mothercare. You can of course use a large muslin cloth or scarf (or express) but the reason why I think the Bebe Au Lait is worth it is because the neckline has a curved semi rigid band in it so you can see directly down at baby (and them up at you) as well as letting air in, but without anyone seeing from any angle. It also has a bit of towelling on the corners and a pocket which are cute and handy features. 

10) Relax
Finally, the best tip that I could give (and try to still give myself) is - relax! Stressing in any form is not helpful at all for milk production (not to mention the stress hormones affect baby), so it's best to just switch off as much as possible and enjoy baby-mummy time, especially as exclusively breastfeeding is only around 6 months! <3

I know I probably haven't covered half as many things as I could have regarding breastfeeding, but feel free to email me if you have any questions or comment below if you have any tips of your own!
 
post signature

FFF: Illamasqua Facets Makeup Look

Friday, 28 November 2014

I'm treating my followers to yet another week of blogging (making up for lost time clearly!)
I got to play around with the Facets Semblance Palette again this week (review here), and managed to get a quick makeup look done. I also used a few shades from my new Makeup Revolution Essential Mattes palette as it's great for blending <3

Products used:
Eyes:
• UDPP - Eden

Anastasia Beverly Hills Dipbrow Pomade - Ebony
• Illamasqua Semblance palette
• Makeup Revolution Essential Mattes palette

• NYX Two Timer eyeliner

• Illamasqua Vow Colouring Eye pencil
• Eldora lashes: H151
• Lancome Hypnose Drama mascara
Face:
• Illamasqua Skinbase foundation in SB10
• Skinbase Lift in Medium 1
• Illamasqua sculpting duo: Nefertiti

Makeup Revolution Face Contour Kit
Lips: 
• Urban Decay Naked lip liner

Illamasqua lipsticks- Bare

Eyes:
1) Prime the eyelids with UDPP Eden and fill in brows with Anastasia Beverly Hills Dipbrow Pomade in Ebony.
2) With a blending brush I added a matte brown eyeshadow from the MUR Essential Mattes palette to just above the crease blending upwards and downwards. I also added a beigey flesh toned colour above this and a lighter matte colour on the brow bone with a bit of Slink (Semblance).
3) I then patted on Obsidian (matte black - Semblance palette) to the whole eyelid except for a small part on the middle of the eyelid.
4) I added Slink and a tiny bit of Tango to the middle of the eyelid, blending back and forth.

5) I lined the bottom waterline with Vow Colouring Eye Pencil and shaded the outer bottom lashline with Obsidian and a bit of Slink.
6) For the eyeliner I used the NYX Two Timer eyeliner- the felt side for the top liner detail and the kohl side to tightline the inner top eye.
7) I coated the lashes with Lancome Hypnose Drama mascara, followed by Eldora False Lashes in H151 (need to restock soon!).

Face & Lips

1) I concealed under the eyes using the Illamasqua Skinbase Lift in Medium 1 and used Illamasqua Skinbase foundation in SB10 all over the face.
2) I then lightly contoured the face using the Illamasqua Sculpting Duo, but only using Nefertiti in the hollows of the cheeks. I then used MUR Face Contour Kit (part of a Christmas Gift Set); using the matte contour shade to blend in with Nefertiti and then the blush and highlight above the cheeks.
3) I lined the lips using Urban Decay Naked lip liner, followed by Illamasqua Bare lipstick.

And voila! 
Here's a collage of the eyes and half my face: 

This look is very similar in technique to the Motives Brown-Copper makeup look that I taught in my last masterclass, and also the Purple-Pink glittery look here.

Do you like this look? Let me know what you'd like to see next!

post signature
 
template design by Studio Mommy (© copyright 2015)