Showing posts with label Elf. Show all posts
Showing posts with label Elf. Show all posts
Foundation Files: Making Your Foundation Yellow - An Affordable Solution!
Sunday, 15 July 2018
Wednesday, 6 April 2011
Yes an apology with a capital A because I haven't blogged in over a week; firstly it was my anniversary weekend last weekend, then I had a family emergency and have been in and out of hospital for my new baby nephew, born on our anniversary!
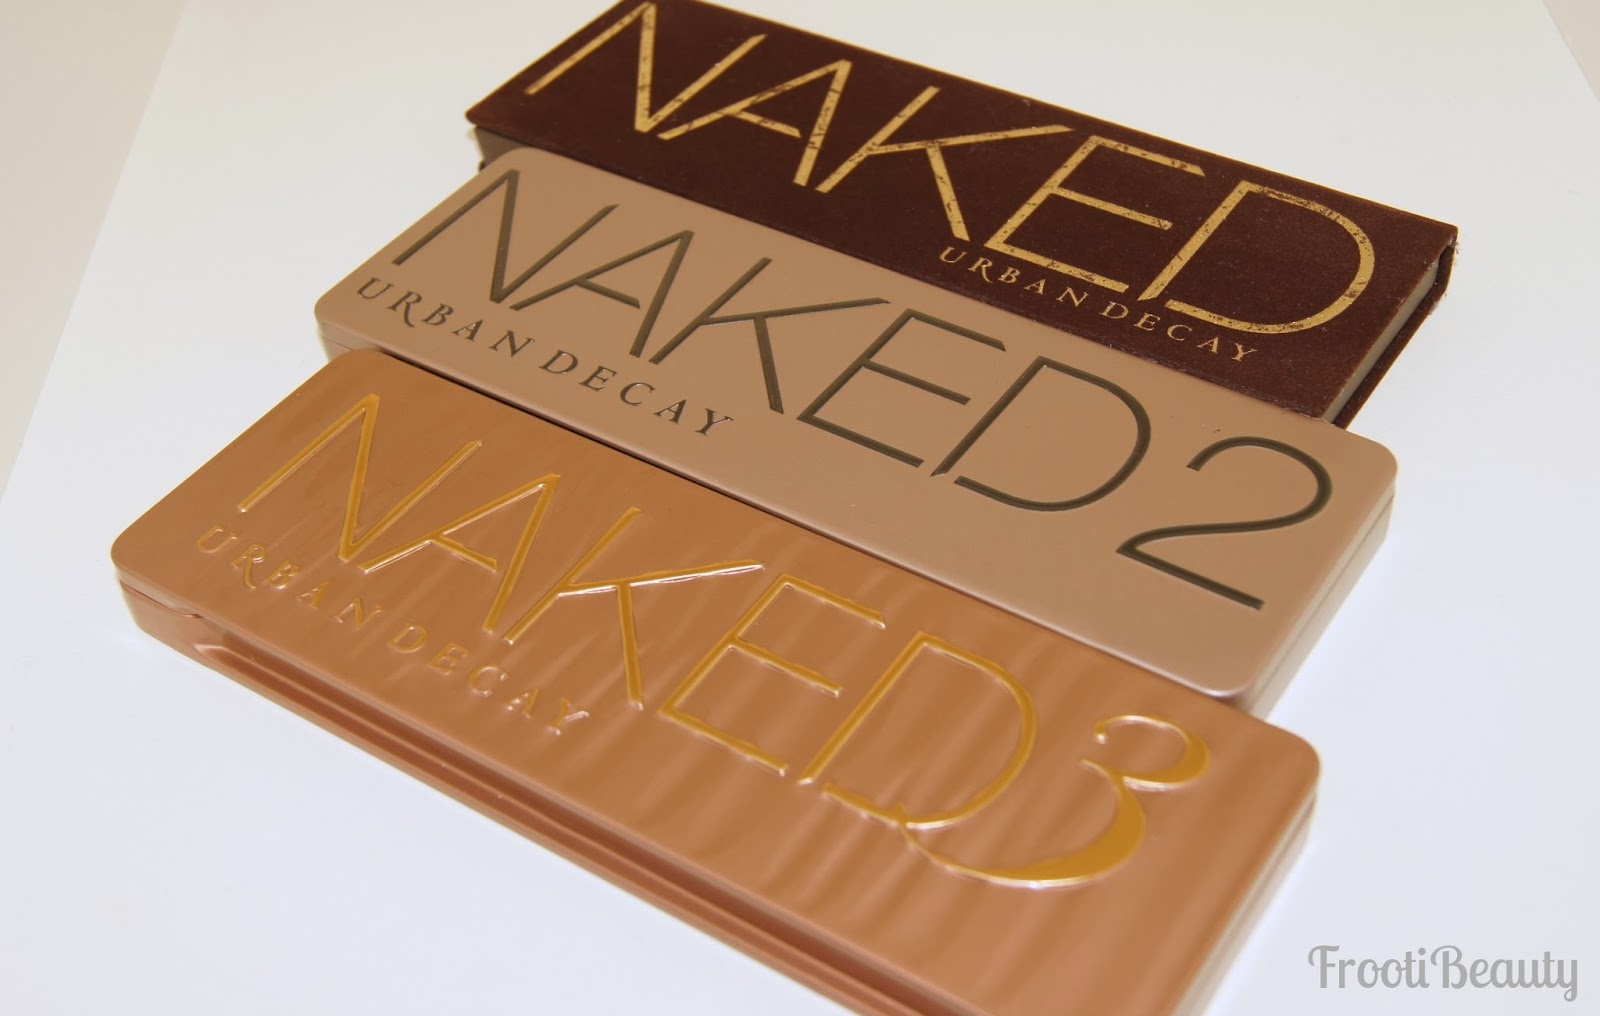
So I do apologise for the lack of posts, but I have an ELF haul and Urban Decay new palette to review for you, so here goes.
First up, my ELF haul:
 Eyebrow Kit, Elf Lip Lock Pencil, Makeup Mist & Set and Dramatic Lash Kit.
So far I've only used the Eyebrow Kit, of which the powder is slightly reddish-brown and lighter than my eyebrow colour despite being "dark" of the range. The gel part of the duo however, is more suitable for me; it isn't as pigmented as expected, but nevertheless does the job.

As for the Elf Lip Lock Pencils, I bought one for me and one for my makeup kit I'm building up, as clear lipliner is more versatile for the job. I haven't yet experienced bleeding from any lip colours I've worn so far, but I'll try and review it as soon as poss. I have read on other reviews that although the twist up design is great, it can break easily, so that's a pointer to look out for if you're considering buying this.

The Makeup Mist & Set is still unused as I tend to use the Urban Decay All Nighter setting spray, but when I sprayed this Elf spray on my hand, it did smell a little funny. This is probably because it contains Cucumber, which tends to smell a little, but that should mean this spray is a little more kinder to skin, especially because it also contains Aloe, Green Tea and Vitamins A, C & E. The smell however, does wear off once dried.
However, compared to the Urban Decay All Nighter spray, the Elf spray does contain parabens, whereas the UD one is oil & paraben free. Parabens are a cause for concern in most cosmetics these days, especially when you use the product a lot, there has been links to skin cancer. Truthfully, you'd have to swim in parabens to get cancer, so depending on how frequent you use products with parabens in and how much of it, you should be ok. But I just thought I'd let you know this product does contain parabens.
I bought the dramatic lashes cos they looked like the fullest and most natural looking ones out of all the Elf lashes, so I shall test them soon and see for myself!
Urban Decay Dangerous Palette


I bought this palette purely because Greed PP was in it and I don't have it. I already have 5 of the 6 eyeshadow colours AND the Rockstar 24/7 eyeliner. Stupid? Nope cos it a) had 10% off and b) I bought it from Debenhams, where I had collected enough Beauty Card points to get this for free. So I plan to maybe have a giveaway of the palette alone when I reach 500 followers.. I'll keep you posted on that one ;)
As for swatches, the colour Mildew is the only eyeshadow I didn't have, but I had the 24/7 eye pencil, so swatched that in place of the shadow, so you get an idea of the colour.
All the rest were swatched from my own Book Of Shadows' collections (and Naked palette for Virgin eyeshadow) and the Rockstar I already had.
 And in daylight:
 Here's the Primer Potion swatched next to the shadows and eyeliner:
 And blended in:
 I already have the Sin Primer Potion, which I use every day on its own, so here are the two PP's next to eachother for comparison:
 And blended in:
 As you can see, Greed PP is a golden yellow colour, whereas Sin is a champagne/flesh toned colour. I love both of them so far, I'll figure out how best to use Greed though!
The other new palettes include the Feminine Palette and the Fun palette. The Feminine palette comes with Eden PP, a nude matte shade that would best suit lighter skin tones in my opinion, although it can be used to correct dark eyelids before applying eyeshadow.
The Fun palette comes with the original PP.
Which of the new palettes from Urban Decay are you interested in?
And which products would you highly recommend from Elf?
Hope this post was useful to you, let me know what you think of the products =)
<3
So I do apologise for the lack of posts, but I have an ELF haul and Urban Decay new palette to review for you, so here goes.
First up, my ELF haul:

So far I've only used the Eyebrow Kit, of which the powder is slightly reddish-brown and lighter than my eyebrow colour despite being "dark" of the range. The gel part of the duo however, is more suitable for me; it isn't as pigmented as expected, but nevertheless does the job.

As for the Elf Lip Lock Pencils, I bought one for me and one for my makeup kit I'm building up, as clear lipliner is more versatile for the job. I haven't yet experienced bleeding from any lip colours I've worn so far, but I'll try and review it as soon as poss. I have read on other reviews that although the twist up design is great, it can break easily, so that's a pointer to look out for if you're considering buying this.

The Makeup Mist & Set is still unused as I tend to use the Urban Decay All Nighter setting spray, but when I sprayed this Elf spray on my hand, it did smell a little funny. This is probably because it contains Cucumber, which tends to smell a little, but that should mean this spray is a little more kinder to skin, especially because it also contains Aloe, Green Tea and Vitamins A, C & E. The smell however, does wear off once dried.
However, compared to the Urban Decay All Nighter spray, the Elf spray does contain parabens, whereas the UD one is oil & paraben free. Parabens are a cause for concern in most cosmetics these days, especially when you use the product a lot, there has been links to skin cancer. Truthfully, you'd have to swim in parabens to get cancer, so depending on how frequent you use products with parabens in and how much of it, you should be ok. But I just thought I'd let you know this product does contain parabens.
I bought the dramatic lashes cos they looked like the fullest and most natural looking ones out of all the Elf lashes, so I shall test them soon and see for myself!
Urban Decay Dangerous Palette


L-R top: Haight, Mildew, Virgin
24/7 liner in Rockstar
L-R bottom: Oilslick, Rockstar, Gunmetal

Haight & Mildew

Mildew & Virgin

Oilslick & Rockstar

Rockstar & Gunmetal
As for swatches, the colour Mildew is the only eyeshadow I didn't have, but I had the 24/7 eye pencil, so swatched that in place of the shadow, so you get an idea of the colour.
All the rest were swatched from my own Book Of Shadows' collections (and Naked palette for Virgin eyeshadow) and the Rockstar I already had.


The other new palettes include the Feminine Palette and the Fun palette. The Feminine palette comes with Eden PP, a nude matte shade that would best suit lighter skin tones in my opinion, although it can be used to correct dark eyelids before applying eyeshadow.
The Fun palette comes with the original PP.
Which of the new palettes from Urban Decay are you interested in?
And which products would you highly recommend from Elf?
Hope this post was useful to you, let me know what you think of the products =)
<3
Tuesday, 5 October 2010
After my last blog post, using the Manly 120 palette on my inlaws, I decided to try the pinks and purples of the palette on my own eyes, seeing as they're my favourite colours!
For this look I used:

> Elf mineral primer
> Manly 120 palette (pinks & purples & white for brow bone)
> UD 24/7 eyeliner in "zero"
> MAC rapidblack penultimate eyeliner
> Eyelash curlers
> Dior iconic mascara
> MAC select moisturecover (concealer) in NC35
> Illamasqua blusher in "hussy"
> Sleek pout polish in "pink cadillac"
I started with the light pinks using the MO shading brush in the inner corner of the eye, followed by a light purple on the middle of the eyelid, to the outer corner. For the brow bone I used the light pink again, along with the white (in the top left corner of the palette). I then used a dark purple with the MO blending brush for the crease, blending upwards and also using along the bottom of the eye. I kept blending until the colours became a gradient, with a smooth appearance. Compared to Urban Decay colours, I must say that these seemed less pigmented/vibrant than I'm used to; I found myself adding more pink as it felt too light.
I lined the eye with UD Zero eyeliner, and MAC penultimate liner. The MAC liner seemed a bit tricky for me, making my eyeliner look a bit juddery, possibly because the tip is very very thin.. Then again, it was my first time using this liner so I hope to improve!
After using MAC select moisturecover (which I LOVE btw!), I curled my lashes & added two coats of Dior Iconic mascara.

For the rest of the face, I used Illamasqua Hussy blush using my Elf angled brush, on the apples of my cheeks.


I then chose a different colour pink for the lips: Sleek Pink Cadillac pout polish.


> Elf mineral primer
> Manly 120 palette (pinks & purples & white for brow bone)
> UD 24/7 eyeliner in "zero"
> MAC rapidblack penultimate eyeliner
> Eyelash curlers
> Dior iconic mascara
> MAC select moisturecover (concealer) in NC35
> Illamasqua blusher in "hussy"
> Sleek pout polish in "pink cadillac"
I started with the light pinks using the MO shading brush in the inner corner of the eye, followed by a light purple on the middle of the eyelid, to the outer corner. For the brow bone I used the light pink again, along with the white (in the top left corner of the palette). I then used a dark purple with the MO blending brush for the crease, blending upwards and also using along the bottom of the eye. I kept blending until the colours became a gradient, with a smooth appearance. Compared to Urban Decay colours, I must say that these seemed less pigmented/vibrant than I'm used to; I found myself adding more pink as it felt too light.
I lined the eye with UD Zero eyeliner, and MAC penultimate liner. The MAC liner seemed a bit tricky for me, making my eyeliner look a bit juddery, possibly because the tip is very very thin.. Then again, it was my first time using this liner so I hope to improve!
After using MAC select moisturecover (which I LOVE btw!), I curled my lashes & added two coats of Dior Iconic mascara.
For the rest of the face, I used Illamasqua Hussy blush using my Elf angled brush, on the apples of my cheeks.


I then chose a different colour pink for the lips: Sleek Pink Cadillac pout polish.


<3
11
comments
⋅
Labels:
Elf,
FOTD,
Illamasqua,
MAC,
makeup looks,
Manly 120 palette,
Sleek,
urban decay


Wednesday, 22 September 2010
I've been a tad busy the last two days, so haven't had the chance to blog, but after watching Prince of Persia the other night, I've been thinking to do the Princess Tamina/ egyptian style makeup look.
Here's what it looks like in the film when she's first introduced (sorry about the quality, there's barely any pictures of this makeup look on the internet!):


So I finally got the chance to do it, and here's what I used:
> Elf eyeshadow primer
 > UD Deluxe Shadow Box - "honey" & "underground"
> UD Eyeshadow Transforming Potion
> UD 24/7 eyeliner in "zero"
> MO black kohl eyeliner
> Maybelline black eye definer
> Dior iconic mascara
> UD Surreal Skin concealer in "hallucination"
> myface.cosmetics concealer in "213"
> Clinique bronzer in "almond blossom" & blusher in "sunset glow"
> Elf luscious liquid lipstick in "maple sugar"
To start, I used Elf primer (thought I'd give it another go and blend in well this time!), then I added UD honey eyeshadow using the UD eyeshadow transforming potion (ETP). The ETP basically makes a powder shadow into liquid shadow, making it more shiny, which is what I was looking for as the Princess Tamina look is very shiny/metallic. I lined the bottom lashline with honey eyeshadow also using the ETP. I then blended UD underground into the crease of the eyes with the MO blending brush, but not too much as the gold is the main focus. To line the eye, UD zero eyeliner was used, along with MO black kohl eyeliner, and then Maybelline eye definer on top, for a more intense black (as the gold shadow can glitter down the liner). A larger flick was done on the top eyeliner compared to the smaller flick on the bottom lash line. More honey eyeshadow was added in between the two eyeliner flicks, and a diamante was stuck in place there too.


After applying concealer and Dior mascara, Clinique almond blossom bronzer was used under the cheek bones for definition, and a little sunset glow blush on the apples of the cheeks.

Finally, Elf lipstick in maple sugar was added for more neutral lips, which is a minty lipstick, with more of a lipgloss texture (a little sticky).

Now to think of what to do next!
<3
Here's what it looks like in the film when she's first introduced (sorry about the quality, there's barely any pictures of this makeup look on the internet!):


So I finally got the chance to do it, and here's what I used:
> Elf eyeshadow primer
 > UD Deluxe Shadow Box - "honey" & "underground"
> UD Eyeshadow Transforming Potion
> UD 24/7 eyeliner in "zero"
> MO black kohl eyeliner
> Maybelline black eye definer
> Dior iconic mascara
> UD Surreal Skin concealer in "hallucination"
> myface.cosmetics concealer in "213"
> Clinique bronzer in "almond blossom" & blusher in "sunset glow"
> Elf luscious liquid lipstick in "maple sugar"
To start, I used Elf primer (thought I'd give it another go and blend in well this time!), then I added UD honey eyeshadow using the UD eyeshadow transforming potion (ETP). The ETP basically makes a powder shadow into liquid shadow, making it more shiny, which is what I was looking for as the Princess Tamina look is very shiny/metallic. I lined the bottom lashline with honey eyeshadow also using the ETP. I then blended UD underground into the crease of the eyes with the MO blending brush, but not too much as the gold is the main focus. To line the eye, UD zero eyeliner was used, along with MO black kohl eyeliner, and then Maybelline eye definer on top, for a more intense black (as the gold shadow can glitter down the liner). A larger flick was done on the top eyeliner compared to the smaller flick on the bottom lash line. More honey eyeshadow was added in between the two eyeliner flicks, and a diamante was stuck in place there too.


After applying concealer and Dior mascara, Clinique almond blossom bronzer was used under the cheek bones for definition, and a little sunset glow blush on the apples of the cheeks.

Finally, Elf lipstick in maple sugar was added for more neutral lips, which is a minty lipstick, with more of a lipgloss texture (a little sticky).

Now to think of what to do next!
<3
Friday, 17 September 2010
Ok Jessica Alba is undoubtedly one of the hottest celebrities, and is my favourite. What I love most about her is the fact she wears very subtle makeup like eyeliner and mascara and still looks great.
When trying to find a picture of her wearing visible makeup, it was pretty hard!
But I managed to find one of her wearing fairly dramatic makeup, so I decided to try it out. Here's the look:
It looks quite 60s to me, Twiggy comes to mind, just less dramatic eyeliner. I don't usually like using very dark colours in the crease of the eyes because it can give the impression of a panda, but I attempted the look and it didn't look too bad! I didn't have the exact matt minty/pastel blue as used with JA, but I found a cool blue (shattered) with tones of green-gold from my first Book of Shadows, and mixed it with the Models Own (MO) "white pearl".
Here's what I used for the look:

> UD Book of Shadows I - "shattered" and "perversion"
> MO "white pearl"
> Barry M "30" or "white"
> MO black kohl eyeliner
> Eyelash curlers
> Dior Iconic mascara
> UD Surreal Skin concealer in "hallucination"
> myface.cosmetics concealer in "213"
> Clinique "sunset glow" blush & "almond blossom" bronzer
> Elf lip gloss in "honey"
First I used the MO eyeshadow shading brush to apply MO white pearl to under the eyebrow/brow bone. I then put "shattered" all over the eye, from the eyelid to the brow bone, going over the white shadow. I then used the MO angled/liner brush to add a line of perversion to the crease of the eye, blending very slightly, then more so with the MO blending brush, adding very lightly some more perversion to try and achieve the desired look. I made sure I was careful to try and not add too much black because of the aforementioned panda eye scenario, and also from the side view of the Jessica Alba pic, the black isn't very visible.


I then used the Barry M white eyeliner on the lower water line, and a little of the MO white pearl on the lower lashline, using the MO angled brush. I then lined the top eyelid with MO black kohl eyeliner and then curled the lashes with the new Elf eyelash curlers I bought, followed by Dior Iconic mascara on top and especially bottom lashes (using zigzag motions).
After applying the two concealers under the eye, I used both of Clinique's blush and bronzer, applying the sunset blush to the apples of the cheeks, and the bronzer to the tops of cheeks, to give a slight shimmer.

Finally I used Elf lipgloss in honey for a nude-ey golden touch à la Jessica Alba and this lipgloss smells and tastes like sugar!
Et...


Voila!


I actually think the look ended up looking more Kim Kardashian than Jessica Alba, but they look similar to me anyway and both are certified hotties, so can't be all that bad!
<3
3
comments
⋅
Labels:
barry m,
book of shadows,
clinique,
Elf,
FOTD,
makeup looks,
models own,
myface.cosmetics,
urban decay
E.L.F brand tryout
So looking at makeup tutorials online, I noticed a lot of people seem to be using Elf products, in both the UK and US (click here for website). I saw some using the Elf primer on the eyes and thought I'd give it a go and see how it matches up to my Urban Decay primer potion (UDPP).
Browsing on the site, I couldn't help but gasp at the prices; the mineral makeup (from eyeshadows to lipsticks) started from £3, whilst the non-mineral makeup started from £1.50!! I bagged quite a bit as I wanted to try the brand and seeing as many people seem to already use the products.. which must mean they can't be bad!
I bought the mineral and non-mineral eyeshadow primer, eyeshadow duo "olive" in cream shadow and powder shadow, 3 lipglosses, 1 lipstick & 1 lipliner, and accessories- 9 piece brush set and eyelash curlers:
 | |
| Elf haul! |
Not much eh! *blush*
First I checked out the eyeshadows:

First I checked out the eyeshadows:

I'm not usually a fan of cream eyeshadows. For some reason I think they have more chance of creasing, although Elf packaging says it's "crease-free" so maybe I'll learn to love them. I tried both the olive duos on my hand and I noticed the cream shadows were a little tricky to spread evenly, even though it was on my hand. However, the cream shadows had better vibrant colour than the powder one, a more golden tone:

I decided to try mixing the two shadows (cream & powder), and it actually looked better than any of the one duos alone as you can see above. It gave a much more vibrant, pigmented colour, something I'm used to with Urban Decay, and more expensive brands. So I'd personally recommend buying the powder and cream shadow and using it together if you're wanting to buy from Elf.. and for £1.50 each it's practically robbery!
I tried the primers on my hand next, both the non-mineral (normal) primer and the mineral.

They had the same peachy/nude skin tone as the Urban Decay Primer Potion (UDPP), but when I applied the powder duo eyeshadow on top, you could still see the peachy/ashy undertone of the primer :(
It did however make the green shadow stand out a bit more than when on its own, giving it a more pastel/minty green colour, and the brown an ashy brown colour.

I thought I'd try the same powder shadow over the UDPP, and the results were:
 As you can see, the UDPP brought out the golden tone of the shadow, giving it a similar effect as the cream shadow, or both cream and powder mixed. Unfortunately, I have to say nothing beats UDPP, but its worth giving a try, and maybe I'll try the Elf primer using less product, as this could have made the eyeshadow look ashy.
I was pleased with the brush set; for £15 you can barely get 1 brush at MAC let alone 9! When I used the angled blush brush the hairs didn't come out as cheaper brand brushes tend to do, so I'll be seeing how that goes as I use them ;)

The lipglosses reminded me of Stila lip glazes, the clear tube and brush tip applicator, and I think the colours Elf offer are pretty great (barring a slight stickiness!)


vs
I put my collection in colour order above, from left to right are the colours:
Honey, Maple Sugar (lipstick), Berry Cherry & Joy.
I'll be using the lipglosses in the looks to come, so keep a lookout!
Next I'll be attempting a Jessica Alba look.. where she's actually wearing visible makeup!
<3
I tried the primers on my hand next, both the non-mineral (normal) primer and the mineral.

They had the same peachy/nude skin tone as the Urban Decay Primer Potion (UDPP), but when I applied the powder duo eyeshadow on top, you could still see the peachy/ashy undertone of the primer :(
It did however make the green shadow stand out a bit more than when on its own, giving it a more pastel/minty green colour, and the brown an ashy brown colour.

I thought I'd try the same powder shadow over the UDPP, and the results were:

I was pleased with the brush set; for £15 you can barely get 1 brush at MAC let alone 9! When I used the angled blush brush the hairs didn't come out as cheaper brand brushes tend to do, so I'll be seeing how that goes as I use them ;)

The lipglosses reminded me of Stila lip glazes, the clear tube and brush tip applicator, and I think the colours Elf offer are pretty great (barring a slight stickiness!)


vs
I put my collection in colour order above, from left to right are the colours:
Honey, Maple Sugar (lipstick), Berry Cherry & Joy.
I'll be using the lipglosses in the looks to come, so keep a lookout!
Next I'll be attempting a Jessica Alba look.. where she's actually wearing visible makeup!
<3
Subscribe to:
Posts (Atom)