FFF: Naked 3 Makeup Look

Friday 29 November 2013

Today's FFF is inspired by my newest and exclusive palette - Naked 3 (see previous blog post for swatches and review). Listed below are all the products used for this look, hope you enjoy and are inspired if you've pre-ordered yours for December!

Products used:
Eyes: 
> UDPP - Eden

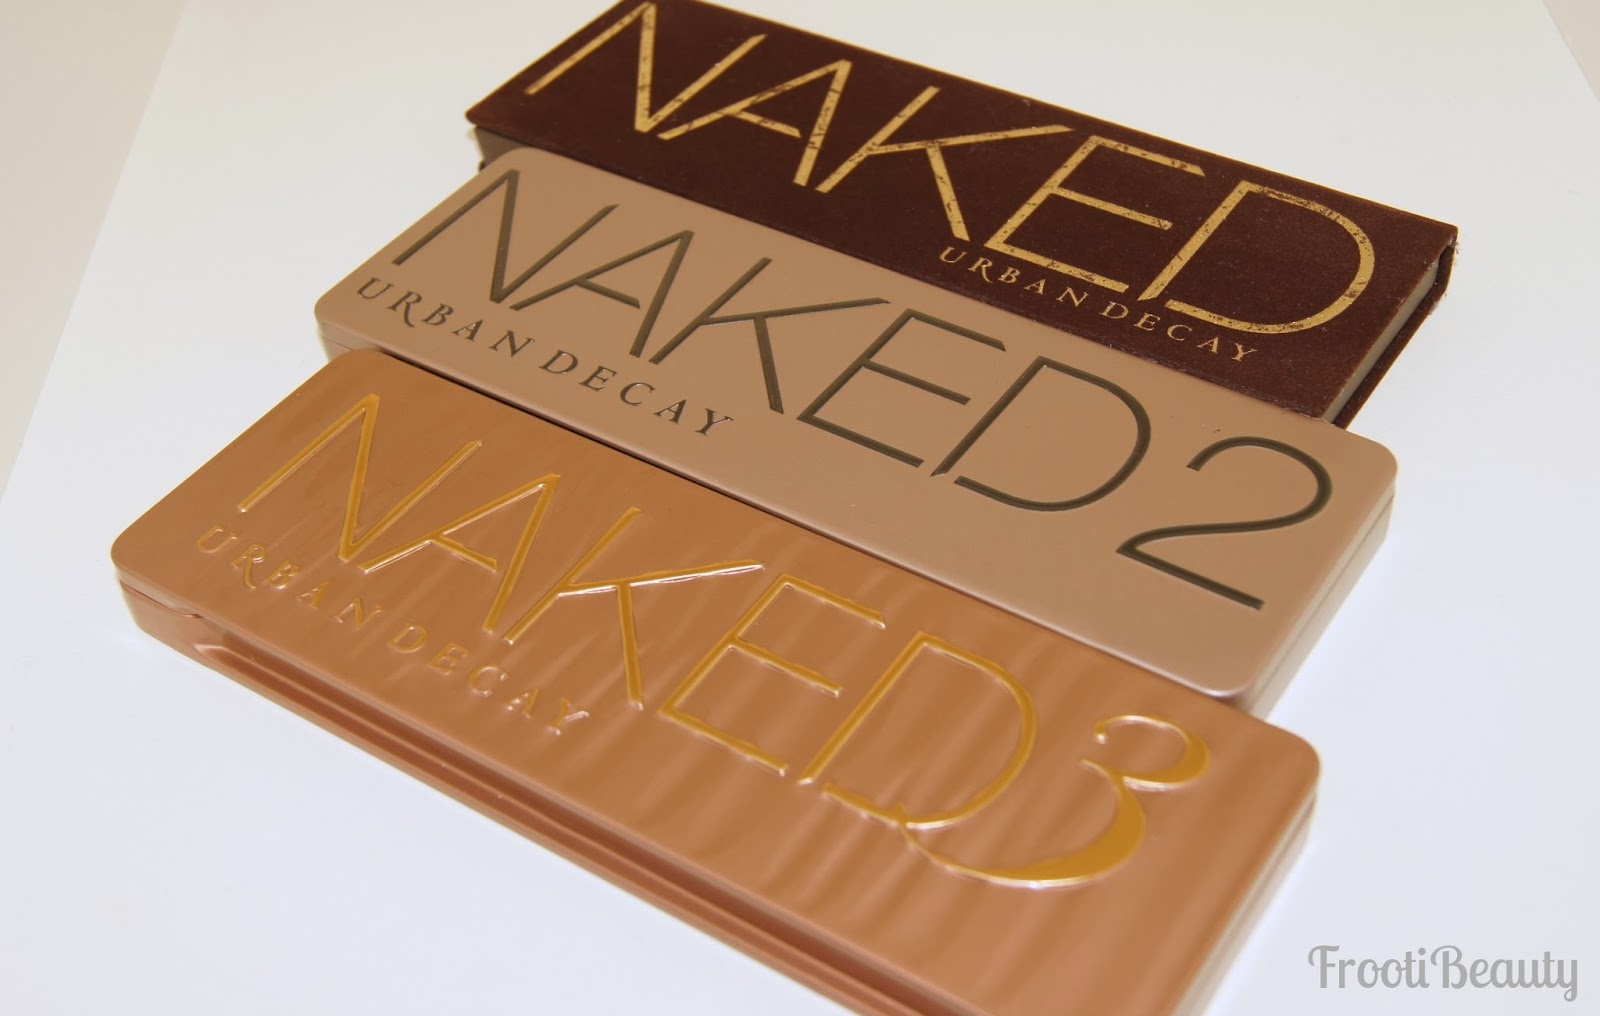
> UD Naked 3 Palette - Strange, Dust, Limit, Buzz, Trick, Nooner, Factory, Blackheart
 
> UD Perversion 24/7 eye pencil
> Inglot AMC eyeliner gel - 77 (black)
> Daniel Sandler Jumbo Jet Mascara
> UD 24/7 concealer in ATF
Face: 
> UD 24/7 concealer pencil in ATF
> UD Naked Skin Foundation in 6.0
> Motives Sculpt & Shape Duo 
> UD Toasted Bronzer - Toasted
> UD Shattered Palette - Overexposed Blush and Glint highlighter
Lips:
> UD 24/7 lip liner in Naked2
> UD SSLC in Lovechild

Eye makeup steps:

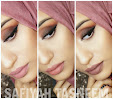
I started by priming the eyes with UDPP in Eden and then highlighted the brow bone with the matte shade Strange. I then highlighted the inner corner of the eye with Dust, followed by Buzz on the inner eye until the middle of the eyelid. I then added Nooner after the middle of the lid and Blackheart on the outer corner, blending upwards and inwards into the crease. Nooner was blended above the crease and into the Blackheart shade to soften it. Limit was added above this and blended upwards into Strange on the browbone. I went back and added a little bit of Trick with my finger to the middle of the lid on top of Buzz.
I lined the top eyelid with Inglot Gel eyeliner and the inner eye with Perversion eye pencil. I used the remaining colour from the liner brush to sculpt the brows and fill them.
Using a wet liner brush, I followed the same sequence from the top eyelid to the bottom lashline with Dust, Buzz and Blackheart.

After concealing under the eye and around the inner eye area, I added Daniel Sandler Jumbo Jet Mascara to finish the eye makeup:

Face makeup steps:

For the rest of the face I used the ATF concealer on areas that needed more coverage, then blended the Naked Skin foundation in 6.0 all over the face for the base. I then sculpted the cheekbones with Motives Sculpt & Shape Duo, followed by UD Toasted Bronzer above and a bit of Overexposed blush on the apples of my cheeks. To highlight, I used Glint from the same Shattered palette (review here) as the Overexposed blush.
Finally for the lips I first used Naked2 lip liner but felt there was something better about a pinkier tone for this look to tie in with the rose-gold theme so added SSLC in Lovechild on top:
I chose to go for the shimmery/glittery colours from the palette for this look as it is the festive season after all and those glittery shades just called out to me, particularly my favourites Blackheart and Trick/Buzz.

I was dying to see how the neutrals would look on my yellow skintone and though I'm not usually a fan of rosy colours on my skin, these colours are lovely to wear if you don't feel comfortable wearing brighter shades of pink.

If you like what you see and don't want to miss out on getting your hands on the lovely Naked 3 palette, don't forget to check my previous blog post (here) with information on release dates and where to order or pre-order from.

UPDATE: HQHair are now offering pre-orders too and with an additional 10% off!! Click here for the direct link to the offer, don't miss out on getting yours!

What are your thoughts on the Naked 3 look I've created? Would you wear this look?


Urban Decay Naked 3 Palette - Rose Neutrals (Swatches and Review)

Thursday 28 November 2013

Following on from my previous post, I thought I'd share my experience from the exclusive Naked 3 event I attended on Tuesday and of course get down to actually showing the beauty of the palette with swatches!

Warning: this is a very long post and is picture heavy!
 

Naked 3 - Rose Neutrals

As I entered the event on Tuesday, I was greeted with a poster of the new Naked 3 visual "12 all new Rose Neutrals":
I'd seen images of the palette from Temptalia and of course fell in love with the rose-gold theme as it's very on trend and has a certain richness to the colour.

A stand ahead of me held "The Perfect Threesome" of Naked palettes; of course I had to lay them out next to eachother for comparison and Instagrammed a picture of them straight away, but in this blog post I've added the clearer picture taken with my camera:
I went straight ahead and dunked my fingers into the sumptuous Naked 3 which felt like butter underneath my fingertips.
I was particularly intrigued to try out the matte shadows in the palette as usually matte shadows don't tend to be as pigmented as shimmers but I was pleasantly surprised as I swatched the first shadow "Strange" on my hand; unlike Foxy from Naked 2, Strange is much more pigmented and softer to the touch which meant to me that it would be a much better highlighting shadow than Foxy which didn't quite show up as much as I'd have liked it to.

As I spoke to the head makeup artist for Urban Decay, I found out that Urban Decay had also added double ended "Naked" 24/7 pencils for each of the Naked Palettes, bringing back the Zero/Whiskey from the original Naked palette that I bought as well as a few others (Temptalia again has posted pictures of these).

I then had to head off to another event which I'll be posting about shortly, but when I got home, all I could think about was my gorgeous new Naked 3 palette sitting there and decided to snap some pictures:
Also included with the Naked 3 palette is a 4-pack sampler blister pack, containing a 1 week supply of 4 different eyeshadow primers in Original (clear/invisible), Eden (nude matte), Sin (champagne shimmer) and the new Anti Aging primer (invisible).
4-pack eyeshadow sampler included with Naked 3

Naked 3 Swatches

Although Temptalia is my main source of info for the clearest swatches, I decided to swatch the Naked 3 palette on my own skin as I know a lot of my followers on Instagram, Twitter etc are of a warmer skintone and were asking me how it would look on our tones.
I'm particularly yellow in skintone so I myself was intrigued as to how it would look on my skin.
I split the swatches into 4s for swatching purposes and have them all in a single picture at the end: 
All shadows swatched on arm

Review

Packaging: The packaging for Naked 3 is pretty much identical to Naked 2, except that it is in a gorgeous rose gold shade and has a ripple effect on the outside. I like that it is sturdier and clips shut unlike Naked 1. The brush included is double ended like with Naked 2, however instead of a fluffy crease brush you get a blending brush.

Colour & Pigmentation: The shadows in this palette are rose-hued to match the whole rosy theme. As you can see above, the shadows are very very pigmented as always with Urban Decay. 
All shadows in this palette are completely new.
I found Trick to be less pigmented out of all of them, however when applied wet/with the finger it becomes amazingly pigmented and sparkly, so it's actually my favourite!
Blackheart is my next favourite as it's an interesting colour; it's described as a smoky black matte with rosy red micro sparkle, but I see a deep purply/aubergine colour in it, and when you can't see the sparkle it looks black.. amazing!

Texture: The palette includes 3 mattes (Strange, Limit and Nooner), 4 glittery/sparkly shades (Dust, Buzz, Trick, Blackheart) and satin/shimmers. All are smooth to the touch of course.

Longevity: Without being biased, I've always found UD eyeshadows to last a crazy long time, particularly when paired with the Primer Potion.

Price: At £37, the Naked 3 is priced the same as the other Naked palettes which works out £3.08 per eyeshadow. Full size eyeshadows by UD are priced at £14 each so this works out pretty cheap even if they're not full size! Not to mention a standard shadow brush is usually £14.50 alone and you get a double ended one in this palette. Score!

FrootiFactor: I love the packaging and pigmentation of this palette; not to mention the new range of neutrals that a makeup artist can never have enough of! I'd give this palette a 4.5 out of 5, only because I don't think it will be very suitable for the deepest of skintones:
The Naked 3 Palette will be available to buy on the 16th December 2013 from Debenhams and House Of Fraser stores as well as online and at these online retailers: LookFantastic, HQhair and BeautyBay.

From the responses I've seen about this palette through my own social media sites as well as from looking at how it sold out in the US hours after going on sale, I highly anticipate this palette to send everyone into a buying frenzy just as with the release of Naked 2.

If you want to pre-order the palette without having to worry about it selling out, you can do so via LookFantastic HERE who offer free delivery, or Next Day Delivery with the code "NDD1". You're welcome.

I will be doing a "FrootiBeauty's Guide to Naked Palettes" post very soon if you're confused about which palette to get for you, so do keep an eye out for that!

What are your thoughts on this palette? Are you an UD Junkie like me and adding this palette to your collection?


My Urban Story and Some Naked History

So I have a whole list of things to blog about, but of course the Urban Decay Naked 3 event came around and that list flew out the window.

And for good reason!


I was one of the lucky people to be invited to the launch of the Urban Decay Naked 3 Palette on Tuesday and was over the moon. All those who know me (friends, family, followers, my cat) all know I'm an Urban Decay Junkie. So I thought I'd give a little background history on the brand that is closest to my heart.

My Urban Story

It started when I worked in retail a good couple years ago and I had discovered Urban Decay at the department store I worked in and began buying a ton of their palettes and products (which included the first ever book of shadows amongst many other smaller pretty palettes).

Whilst studying at university, my playtime came when I got to check out the new Urban products and releases, I'd already been amazed at the sheer amazing colour payoff back then and convinced all my uni mates to own at least one palette.
 

The obsession grew and after I graduated I decided I wanted to be a makeup artist and I knew the only brand I wanted to work for was of course Urban Decay. You can find earlier "diary" type entries of my Urban Decay purchases here and an early Naked 1 makeup look here (excuse my face, but look at how practice helps makeup become better!)

Getting the job on the counter was like a dream come true. I was trained on the products and what they did, then I worked day in and day out beautifying people of all ages, skintones and types with some of the most amazing products on the marke.
Helping people get comfortable with colour cosmetics and even glitter was a great achievement for me and contributes to why I love teaching makeup to clients, followers and any makeup enthusiast.
The quality of the UD products spoke for themselves and I had customers returning for more just as I had been hooked when I discovered them.
most of my palettes collection and some extras.. a lot has been blogged about already! Do you see any palettes/products you own here?
Fast forward a few years more and though I've become a freelance makeup artist and use various brands in my kit, I'm still enthralled by the constant improvement of quality from Urban Decay and have pretty much converted everyone I know (including my mum!) to something or other of Urban Decay's.
Once you go Urban, you never go back. The rest is history. 

Naked Background

Despite Urban Decay being known as the colourful, glitzy brand, after the success of the original Naked palette (Naked 1) they knew they had hit a goldmine. 

The first batch of Naked palette came with a double ended 24/7 pencil (Zero/Whiskey) which I bought and loved. It started as limited edition but due to the demand and popularity of the palette, UD brought it back, this time with a brush.
I remember working for UD at this point and Naked 1 flying off the shelves in batches, particularly when UD wasn't available in countries like China and UAE, so people would come and bulk buy the coveted Naked palette.

No other brand had made a palette with these gorgeous wearable neutral shades and I was proud to be selling this amazing product that actually suited everyone. One of my makeup looks (Naked Arab look) with the Naked 1 palette to date is still the most popular blog post and I even went on to make it my first masterclass makeup look tutorial (blog post here).

When Naked 2 was announced, I had been blogging and was excited that another gorgeous neutral palette was being made available! (Review with swatches here)
I created a smokey look with the matte black from the palette which I'm still a huge fan of as matte black shadows are like an eyeshadow staple.

Then a range of Naked products including the Naked Skin foundation (review here), face powders and a few lip products all were released as the neutral and barely there theme was clearly a big hit.

Now with Naked 3 being released, the saga continues and is still very much a huge deal.
Read on in my next post for more info on the new and eagerly anticipated Naked 3.

Please feel free to browse other Urban Decay posts including reviews and makeup looks I've created with the products by clicking on the "Urban Decay" label (here).

What's your Urban Story? Do you have a brand you feel this passionate about too? 


Sunday Swatches: Kiko Colour Evolution Must Have Eyeshadow Palette

Sunday 24 November 2013

Now that palette name is a mouthful in itself!

This weeks Sunday Swatches post is a requested one after I put up a picture and video of the palette on my Instagram.

Back in December 2011, I bought another colourful holiday palette by Kiko (blog post here) and was impressed with the quality back then and not much has changed since then, but in fact my opinion of Kiko is higher now. Scroll further for this year's Holiday eyeshadow palette from Kiko and swatches.


Evolution Must Have Eyeshadow Palette

This limited edition palette boasts 16 shades of baked eyeshadows in a range of finishes, from pearly, to matte, to sparkly and metallic.

Swatches

Packaging: These gorgeous baked shadows are encased in their square sturdy two-tone case which looks pinky-white in different lights and a holographic round circle design in the middle. Inside the lid is a full mirror which is handy.

Colour & Pigmentation: The shadows are much less powdery than the Light Impulse eyeshadow palette as the baked texture means they have more intense pigmentation. They can be used wet or dry, however I used them dry to swatch them above and they were still pretty pigmented (some were swiped twice).
Some shades are more pigmented than others; generally matte shadows are less pigmented usually but these are all fairly decent, including the matte shades.

Texture: The texture isn't as powdery as the Light Impulse palette but still not as soft/buttery as Urban Decay shadows of course.. Some shades were more silky/smooth than others within the palette.

Longevity: Baked products generally last longer when worn on the skin so I'd say these would last, particularly if worn with an eyeshadow primer. Baked products also hold together better in the packaging which means you use less product and it lasts longer!

Price: At £34.90 it works out as around £2.20 per eyeshadow which is a bargain in my books.

FrootiFactor: I'd give this palette a 4 out of 5 as I feel like it has a great mix of neutrals, brights and mattes and of course the value of the product is worth it considering how long the product would last in your makeup wardrobe!
Overall, I'd say its a great palette to get for yourself or as a present this Christmas as it has a good mix of shades and finishes.

Kiko have a few different Holiday gift sets available, including for the nails, lips, eyes, face and brushes, so it's definitely worth having a look at your nearest Kiko store and online at www.kikocosmetics.com


Have you ever tried any Kiko products? What are your thoughts on the brand?


FrootiMasterclass - Green Eyeshadow Look

Saturday 23 November 2013

Last Saturday (16th November), I held my second masterclass, which involved recreating my Green Motives Party Makeup Look below:
I chose this look as it was fairly popular in my recent posts and I wanted to do a colour makeup look that people could try and get comfortable with as my last class was a neutral coloured look and colour is always something people could add when going out/matching outfits (you can read all about my first masterclass here).

The class was held in the lovely new St Pauls Community Centre near Mile End in London which was a lot larger than the salon I used last time and held 22 people comfortably, with a few of my lovely helpers dotted around.
#frootimasterclass signs up outside the room

the classroom empty and set up, before the students came in!
the pretty butterfly mirrors for everyone to see themselves in
I had the room set up in a kind of horse-shoe shape with extra chairs in the middle (in front of my demonstration table and chair) and behind me was two extra tables, one for food and one for the spare makeup I'd brought for those who didn't have everything I had put down on a list.
some of the spare makeup, brushes and disposables available
a lovely shot of the cupcakes I had made by the lovely Saleha for the class 

The Class

I split the class into 3 main parts that I always get asked about by clients and followers/readers: 
  • eye makeup
  • foundation and concealer
  • basic contouring 
The main part of any makeup look I do (whether on myself or on clients) is always concentrated on the eyes, therefore it made sense to spend more time on the eyes to perfect the blending technique and then concentrate on the main parts of foundation, concealer and contouring.

I started with the eyes on my model, using the same Motives eyeshadows I used in the blog post, and showed the class how I blend and highlight the browbone, using a range of brushes and how to use them.

me with my massive Motives palette!
applying the eyeshadow on model
I was going to go on and finish the eyes in one go but the class felt like they had a fair few steps to do already so I let them all go back to their seats to get started and dotted around to help where needed:
the lovely Annie from Epiphanniea.co.uk
Naheeda from LoveNaheeda/StreetPrincess
Yasmin doing her other eye superbly while I went around helping others

Not everyone felt comfortable with putting a colour as bright as green on their eyes, but I did encourage as many people to try the colour out before settling for a neutral as it's a great opportunity to do so in a class like this!
 
The girls then came back together to watch me finish the rest of the eye makeup; no makeup look is complete without eyeliner and mascara and of course the brows had to be filled in so I demonstrated this and let the class get on with this before we broke for a lunch break.
everyone getting their eyeliner on, whilst I went around helping here and there

students helping eachother out
After a well deserved lunch break, the girls came back we went straight onto concealer and then foundation.
Again, I went around the room as the students applied their foundations, and answered any concerning questions about their foundations and how to use them as everyone in the class had different types of foundations and concealers.
Finally, I hit the topic of contouring, highlighting and blush which is always requested by both followers and clients these days, so I taught my ways of contouring the cheeks and face, where it enhances the natural features without being too OTT.
the class listening avidly!
picture of me contouring by Sheenie of Just-Nice-Things
Sheenie, Ayshe and Annie getting their contour on!
I then left the girls to choose whichever lip colour they liked to go with their look; not everyone went with green eyeshadow but those who did had a choice of colours (as in my picture at the beginning of this post).

Some of the lovely students and bloggers who attended:
Sobia & Busola
Asmaa (Chocoholic Hijabi) & Naheeda (LoveNaheeda/StreetPrincess)
Sheenie (Just-Nice-Things) and Ayshe (Discovering Beauty)
Asma & Aliya
Aaliyah (PyariBeauty) who totally suited the green shadow best!
Annie (Epiphannie) & Sam (SamRam)


More pictures of the class and students can be found on my facebook page album: November 2013 Makeup #frootimasterclass


Of course my lovely students couldn't leave without their purple goodie bags which contained some makeup goodies from my favourite brands Motives, Urban Decay, Nanshy, Kiko, Ardell, to name a few!

I also managed to get a group pic with a few of the girls before we left (excuse the tired face, I was well and truly knackered by this point!):
I really loved teaching this wonderful group of girls; the way they adopted the eyeshadow techniques and made the look their own made me really proud and I would definitely love to do a few more in 2014 hopefully!

I really would like to say a big thanks to a few people for helping make this class happen too; MangoWhirl for being photographer, helper, timekeeper and more, as well as Loren Ridinger for Motives, Paula from Nanshy, Susannah (and Georgie) from Estee Lauder and of course the lovely girls who attended the class!

Of the bloggers who attended, Sheenie, Sam, Asmaa and Aaliyah reviewed my masterclass, do have a read over on their blogs to see what they thought and how they got on!

If you're interested in attending a masterclass in the near future, do contact me via email.

I'd love to hear your thoughts on this post and if you'd attend a masterclass like this!


template design by Studio Mommy (© copyright 2015)