Illamasqua Paranormal collection launch!

Sunday 28 April 2013

Earlier this week I was lucky to be invited to the new Illamasqua collection launch and as always I was enthralled to meet the faces behind the brand and of course Alex Box and David Horne.

The new collection, entitled "Paranormal" is inspired by a sense/feeling of something different and the collection boasts a range of textures and colours to explore this "paranormal" area. Illamasqua again challenges normality in the beauty world and asks "Why be normal when you can be paranormal?"

If you follow me on Instagram you may have already seen some of the preview pictures like the visual above which I absolutely love!

The launch was filled with darkness, smoke and blacklights hanging from the ceiling everywhere, the polishes were a-glow under the lighting and the rest of the products were scattered around the manicure area for us to view. The other side had a glowing bar area with glowing drinks and flowing smoke bowls.. all mystical and paranormal!
I chose to get the pink polish (Ouija) done with a feature/accented purple (Séance) nail:
The polishes looked amazing under the black light - Seance glowed a pink colour and Ouija glowed a sort of coral colour; I took a picture with Nilmini from Illamasqua who had her nails painted with Omen (green) and Seance:
The polishes are limited edition and available for £15 each. The Top Coat "Geist" glows a blue colour and is £13; it can be used on top of normal or UV polishes or alone.

I caught up with David in the manicure area and he explained that the Hydra Veil (£27.50) is not just a moisturiser or a primer; it's basically a cosmetic care layer of water for your skin to enhance makeup application and even out the surface of the skin. He showed me how the gel when mixed with the spoon, it evens itself out and doesn't stay hard; in the same way it helps smooth out the skin:

I then caught up with the amazing Alex Box about the whole collection; I asked if Illamasqua would be branching out into skincare after Hydra Veil but it doesn't seem to be the case and to be honest I prefer it when brands stick to cosmetics as it can become quite diluted and unfocussed; and Illamasqua sure is a creative cosmetics brand.

We talked about the Paranormal palette (£34) and how the textures are putty-like; Rose from Illamasqua's PR team wore Possession (cool-bright green) as a highlighter and it looked absolutely amazing; the rest of the colours are just as impressive!
without flash
with flash
The two lipsticks from the collection (ESP and Posture, both swatched above) to my delight are both shades of purple and can be used together to create amazing ombre lips. The true shade can be seen above of both colours with flash- ESP is a vivid violet colour and Posture is a cool mauve/lilac. Both are £16.50 each:
The newest Gleam (or highlighter) Illamasqua created for this Paranormal collection is in the appropriately named "Supernatural" and is available for £18. It's an unusual warm bronze shade and would be perfect for warmer skin tones:
swatched with flash
There's also a new black eyeliner - Precision Gel eyeliner (£18) which is waterproof too. Like all gel eyeliners, this one applies smoothly and is a pure black colour. I didn't get a picture of it unfortunately but it is pictured in the image below of the full collection:


All in all, I'd say my favourites from this collection are the Hydra Veil, the nail polishes and the palette; I love how bright it is and the texture is an amazing gel/putty like feel but dries to a powder/matte finish which is also waterproof - win! The polishes are also amazing as I've been wanting to shoot a UV/glow in the dark themed shoot for a while so it will definitely come in handy. As for the Hydra Veil, it would be perfect to wear underneath my Skinbase foundation, or around the eye area as I tend to get dry there and sometimes makeup doesn't sit right!

The collection will be available from Illamasqua.com and counters from 30th April 2013 (this coming Tuesday).

Which are your favourites from the collection? Will you be buying any products?
 

FFF: Gold-Black Arabic/Khaleeji style makeup look

Friday 19 April 2013

Hi guys!

Ok so I managed to get round to posting this Arabic/Khaleeji style makeup look using some of my purchases from the UMAE show!

Products used:
Eyes: 
> UDPP

> LA Colors Jumbo Eye Pencil - Sunglasses
> UD Naked 2 - Tease, Blackout 
> UD Vice Palette - Blitz
> Makeup Forever Flash Palette - Or/Gold 004
> La Femme "Bisque" eyeshadow (matte)
> Sleek Au Naturel eyeshadow palette - Bark
> UD Perversion 24/7 eye pencils
> Maybelline Falsies Black Drama mascara
> Khuraira ACC in Light   
> UD 24/7 concealer in ATF
> Inglot AMC eyeliner gel - 77 (black)
Face: 
> Makeup Forever HD foundation in N153
> Sleek Contour Kit in Medium (matte brown shade & highlight only)
> Ben Nye Banana Powder
Lips:
> NYX lip liner in Mauve
> Maxfactor Flipstick in Gypsy Red - gold side only
> LimeCrime Velvetine in Red Velvet

I started by applying a thin layer of UDPP and used my LA Colors in Sunglasses (matte black) on the eyelid only, blending upwards.
I then applied UD Blackout from the Naked 2 palette on top of the area where the LA Colors Sunglasses was applied (on the eyelid), and blended upwards with a blending brush. I then blended La Femme Bisque on the crease downwards into the Blackout and then Tease above the crease, upwards into Bisque.
MUFE Or/Gold 004 was then patted on to the inner corner of the eye and Blitz (Vice Palette) was patted on top of it and along the eyelid slightly (but not in the crease).
Inglot gel eyeliner was used to create a point at the inner corner of the eye and then to line the whole eye including the bottom line.
I then used the remaining gel liner on the brush to outline the brows and fill them in, also using Sleek Bark shadow and then finished off the eyes with Maybelline Falsies mascara.
For the rest of the face I used MUFE HD foundation in N153 and contoured and highlighted the cheeks with Sleek Face Form in Medium, setting under the eyes and nose with Ben Nye Banana Powder.
The lips were filled in with NYX Mauve only at first to create the first look:
For the second look I used LimeCrime Velvetine in Red Velvet on the lips and added a bit of the gold side of Gypsy Red to the middle of the lips.
And the two side by side:

Which look do you prefer? Would you try this look for an occasion?


FFF: Purple Glittery makeup look

Friday 5 April 2013

Hello my lovelies!

This week I managed to do a makeup look and video it too; I'm warning it's not the best video as I'm still trying to find my feet on YouTube and to top it off, the camera I started recording wasn't fully charged so decided to die midway; so I continued with my fully charged SLR that kept "overheating" so had to do it in batches, not to mention I noticed it was recorded in a totally different colour to the first camera!

Anyway, I still went ahead with it, so hopefully that's better than nothing and I did it in the style of the previous look's video so that it's under 10 minutes; hopefully that's good enough!

Products used:
Eyes: 
> UDPP

> NYX JEP - Milk
> UD Smoked Palette - Freestyle, Rockstar, Blackout
> UD Fun Palette (2012) - Psychedelic Sister, Uzi & Woodstock
> UD Deluxe Palette - Fishnet
> La Femme "White" eyeshadow (matte)
> UD Heavy Metal glitter eyeliner - Metalhead
> UD Perversion, Flipside & Mainline 24/7 eye pencils
> NYC black liquid liner
> Maybelline Falsies Black Drama mascara
> Khuraira ACC in Light  
> ELF black cream eyeliner
Face: 
> UD 24/7 concealer pencil in ATF
> Illamasqua Skin Base foundation - SB10
> Sleek Contour Kit in Medium (matte brown shade & highlight only)
Lips:
> Sleek Eau La La lipliner in Lingerie
> Rimmel Apocalips in Celestial

After priming the eye with UDPP & NYX JEP, I started applying "Rockstar" eyeshadow in the crease with a flat brush. I then blended it upwards and inwards with the MUA E3 brush, adding a bit of "Psychedelic Sister" above the crease with the same brush. Using a Sigma E25 brush, I added "Freestyle" above this and blended inwards. I then went into the crease with "Blackout" eyeshadow and a flat brush and again blended with the MUA E3 brush. I added more "Rockstar" as needed and "Woodstock" eyeshadow above this. I then patted on "Fishnet" onto the whole eyelid beneath the crease with the Sigma E20 brush and then a little "Uzi" to highlight the inner corner. For the browbone I patted on La Femme matte White eyeshadow and blended in between with Freestyle
UD "Metalhead" glitter eyeliner was patted on top of the area that Fishnet was applied, and then I cleaned up any fallout with a makeup wipe.
I used both "Flipside" and "Mainline" eye pencils for the bottom lashline and then cleaned up any glitter from the crease with a Sigma E45 brush and Blackout eyeshadow.
I lined the inner eye with UD Perversion eye pencil and the top eyelid with NYC black liquid liner, followed by brow filling with ELF cream liner in Black using a MUA E7 angled brush.
For the face I applied Illamasqua Skin Base all over with the Illamasqua Highlighter brush, which gets into all the nooks and crannies! I then buffed it in with the UD Optical Blurring brush and applied Khuraira ACC under the eyes and UD ATF to areas needed.
I then finished off the eyes with Maybelline Falsies Black Drama mascara:
I then contoured the cheeks with the Illamasqua Blush Up brush and Sleek Face Form in Medium, then highlighted from the same palette.
For the lips I used Sleek Eau La La lipliner in Lingerie to fill the whole of the lips, then used Rimmel Apocalips on top.
Voila!

And here's the YouTube video to go with it if you'd like to recreate the look!


Hope you enjoyed the tutorial and makeup look and please feel free to request any particular tutorials or makeup looks you'd like to see!


Tuesday Takeover: MakeupAtoZ

Tuesday 2 April 2013

This second instalment of Tuesday Takeover will be by Tanzina of Makeup A to Z (or atoz lol).
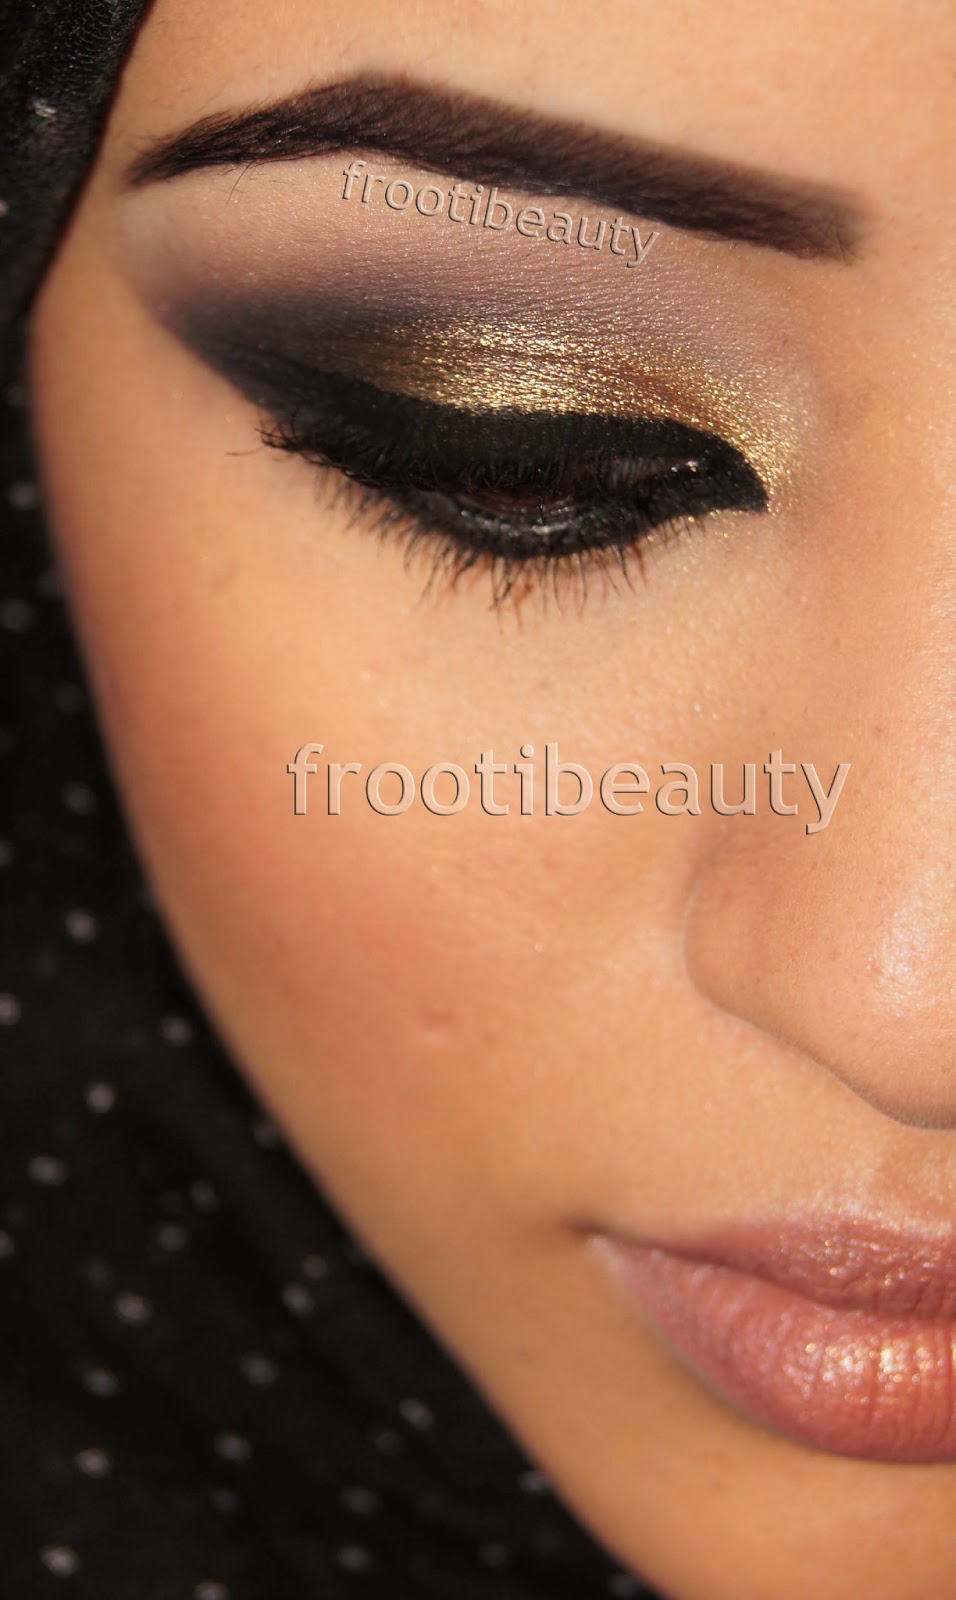
I recently have been teaching her my makeup techniques and we decided to do this look I had done on a previous client:
I went through what was used and where and she followed my instructions and copied the look perfectly!
So without further ado, here's her post:

Hi lovelies! 
Quick introduction, my name is Tanzina and I write over at Makeup A to Z, (that’s Makeup Ai Too Zed and not ahtoz like Safiyah first thought it was!) I’m a beauty blogger which a penchant for all things beauty related but I haven’t really been brave enough to do makeup looks over at my blog. I’ve always played around with makeup, created some hits and some huge misses when playing around and recently Safiyah has taken me under her wings and made me her little pet project. She’s been brushing up my makeup skills, and I’ve earned the title of Frootibeauty’s very first apprentice! 

In one of our makeup workshops/ slash /my shisha fixes/ slash /girly chat dates, I managed to create a look inspired by our very own Frooti/s clients and I thought as part of the second Tuesday Take Over, I would attempt my very first makeup look posts! I hope you enjoy the post, and I’m able to do half as good as Safiyah when it comes to explaining!
Products Used:

Eyes:
>UDPP
>NYX Jumbo Pencil: Milk
>Models Own White Pearl Pigment
>La Femme E/Shadow: Gold Leaf
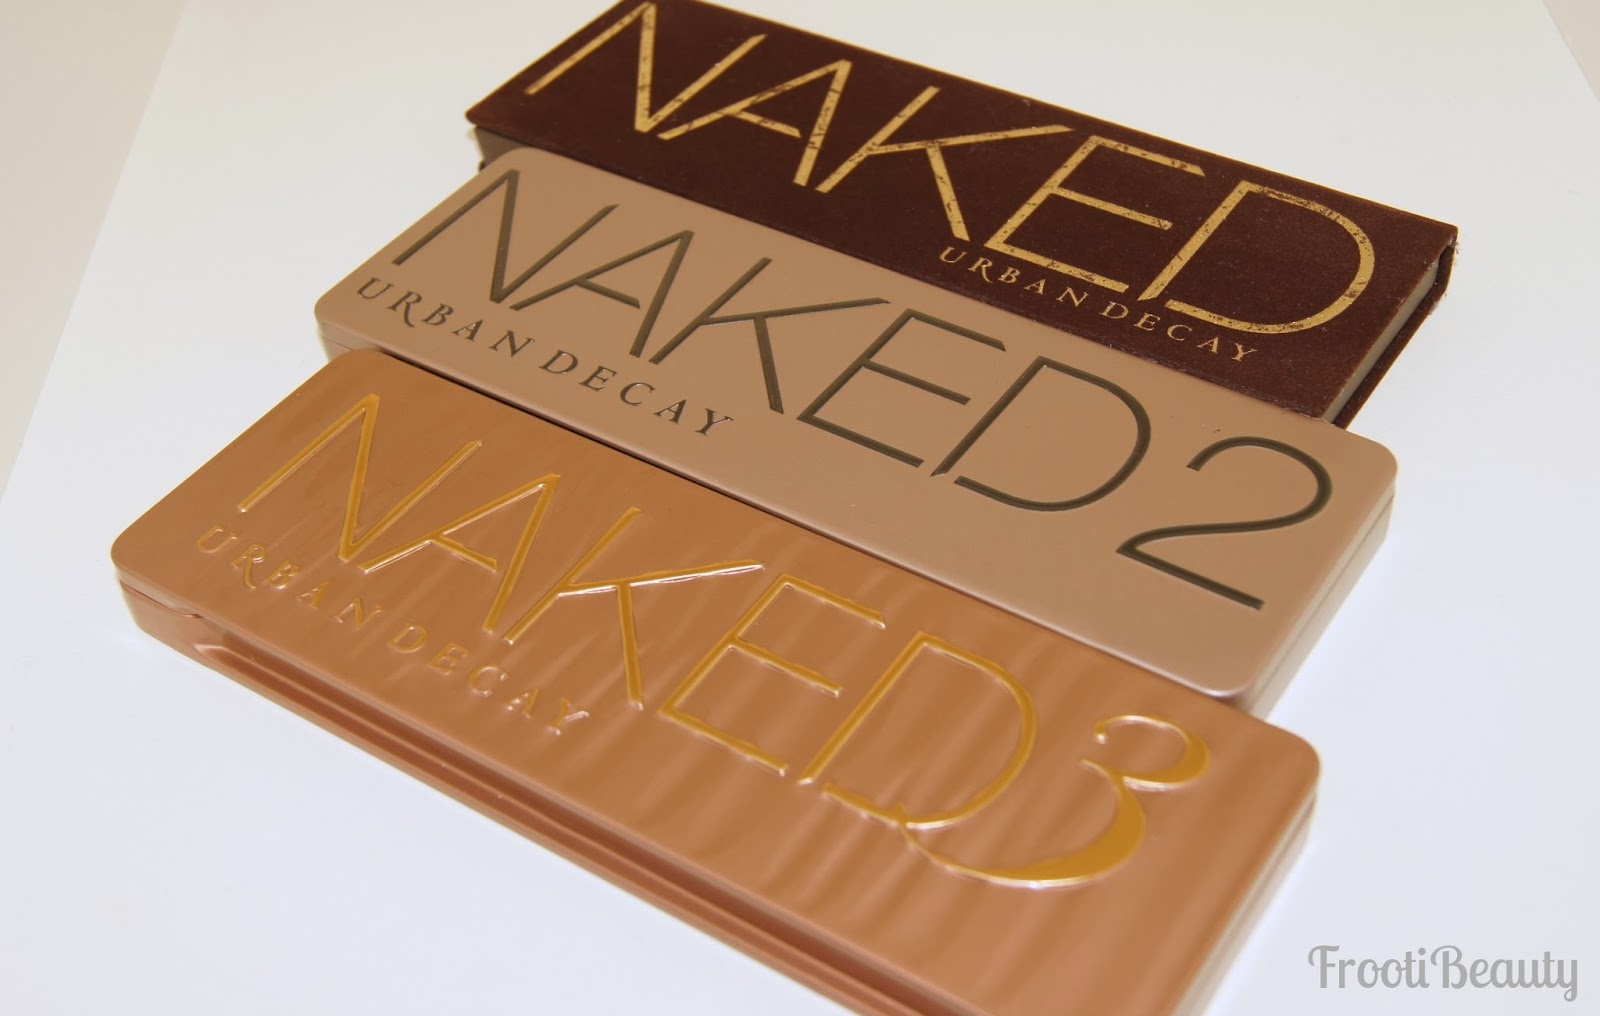
>Urban Decay Deluxe Shadow Palette: Adore
>Urban Decay Smoked Palette: Freestyle
>Urban Decay Pencil Liners: Dime & Deviant & Perversion
>Urban Decay Liquid Liner: Perversion
>MAC Eyeshadow: Carbon
>False Lashes: Let’s Go Lashes (number unsure)
>Japonesque Brow Palette

Face:
>Urban Decay Concealer Pencil: ATF
>Estee Lauder Invisible Fluid Foundation: 4WN1
>Ben Nye Banana Powder
>Sleek Medium Face Form
>Urban Decay Flushed palette

Lips:
>MAC Lip Pencil: Embrace Me
>MAC Lipstick: Girl About Town

I arrived at Safiyah’s place with my brows already done using the Japonesque Brow Kit, I’m okay with going out the house without makeup but I find just going the extra step and making the brows tidy really makes a huge difference. To create the 
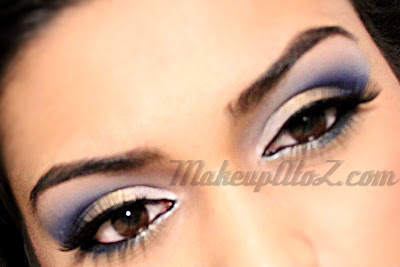
look, I applied UDPP and NYX Milk Jumbo Pencil to create the base. I applied La Femme Gold Leaf all over the eye lid up to the crease. This is such a unique olive gold colour, it’s gorgeous. I then applied Model’s Own Pearl pigment in the inner corner of my eyes to highlight it. I applied UD Adore to the crease and blended upwards and also bought it out like a V shape on the outer corners (Saf is so much better at explaining blending techniques, I’m not going to even try!). Later on I went and added a tiny bit of MAC Carbon which is a matte black to the crease just to add a little bit more definition to the socket line. I blended the blue out with UD Freestyle and also used that to highlight my brow bone. I added more Models Own Pearl to the inner corner and UD Pencil in Dime to the bottom lash line, still focusing in the corner. I added UD Pencil in Deviant, a pop of blue, to the outer half of the bottom lash line and set it with UD Adore shadow. I then lined the waterline with UD pencil in Perversion and liquid lined the eyes in liquid Perversion. After using mascara I popped on some lashes, and that’s the eyes done!


For face, the first thing I started with was the UD Concealer Pencil in ATF, and cleaned up under the eyes and helped make the outer shadow line more straight and tidy. I then applied it under my eyes because unfortunately nothing I do seems to help get rid of these stupid dark circles. I then applied my base, the Estee Lauder foundation, and set it all with Ben Nye Banana Powder. I contoured my cheek with the Sleek Face Form and also highlighted using the same palette. For blush, I used the UD Flushed palette which has a really pretty pink shade in it!
For lips, it’s a super easy recipe. I lined my lips using MAC Pencil in Embrace Me, which is a gorgeous shocking pink lip liner. I think its limited edition but fingers crossed it still should be in stores as I only bought it last month. I then applied my favourite pink, MAC Girl About Town. And we are done with the look!

I know my pictures aren’t as helpful, I don’t really have as many eye close up as Safiyah but I’m learning! Hopefully next time round they’ll be better, this time I had a few problems with focusing and only realised until I had taken all my makeup off. Sucks! 

I hope you enjoyed reading today’s post and the takeover was successful. If you haven’t had a look at my blog before I would love it if you have peek and I’m also over on Bloglovin (link) Facebook 
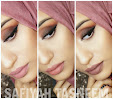
(link) twitter (link) and all that good stuff. I leave you with a super cheesy picture of me smiling, believe me when I say I saved you from seeing the worst! Saf knows what I’m talking about. 

Take care lovelies :) Tanzina x


Lol I do know what you're talking about Tanzina, and it's really not that bad haha ;)

Hope you enjoyed Tanzina's post, please feel free to email me if you'd like to do any Tuesday Takeover posts yourselves, I'd like to keep this feature regular!


template design by Studio Mommy (© copyright 2015)