Kiko Palette and Swatches

Saturday 31 December 2011

I managed to swatch my recent Kiko light impulse eyeshadow palette (01 Pure Colour Extravaganza) at the same time as the Tarte palette but thought I'd split the two posts before going onto makeup looks created by them. You can refer to this post if you'd like to see swatches of the eyeshadows I may use in future EOTDs/FOTDs.
The colours in this palette are quite pigmented, although they aren't super soft, so blendability-wise they take more time to blend.
On to the swatches then:


I swatched them so that the true colour can be seen, some swatched more than once or twice. All in all, the colours are pretty nice and bright, I've already done two makeup looks (requests) so hopefully they'll be up soon.
If anyone has any other colour combination requests, please do comment below!


<3

Tarte purchase (and swatches galore!)

Thursday 29 December 2011

[picture heavy post!]
Last week I received a lovely order in the post from Beauty Emporium after I spotted Rachel of A Pretty Obsession with a Tarte palette - We Wish You Wealth. It looked amazing and seemed to have a lot in it, so I thought I'd treat myself and for 20 (£16.82) it was hard not to!
I also saw that she bought an EOS lipbalm from them too so I also bought one for myself aswell as I'd heard and seen a lot of these balms around; Summer Fruits wasn't in stock so I bought Sweet Mint for €5.75 (£4.84), which gives a lovely tingling sensation:
The palette itself is my favourite colour (purple) and in a cushioned case that swings out to three layers of products; 16 eyeshadows, 16 lipglosses, 4 cheek stains, 4 gel eyeliners, 3 lipsticks, a eyelid primer and a "luminizer" (which is their highlighter).
The eyeshadows are nice and soft.. pigmentation-wise, some are better than others (namely the shimmery ones are better than the matte), but there are some really nice unique shades in the palette too, like the peachy colour at the top and the bronze-gold and forest green. The swatches are corresponding to the four rows of eyeshadows:
 
 The first two in the above picture are of the same colour; except that the swatch on the left is over the tarte eyelid primer. There isn't much difference if I'm honest with you, except that it looks slightly pink-er (as the primer is a pinkish shade).
 
 
The second layer showcases the 16 lipglosses, here they are split into two:
 
I love the pink-peach colour at the bottom right corner, it's so gorgeous! Again, some were more sheer than others. Here are the swatches:


The next layer has a mixture of the eyeliners, cheek stains, lipsticks, primer and luminizer.
Cheek stain swatches:
 And slightly blended; they still leave a bit of sheen which I'm not too fond of:
The gel liners were quite disappointing as I expected them to be a bit more pigmented and really had to dig in with the included liner brush:
The luminizer however, was a lovely golden highlight colour, which I think would be suitable for tanned to dark skin.. I wouldn't really recommend for paler skin tones!
On the left is the luminizer more blended in, but still visible, on the right just a normal swatch.
Finally, the lipsticks were nice and pigmented, although all had a sheen to it (no matte colours). I do think the palette would have been better with more lip colours than lipglosses, but never mind!
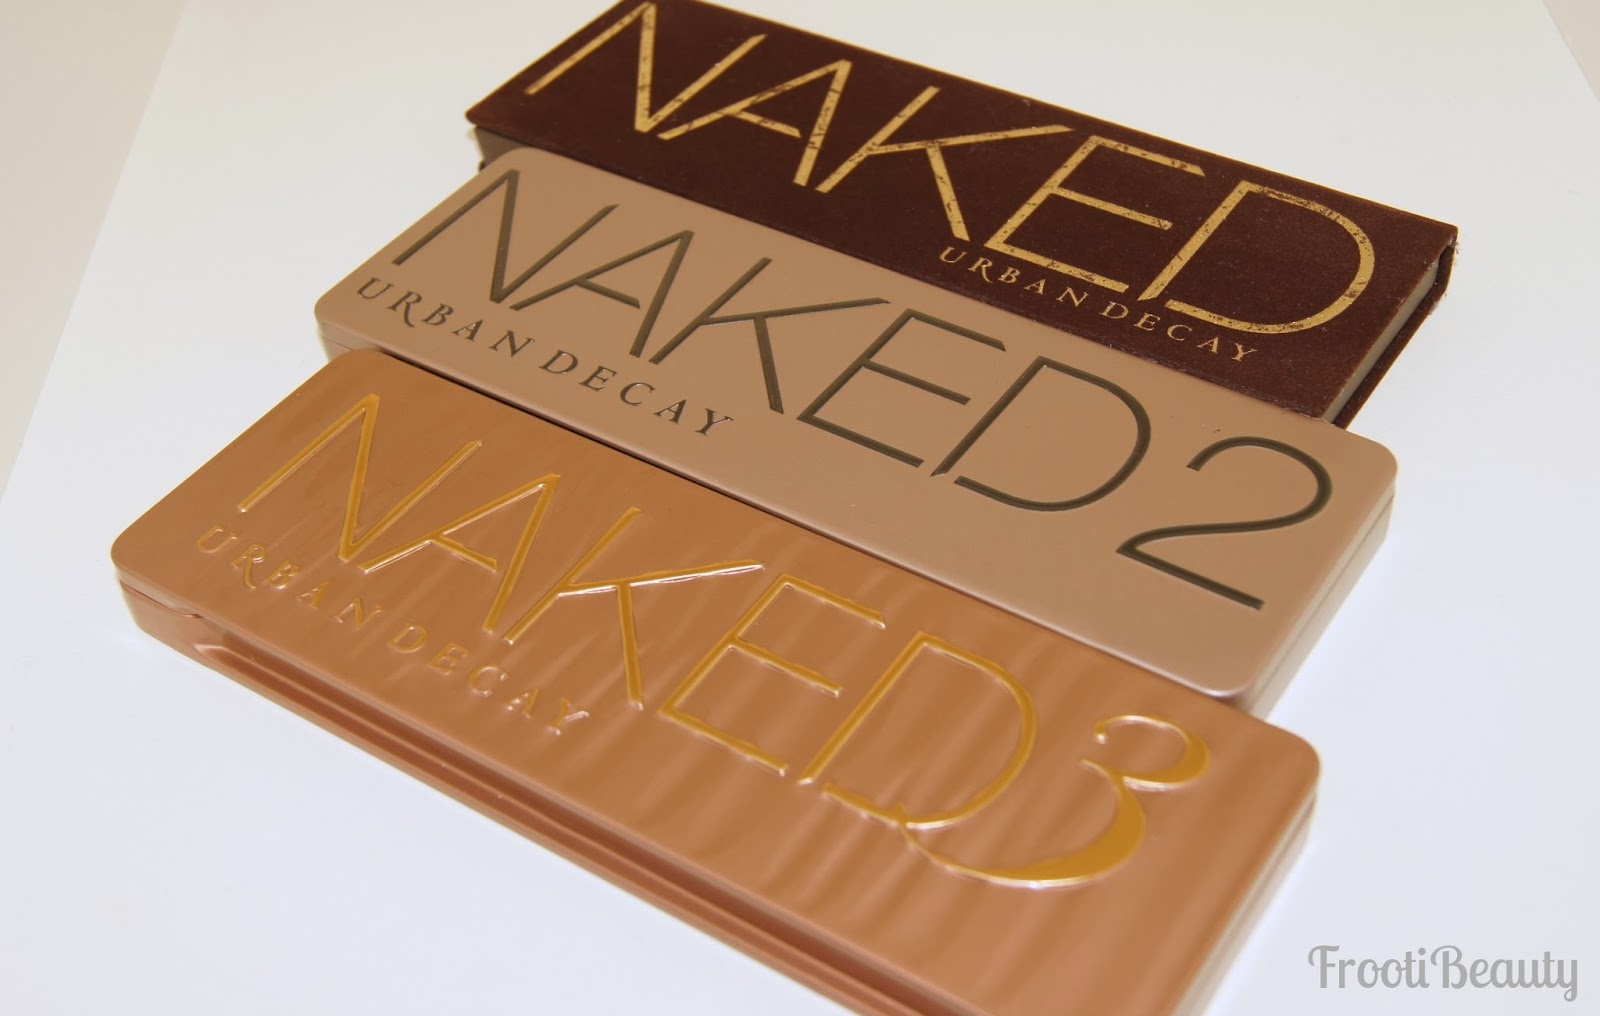
All in all, I'm happy with my purchase, I've got almost every UD palette now and needed to find some new brands with decent soft colours and pigmentation and Tarte is a new favourite I think. I do need to get my hands on some more though, hopefully they become more available here in the UK!

<3

Turquoise Smokey Cut Crease makeup look [first picture tutorial!]

Friday 23 December 2011

 [picture heavy post!]
So this is my first picture tutorial.. it took a while and is a lot more longer to do than my normal posts but I had the time so I thought why not!
I tweeted for colour combination suggestions for my next makeup look and Sarah of Glittery Allsort suggested a turquoise silver look. I decided to make use of my new Kiko purchase and do a white-turquoise look using the 169 white glittery eyeshadow and the LE Sleek Caribbean palette again (it's becoming a favourite!)
I hope you like this colour combo, I'm starting to like doing contrasting cut creases of late, so hope you don't mind a break from the neutrals! 

Products used:
> UDPP & NYX JEP in Milk
> Kiko single e/s in 169
> La Femme pressed eyeshadow (refill in Z palette) White
> Sleek Caribbean palette - Apres Midori, Blue Lagoon, Purple Haze, Singapore Sling & Espresso Martini
> UD 24/7 eye pencil in Zero
> UD Ink for Eyes in Zero
> UD Heavy Metal glitter liner - Catfight
> UD Cannonball and Curling Mascara
> Khuraira ACC in light & MAC studio concealer in NC35
> UD Brow box in Brown Sugar
> Kiko Warm Tangerine Glow blush palette
> Kiko Super Gloss in 129

Start by applying UDPP to the eyelid:
Spread the primer all over the eyelid til its clear (or thereabouts!):
Then add NYX Jumbo Eye Pencil in Milk on the eyelids too, (making sure to blend everywhere too):
Using a flat shadow brush, pat on white/silver eyeshadow on the eyelid. In this case I used the Kiko 169 single eyeshadow:
Add a white shadow to the brow bone too; you can use the excess of the eyeshadow you used for the eyelid:
Add Blue Lagoon from Sleek's Caribbean palette to the middle of the eyelid:
Add Apres Midori to the blue to make a turquoise-ey colour (or you can just use a turquoise colour straight on the middle eyelid!):
Using a small defining brush, dip it in the black eyeshadow (Espresso Martini) and draw in the crease line:
Using a fluffy blending or crease brush, add more Espresso Martini above the crease and upwards, using windscreen wiper motions:
Add a matte white eyeshadow to the brow bone, also using a blending brush. I used the La Femme white eyeshadow I have in my Z Palette:
You can alternate adding more black and white until you're happy with the blending. Use a cotton wool bud lightly dipped in makeup remover to clean the edges, taking it in an diagonal upwards direction towards the end of the brow:
So it looks like this:
You can use a blending brush to blend any sharp edges created by the removal of excess makeup. Go into the bottom inner corner with a definer brush using the same white shadow you used on the top eyelid:
Using Singapore Sling and Purple Haze, follow through the bottom lash line making a purple-pink colour:
Line the inner eyes with UD Zero eyepencil (top and bottom):
It should look something like this:
Go in with Espresso Martini to fill the brows (if you like dark brows like me!) or stick to a brown (or add both like me!):
To look like this:
Line the top of the eyes with a black liner like the cream liner UD ink for eyes in Zero:
Using UD Heavy Metal glitter liner in Catfight, line the bottom lashline on top of the colours you put there before (Singapore Sling & Purple Haze):
Use the UD Cannonball Mascara for both top and bottom lashes:
Then go over with UD curling mascara for extra oomph:
Conceal under the eyes:
Add bronzer and blush (I've used Kiko tangerine glow set for this):
To finish off, use a lip colour of your choice.. I would have chosen a pink to match the eyes but I wanted to try the new Kiko lipgloss I bought!
So the final look:
And more pics of the eyes:
 
Hope you liked this picture tutorial.. it took a while but I got there in the end! Don't know when the next one will be but hopefully sometime soon!


<3
 
template design by Studio Mommy (© copyright 2015)